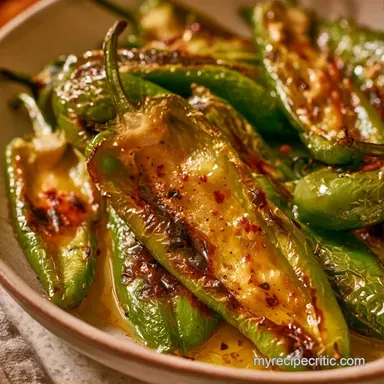
Roasted Anaheim Peppers: Smoky and Bold
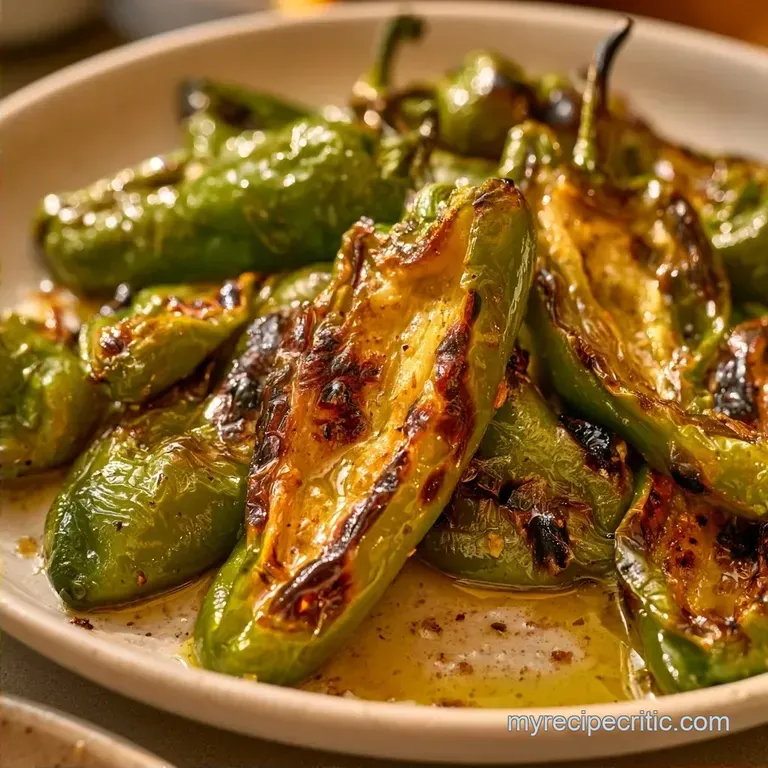
- Time: 3 minutes prep + 20 minutes roasting
- Taste & Feel: Smoky and velvety
- Perfect for: Taco night or meal prep
- The Guide to Roasted Anaheim Peppers
- Getting the Char Right
- What Each Ingredient Does
- The Full Ingredient List
- Gear for the Job
- Step by Step Method
- Fixing Common Issues
- Adjusting the Batch Size
- Debunking Pepper Myths
- Storage and Waste Tips
- Serving Your Peppers
- Different Ways to Use Them
- Recipe FAQs
- 📝 Recipe Card
The Guide to Roasted Anaheim Peppers
The scent hits you first, a blend of charred skin and a sharp, green fragrance that fills the air. In my first attempt, I simply put them in the oven, only to find the skin clinging like industrial adhesive. I spent twenty minutes struggling with a paring knife, sacrificing half the pepper flesh in the process.
The secret is actually in the cooling phase, not just the high heat. After achieving that mahogany char, you must trap the steam to release the bond between the skin and the flesh.
Now, the process is a science. Whether you use a broiler or an open flame, the goal is constant: blackened skins and tender, juicy interiors.
Getting the Char Right
- High Heat: Direct heat breaks down the skin's structure and toasts the natural sugars.
- The Sweat: Trapping the peppers in a bag creates a mini sauna that lifts the charred skin.
- Dry Surface: Water on the skin creates steam too early, which prevents the skins from blistering. If you enjoy a similar charred base, my Rotel recipe uses a similar approach to build flavor.
| Goal | What to change |
|---|---|
| Deep smoke | Use a grill |
| Quick result | Use the broiler |
| Less mess | Use the air fryer |
What Each Ingredient Does
| Component | Purpose | Substitute Notes |
|---|---|---|
| Anaheim Pepper | Main body/flavor | Poblano: adds more earthiness and heat |
| Neutral Oil | Heat conductor | Avocado oil: handles high heat better |
| Kosher Salt | Flavor enhancer | Sea salt: use slightly less as it's denser |
The Full Ingredient List
- 8 Anaheim Peppers (approx. 450g) Why this? Mild heat and a sturdy skin for charring
- 1 tbsp neutral oil Why this? Prevents sticking and helps oil based heat transfer
- 1/2 tsp kosher salt Why this? Pulls out moisture for better blistering
Gear for the Job
You don't need fancy kit, just a few basics. A sturdy baking sheet is a must for the broiler method. Tongs are your best friend on the stove or grill, as those peppers get incredibly hot and slip around. A glass bowl or a large Ziploc bag is mandatory for the steaming phase.
Step by step Method
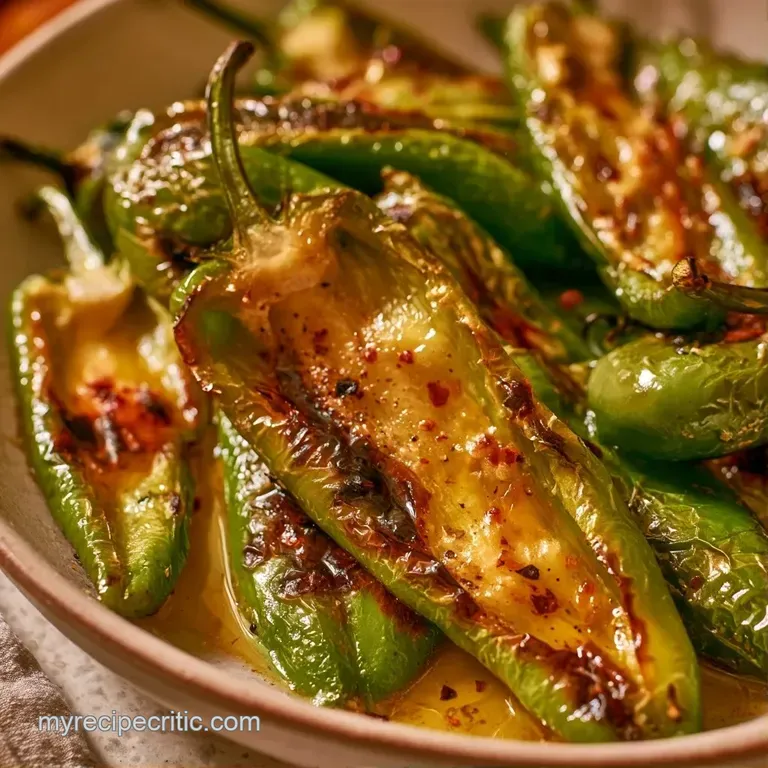
- Rinse the peppers and dry them thoroughly. Note: Any remaining water will cause the peppers to steam instead of char.
- Lightly coat each pepper with neutral oil and kosher salt.
- Char the peppers using your preferred method:
- Broiler: 5-7 mins per side until the skin is blistered and black.
- Gas Stove: Rotate every 2 mins until charred on all sides.
- Grill: 8-10 mins until the skin blackens and peppers soften.
- Air Fryer: 400°C (200°C) for 12-15 mins until the skin is blistered.
- Immediately place the hot peppers in a glass bowl.
- Cover the bowl tightly with plastic wrap or transfer them to a sealable bag.
- Let the peppers steam for 10-15 minutes.
- Carefully rub and peel away the blackened skins.
Fixing Common Issues
Skin won't budge
This usually happens if the peppers didn't get hot enough or the steaming phase was too short. If the skin is sticking, put them back in the bag for another 5 minutes. If that fails, use a sharp knife to nick the skin and peel manually.
Peppers taste bitter
Bitter notes come from burning the flesh rather than just the skin. Ensure you are using high, direct heat for a short time rather than medium heat for a long time. The skin should be black, but the pepper should still have some structure.
Too much heat
If you find the peppers are spicier than expected, remove the seeds and the white internal ribs. This is where most of the heat lives.
Adjusting the Batch Size
When cutting the recipe in half, use 4 peppers. You can use a smaller baking sheet, but keep the broiler distance the same to ensure the skins blister.
For a larger batch, say 16 or 24 peppers, work in two or three rounds. Overcrowding the pan or air fryer prevents the air from circulating, which leads to soggy skins. If you double the batch, only increase the salt to 3/4 tsp to keep the flavor balanced.
Debunking Pepper Myths
Some people think you need a professional blowtorch to get a good char. That's simply not true. A standard home broiler or a gas burner does the job just as well if you keep the peppers moving.
Another common belief is that you must remove the seeds before roasting. Actually, roasting them whole keeps the moisture inside the pepper, resulting in a juicier finish. You can always seed them after the skins are gone.
Storage and Waste Tips
Keep your roasted peppers in a container in the cooler for 5 days. If you have a huge harvest, they freeze remarkably well. Store them in freezer bags for up to 6 months, though the texture softens slightly.
Don't toss the stems and seeds. They can be thrown into a compost bin or simmered with other veggie scraps to make a light stock.
Serving Your Peppers
These are a blast to serve as a simple appetizer. I love them stuffed with a bit of goat cheese and a drizzle of honey for a sweet and savory contrast. They also work as a smoky addition to a sandwich. If you're making a lunch, they pair well with a Chicken Salad Sandwich.
For a dinner side, serve them alongside grilled corn or a simple black bean salad. The mild heat of the peppers cuts through rich, fatty foods like avocado or grilled pork.
Different Ways to Use Them
Once you have your Roasted Anaheim Peppers, the possibilities open up. You can blend them into a Roasted Anaheim pepper salsa by adding lime juice, cilantro, and a pinch of cumin.
For something richer, try Roasted Anaheim peppers with cheese. Slice them open, fill with Monterey Jack, and pop them under the broiler for 2 minutes until the cheese bubbles.
If you're looking for a way to sneak more nutrients into your meals, these chopped peppers blend perfectly into a Hidden Veggie Pasta Sauce for an unexpected smoky depth.
Chef Note: If you want a cleaner peel, let the peppers cool slightly before rubbing the skin. If they are screaming hot, you might accidentally tear the flesh.
Recipe FAQs
How to roast Anaheim peppers on a gas stove?
Turn the peppers every 2 minutes until they are charred all over.
Tip: Ensure the skin is completely dry before oiling to prevent steaming.
Are Anaheim peppers too spicy for the average palate?
Surprisingly, no.
Tip: Remove the seeds and membranes to further reduce the heat.
What's the best way to grill these peppers?
Cook for 8-10 minutes until skins are blackened and the flesh softens.
Tip: Use high heat to blister the skin quickly without overcooking the center.
Which dishes pair best with roasted green chiles?
These add a smoky flavor to tacos, omelets, or a homemade pizza.
Tip: Slice them into thin strips for a more consistent flavor distribution.
Is it true that soaking peppers in water is the only way to peel them?
That's a myth.
Tip: Steam them in a sealed glass bowl or Ziploc bag for 10-15 minutes to loosen the skins.
Roasted Anaheim Peppers in 33 Minutes