The Sunday Lunch Saviour Classic Rich Brown Gravy from Pan Drippings
- Banish the Bisto: Why True Roast Dinners Demand Flavourful Homemade Gravy
- The Secret to Silky Smoothness: An Expert's Promise for Perfect Results
- The Essential Pantry List: Sourcing Top-Tier Gravy Components
- Tools of the Trade: Essential Equipment for Flavour Extraction
- Step-by-Step Mastery: Crafting Your Rich Brown Sauce from the Roast Pan
- Troubleshooting & Advanced Techniques for Your Next Batch of Homemade Gravy
- Recipe FAQs
- 📝 Recipe Card
Banish the Bisto: Why True Roast Dinners Demand Flavourful Homemade Gravy
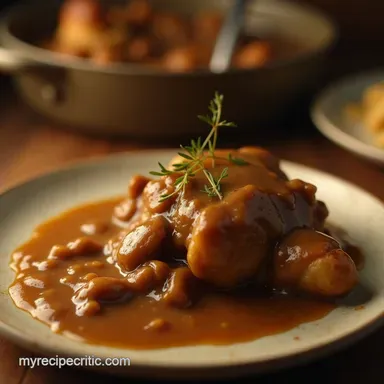
There are few culinary moments more satisfying than sinking a fork into perfectly roasted meat, crispy potatoes, and a Yorkshire pudding that stands proudly tall. But even the most expertly cooked roast can fall flat without its crowning glory: the gravy.
Forget the salty, thin, often artificial flavour of those instant powders; we are talking about transforming the glorious, caramelised remnants in your roasting pan into a sauce so rich and glossy, it becomes the undisputed star of the meal.
Making Homemade Gravy from scratch is not just traditional; it’s the essential step that elevates your Sunday spread from merely good to absolutely unforgettable. This is the cornerstone of comfort food, and with a few simple techniques, you’ll master this luscious liquid gold.
The Secret to Silky Smoothness: An Expert's Promise for Perfect Results
The goal is simple: a texture that coats the back of a spoon beautifully never gloppy, never thin, and certainly never lumpy. Achieving this perfect mouthfeel involves understanding two crucial elements: the initial fat-to-flour ratio (the roux) and the temperature control when adding your liquid.
This Homemade Gravy Recipe is designed to be foolproof, ensuring even the most hesitant cook can deliver a restaurant quality sauce every time.
Elevating Your Sunday Spread from Standard to Spectacular
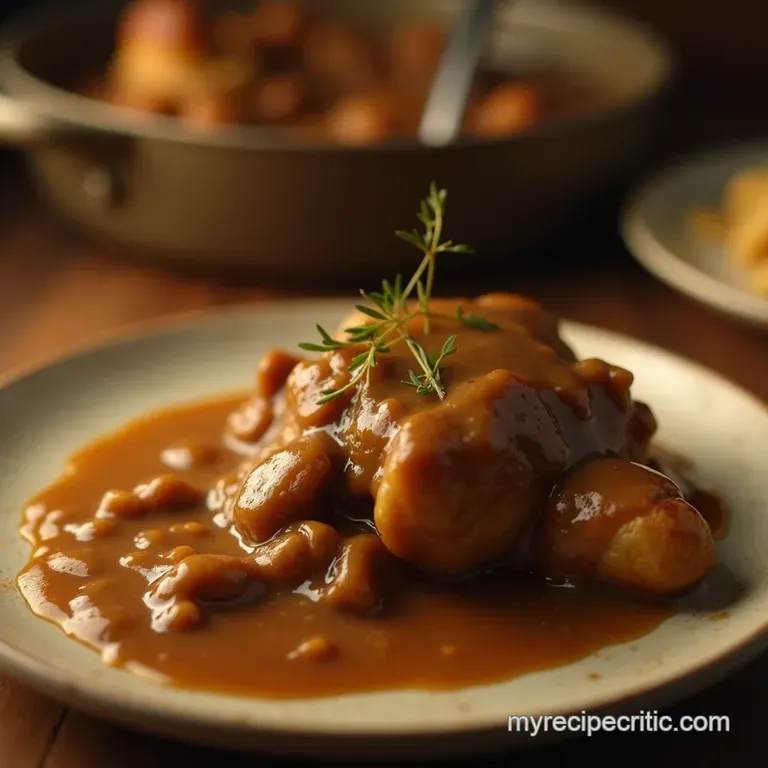
The deep, inherent flavour of a truly fantastic sauce comes directly from the pan drippings. These browned, caramelised bits known technically as the fonds —are concentrated layers of savoury goodness left over after roasting your joint.
Whether you are preparing a stunning Homemade Gravy for Biscuits and Gravy or an accompaniment for a beef roast, ensuring you capture every bit of that residue is paramount to building your flavour profile. This is where the magic begins, turning simple pan remnants into a deeply savoury base.
Goodbye Gritty Textures: Our Guarantee for Glossy Finish Gravy
Many home cooks fear the dreaded lump. That occurs when cold liquid hits dry flour, or when the mixture isn't whisked sufficiently during the introduction of stock. Our method combats this aggressively: we first cook the flour into the fat creating a roux which stabilizes the thickener.
Then, crucially, we always introduce cold stock to the hot roux. This temperature shock encourages the flour to dissolve evenly, guaranteeing that smooth, glossy finish that characterises professional grade Gravy From Scratch .
What Makes This Homemade Gravy Recipe Unbeatable
This approach prioritises depth of flavour above all else. We utilise high-quality beef or chicken stock for richness, and incorporate a secret weapon a dash of dark soy sauce to deepen the colour and inject vital umami without tasting overtly salty.
This results in a robust Brown Gravy Recipe Easy enough for a weekday, yet impressive enough for any holiday table. If you are aiming for a lighter application, remember that a Homemade White Gravy follows a similar process, simply using rendered pork fat or butter and light coloured stock.
The Essential Pantry List: Sourcing Top-Tier Gravy Components
Creating superior flavour starts with superior ingredients. While this Homemade Gravy Easy to assemble, the quality of the components shines through intensely.
You’ll notice immediately that the most important ingredient isn't something you buy in a jar it's what you harvest from your roasting pan.
For the core flavour base, you must secure at least 1/4 cup of pan drippings from your roast. If you happen to be making a weekend favourite like fried chicken or sausages, don't overlook the potential for a fantastic Homemade Gravy with Bacon Grease ; the smoky salinity is unparalleled.
If, by some chance, you have zero drippings, use an equal amount of good quality, unsalted butter as your starting fat.
For the liquid component, aim for 2 cups of low-sodium beef or chicken stock. The lower sodium content allows you to control the final salt level precisely. A splash of dry red wine or sherry (about 1/4 cup) is optional but highly recommended; it adds acidity and depth, helping to lift and intensify the existing savoury notes.
Related Recipes Worth Trying
- The Best Foolproof Turkey Gravy Recipe From Drippings — Ditch the lumps This foolproof Turkey Gravy Recipe elevates pan drippings into liquid gold Get that perfect silky texture for your Sunday roast
- Best Homemade Chocolate Cream Pie Recipe Velvety Rich — Ditch the instant mix Master this rich velvety Chocolate Cream Pie with a perfect stovetop filling and crisp buttery crust Totally foolproof
- The Best Homemade Chocolate Cream Pie Recipe Velvety Rich — Discover the ultimate Chocolate Cream Pie recipe featuring a deep velvety filling and a flaky homemade crust This is the best chocolate cream pie youll ever...
Tools of the Trade: Essential Equipment for Flavour Extraction
You don't need specialized equipment, but the right tools make the process significantly smoother. A medium saucepan or a deep skillet is required to build the sauce. Most importantly, you absolutely must have a reliable whisk. Tongs or a sturdy wooden spoon will assist in scraping up those precious fond bits.
Finally, a fine mesh sieve is the optional step that takes your gravy from good to utterly silken.
Mastering the Roux: Flour-to-Fat Ratios for Depth
The roux is the backbone of your sauce, determining both thickness and flavour. For this recipe, we use a ratio of 1/4 cup of fat to 1/4 cup of all-purpose flour. This 1:1 ratio creates a medium thickener perfect for coating it’s sturdy enough for mashed potatoes but still pourable.
The key here is patience: cook this flour and fat mixture over medium heat for a full 2 to 3 minutes, stirring constantly, until it takes on a light, nutty brown hue. This step cooks out the raw starch taste.
The Liquid Gold: Selecting the Best Stock for Richness
Once the roux is ready, the liquid you introduce must be cold. Pouring cold stock into your hot roux ensures the starch particles separate smoothly and absorb the liquid evenly, preventing any hint of graininess.
If you are looking to enhance the savoury profile beyond basic stock, consider simmering the stock beforehand with a sprig of fresh thyme or a crushed garlic clove, then straining it before use.
A Pinch of Magic: Seasoning Secrets for Umami Boost
Beyond salt and pepper, the flavour needs an anchor. We achieve this through aromatics like fresh thyme, balanced by onion powder for that classic savory background note. The true game changer, however, is the 1/2 teaspoon of dark soy sauce.
This ingredient is crucial for achieving that deep, mahogany colour and profound, slow cooked flavour profile usually associated only with the best Homemade Gravy with Beef Broth .
Step-by-step Mastery: Crafting Your Rich Brown Sauce from the Roast Pan
With your ingredients prepped and your tools ready, the active cooking time is surprisingly swift. We start by harnessing the energy left in your roasting pan the source of the finest flavour.
First, remove your beautifully rested roast and place it on a carving board. Carefully skim the rendered fat from the pan, reserving exactly 1/4 cup. Place the pan (or transfer the fat to your saucepan) over medium heat.
Before adding the flour, use a wooden spoon to scrape up every browned particle stuck to the bottom; these are concentrated flavour bombs.
Next, swiftly whisk in your 1/4 cup of flour to the melted fat/drippings, creating your roux. Cook this mixture for those crucial 2- 3 minutes until it darkens slightly, indicating the starch has cooked through.
Deglazing the Drippings: Releasing Every Nugget of Flavour
If you are using wine or sherry, now is the moment to pour it in. This liquid, being slightly acidic, acts as a solvent to lift the remaining caramelised goodness right off the pan surface. Whisk vigorously as it boils down rapidly, reducing by about half. This concentrates the alcoholic notes into pure, deep flavour.
Whisking Wisdom: Incorporating Stock Without Lumps
Once the wine has reduced, reduce your heat slightly. Slowly, ladle by ladle, pour in your cold beef stock while whisking continuously. This slow introduction is non-negotiable for smoothness. Continue until all the stock is incorporated and the mixture appears thin and uniform.
The Simmer Down: Achieving the Ideal Gravy Consistency
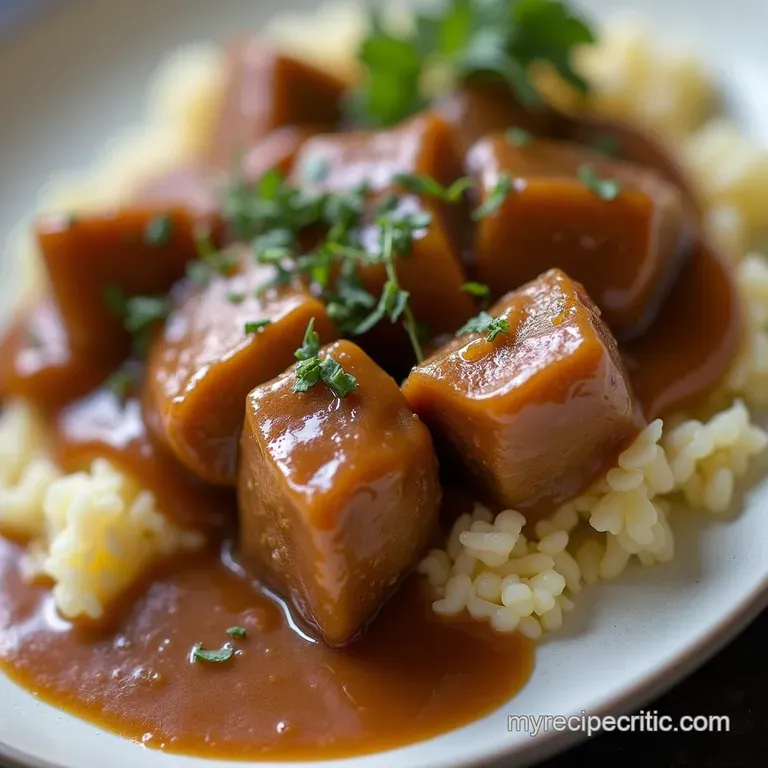
Increase the heat to bring the mixture to a gentle simmer never a rolling boil, as this can degrade the texture. Stir in your thyme, onion powder, and that critical dash of dark soy sauce. Allow the gravy to simmer uncovered for 8 to 12 minutes.
You will see it transform, thickening progressively. Test for readiness by coating the back of a spoon: if the liquid clings without immediately running off, it’s ready.
Final Adjustments: Tasting and Tweaking Like a Pro Chef
Taste test! This is where you become the chef. Because your stock and drippings already contain salt, you may find you need very little added salt. Focus instead on freshly ground black pepper to sharpen the flavour. If it needs a little more savory punch, a tiny drop more soy sauce will do the trick.
For that ultimate polish, pour the entire batch through a fine mesh sieve into a warm jug before serving.
Troubleshooting & Advanced Techniques for Your Next Batch of Homemade Gravy
Even with the best preparation, cooking sometimes throws curveballs. Knowing how to pivot quickly ensures your dinner service remains seamless.
Fixing Runny Gravy: The Quick Thickening Rescue Mission
If, after 12 minutes of simmering, your Homemade Gravy is still too thin, you need a cornstarch slurry. Mix one tablespoon of cornstarch with two tablespoons of cold water until perfectly smooth. Pour this mixture slowly into the simmering gravy while whisking constantly.
It will thicken almost immediately. Allow it to bubble for one minute to cook out the starch flavour, and you're back in business.
Storage Solutions: Freezing and Reheating for Later Enjoyment
This sauce freezes exceptionally well. Allow your Gravy From Scratch to cool completely, then transfer it to airtight, freezer safe containers, leaving headspace for expansion. It will keep well for up to three months.
To reheat, thaw overnight in the refrigerator and gently warm on the stovetop, whisking frequently. You may need to add a splash of water or stock to restore the original consistency.
Elevating Seasoning: Introducing Port or Red Wine Enhancements
For special occasions, consider escalating the deglazing step. Instead of simply using wine to deglaze, allow it to reduce fully, then add 1/4 cup of quality Port or Madeira alongside your stock. This adds a wonderful, slightly sweet, mature complexity that pairs beautifully with beef.
Flavour Boosts: Turning Leftover Drippings into Culinary Gold
If you’ve rendered a large amount of fat, such as from a holiday turkey or goose, separate the fat from the bottom layer of jelly/stock remnants. Use the clear fat for the roux, but whisk that bottom layer (which is pure gelatin and flavour) directly into the stock before you introduce it to the roux.
This ensures maximum savoury impact in every batch of Homemade Gravy .
Recipe FAQs
My gravy is lumpy! How do I fix a lumpy batch of Homemade Gravy?
Don't panic, it happens to the best of us! The trick is to smooth out those lumps using a blender or an immersion blender until it’s silky again; this usually sorts it right out.
If you don't have one, you can try whisking vigorously while slowly adding a tablespoon of cold water mixed with a teaspoon of cornflour (cornstarch) to help it re-emulsify.
What’s the secret to getting that deep, rich brown colour without burning the roux?
The colour comes from cooking the flour and fat (the roux) long enough for it to turn a lovely, light peanut butter brown before adding the liquid. This takes patience aim for 3 4 minutes of gentle cooking and a splash of dark soy sauce or Marmite at the end is a brilliant shortcut for that intense, long simmered flavour and colour.
Can I make this gravy ahead of time, and how should I store it?
Absolutely, this gravy keeps brilliantly! Once completely cooled, store it in an airtight container in the fridge for up to three days. When reheating, you might find it has thickened a bit too much; simply whisk in a splash of hot stock or water until it reaches your preferred consistency.
I don't have pan drippings from a roast; what's the best substitute for making this Homemade Gravy?
If you’re starting from scratch, use an equal amount of good quality, unsalted butter to form the base of your roux instead of the drippings. To compensate for the lost flavour, be sure to use a rich beef stock and consider adding a bit more dry sherry or a teaspoon of Worcestershire sauce.
My gravy turned out too thin. How can I thicken it quickly without making it taste of raw flour?
If it’s too thin, the best quick fix is a cornflour slurry: mix one tablespoon of cornflour with two tablespoons of cold water until smooth, then whisk this slurry into your gently simmering gravy.
Let it bubble for a full minute, and it should thicken right up just avoid adding too much, or it might get a bit gloopy!
Easy Homemade Brown Gravy