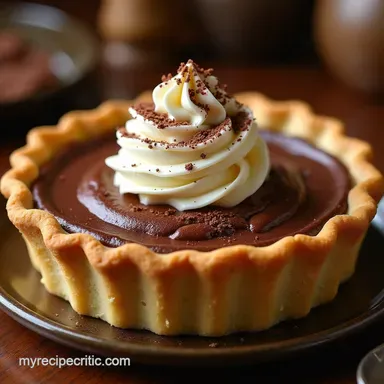
The Ultimate Deepdish Chocolate Silk Cream Pie with Pâte Brisée Crust
- Why This Deep-Dish Chocolate Cream Pie Redefines Decadence
- Elevating the Classic: A Study in Velvety Texture
- Assembling the Components for Ultimate Richness
- Curating Your Chocolate Cream Pie Arsenal
- Phase One: Creating the Flaky Vessel (Pâte Brisée)
- Phase Two: The Alchemy of the Dark Chocolate Filling
- Final Assembly and Chilling Protocols
- Maximizing Flavor: Storage and Serving Suggestions
- Troubleshooting Common Cream Pie Pitfalls
- Recipe FAQs
- 📝 Recipe Card
Why This Deep Dish Chocolate Cream Pie Redefines Decadence
Forget everything you thought you knew about chocolate pie. This recipe delivers a decadent, deeply satisfying filling smooth as velvet and intensely chocolatey nestled in a flaky, buttery, homemade shortcrust pastry.
It’s the perfect showstopper for any occasion, marrying the richness of dark chocolate with the lightness of perfectly whipped cream. We are aiming high here; this is not a flimsy, quick fix dessert, but rather the Best Chocolate Cream Pie experience, a proper, grown-up slice of heaven reminiscent of classic American diners, yet elevated for the modern kitchen.
Achieving this level of texture and depth requires attention, which is why we classify this Chocolate Cream Pie Recipe as medium difficulty it demands finesse, but the reward is unparalleled silkiness.
Elevating the Classic: A Study in Velvety Texture
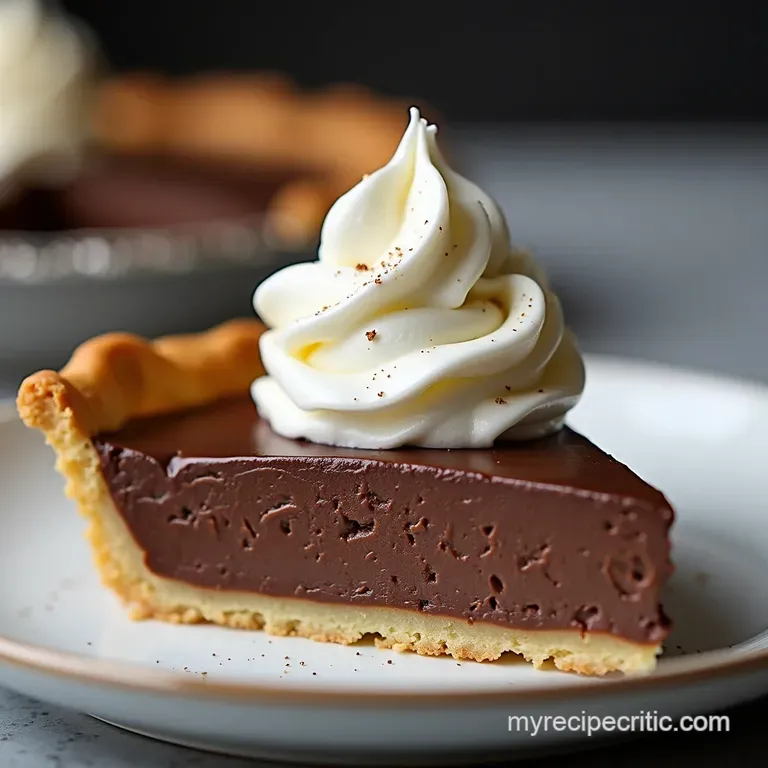
The true success of a great dessert lies in its textural harmony. With this Velvety Chocolate Cream Pie , we balance two distinct elements: a robust, crisp foundation and a deeply luxurious, yielding center.
Unlike pies relying solely on box mixes or instant pudding, our method builds layers of flavor and smoothness, resulting in a Chocolate Cream Pie with Pudding that feels entirely bespoke.
This process requires careful attention during the mixing and cooking stages to ensure that ultimate mouthfeel.
The Secret to the Unforgettable Pâte Brisée Foundation
The vessel holding our magnificent filling is just as crucial as the filling itself. We eschew the standard Chocolate Cream Pie Graham Cracker Crust for a classic, flaky French Pâte Brisée .
This shortcrust pastry relies on ice-cold ingredients and minimal handling to inhibit gluten development, guaranteeing a shatteringly crisp base that resists sogginess. Mastering this crust is the first step toward creating a genuinely memorable Homemade Chocolate Cream Pie .
Setting the Stage for Luxurious Chocolate Perfection
Once the crust is prepared and perfectly blind baked, the stage is set for the star of the show. The filling relies on the emulsifying power of egg yolks and the thickening magic of cornstarch, activated by heat.
We use a significant amount of high-quality dark chocolate (around 60-70% cocoa solids) not just for flavor, but for structure and incredible gloss, ensuring the filling sets beautifully firm yet remains silken smooth upon slicing.
Beyond Basic: Introducing Our Signature Filling Intensity
To achieve that signature deep flavor that sets this apart from a Simple Chocolate Cream Pie , we incorporate a careful tempering process. By slowly introducing hot milk to the egg yolks, we gently raise their temperature without curdling them, creating a stable base for the custard.
After setting the base over the heat, we melt in cold butter and the chopped dark chocolate off the heat. This final integration provides incredible richness and a deep, complex cocoa note that defines this particular Chocolate Cream Pie .
Assembling the Components for Ultimate Richness
Crafting this masterpiece involves preparing three distinct components: the crisp pastry shell, the deep chocolate custard, and the light crowning glory. Before beginning, ensure you have a 9 inch pie dish ready, preferably glass or ceramic, as this helps monitor the blind baking progress.
The estimated prep time is about 45 minutes, though much of that is dedicated to chilling the dough, a non-negotiable rest period.
Curating Your Chocolate Cream Pie Arsenal
Success hinges on the quality and temperature of your ingredients and the precision of your tools. For this deep dish delight, having specific components prepared correctly makes all the difference.
Flaky Crust Essentials: Mastering the Butter Ratio
For the Pâte Brisée, your main ingredients are 1 ¼ cups of all-purpose flour, a touch of sugar and salt, and crucially, ½ cup of very cold, cubed unsalted butter. The ratio of fat to flour, combined with 4 to 6 tablespoons of ice water, determines the flakiness.
If the butter isn't icy cold, the dough will incorporate too readily, leading to a tough, rather than flaky, crust.
The Dairy Decadence: Selecting Cream and Milk Products
The richness of the filling demands whole milk (1 ½ cups), which provides a higher fat content than lower fat alternatives, contributing to the custard's luxurious mouthfeel.
For the crowning touch the Chocolate Cream Pie with Whipped Cream topping you need 1 ½ cups of heavy whipping cream, chilled alongside your mixing bowl and whisk attachments, to ensure it whips up into stiff, stable peaks easily.
Essential Tools for Seamless Silky Filling Preparation
Beyond your standard mixing bowls and a sturdy 9 inch pie plate, a medium saucepan is essential for cooking the custard base. A reliable whisk is your best friend for incorporating the starch mixture and tempering the eggs without lumps.
Finally, have a rubber spatula ready for scraping down the sides and ensuring every bit of that glossy filling makes it into the waiting crust.
Related Recipes Worth Trying
- The Best Moist White Velvet Cake Recipe with Silky Buttercream — Forget dry sponges This Simple Moist White Velvet Cake Recipe creates an incredibly tender crumb using buttermilk Perfect for a stunning White Buttercream...
- The Best Strawberry Rhubarb Pie Recipe with Flaky Crust — Achieve the perfect Strawberry Rhubarb Pie with this detailed foolproof recipe featuring a rich flaky allbutter crust and a secret pepper zing
- The Velvet Mug Truly Decadent Homemade Hot Chocolate Recipe — Ditch the powder This easy homemade hot chocolate recipe uses real chocolate for a luxurious thick texture that feels like a warm hug Get the foolproof...
Phase One: Creating the Flaky Vessel (Pâte Brisée)
Start by combining the flour, sugar, and salt. Cut in the cold, cubed butter, either using a pastry blender or a food processor on pulse mode, until the mixture resembles coarse crumbs with some pea-sized pieces of butter remaining these are vital for flakiness.
Gradually drizzle in the ice water, one tablespoon at a time, mixing until the dough just begins to hold together when squeezed. Form this into a disc, wrap it tightly, and chill it in the refrigerator for at least 30 minutes.
Blind Baking Techniques for a Crisp Foundation
After chilling, roll the dough out and carefully fit it into your pie dish, crimping the edges decoratively. Chill the fitted crust again for another 20 minutes this prevents shrinkage during baking. Prick the bottom surface all over with a fork (docking).
Line the interior with parchment paper or foil and fill it completely with pie weights, dried beans, or uncooked rice. Bake at 375° F ( 190° C) for 15 minutes.
Carefully remove the weights and paper, then continue baking for another 10 to 15 minutes until the crust is golden brown and completely cooked through. Let it cool completely before proceeding warm filling into a warm crust is a recipe for a soggy bottom.
Phase Two: The Alchemy of the Dark Chocolate Filling
While the crust cools, prepare the filling. In a separate bowl, whisk together ¾ cup of granulated sugar, ¼ cup of cornstarch, and about ½ cup of the whole milk until absolutely smooth. This slurry must be lump free. In your saucepan, gently heat the remaining milk until steaming, but not boiling.
Tempering the Eggs: Avoiding Scrambled Silk
This step is crucial for achieving that smooth texture. Take about half of the hot milk and drizzle it in a very thin, slow stream into your yolk/starch mixture while whisking constantly and vigorously. This process slowly raises the temperature of the egg yolks.
Once tempered, pour the yolk mixture back into the saucepan containing the rest of the milk.
Achieving Glossy Perfection: Stirring and Setting Times
Return the saucepan to medium heat. Whisk continuously until the custard mixture thickens significantly and comes to a steady simmer; allow it to boil gently for a full minute to ensure the cornstarch is fully activated and the thickening power is maximized. Immediately remove the pan from the heat.
Now, quickly whisk in 4 tablespoons of cubed unsalted butter until melted and incorporated. Finally, add 6 ounces of finely chopped dark chocolate and 1 teaspoon of vanilla extract. Stir gently until the chocolate has completely melted and the filling is glossy and uniform.
Final Assembly and Chilling Protocols
Pour the hot, luxurious chocolate filling directly into your completely cooled Pâte Brisée crust. Smooth the top with your spatula. To prevent a dry skin from forming as it cools, press a sheet of plastic wrap directly onto the surface of the filling.
Refrigerate for a minimum of 4 hours, though overnight is preferred, allowing the filling to set fully into its dense, silky structure.
Whipped Topping Application: Peaks and Presentation
Only prepare the topping just before you plan to serve the pie. Beat 1 ½ cups of chilled heavy cream, ¼ cup of powdered sugar, and ½ teaspoon of vanilla extract in a cold bowl using an electric mixer. Whip until stiff peaks form they should hold their shape firmly when the whisk is lifted.
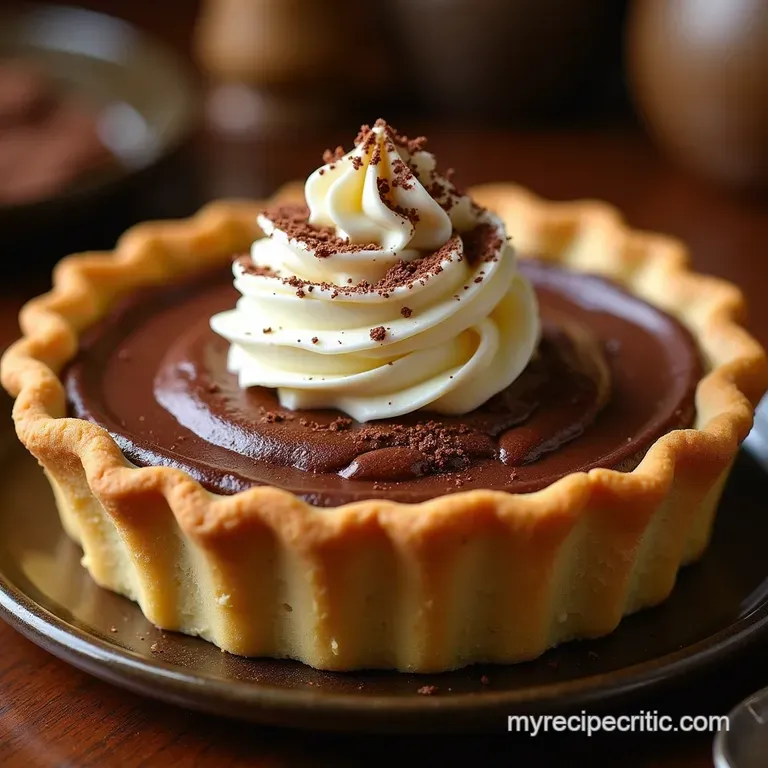
Spread or pipe this topping generously over the fully chilled Chocolate Cream Pie .
Maximizing Flavor: Storage and Serving Suggestions
The magic of this dessert is best experienced when the contrast between the cool filling and the fresh topping is pronounced.
Make-ahead Magic: Optimal Prep Timelines
The crust and the filling can be completed up to 24 hours in advance. Store the filled, plastic wrapped pie in the refrigerator. However, the whipped cream topping should always be made fresh, ideally within an hour of serving, to maintain its airy structure and prevent weeping.
Serving Temperature Secrets for the Best Chocolate Experience
While the pie must be fully chilled to set, allowing it to sit at room temperature for just 10 to 15 minutes before slicing can slightly soften the filling, releasing the full depth of the dark chocolate flavor.
Creative Garnishes to Transform Your Dessert Presentation
For an elevated look beyond the simple topping, dust the finished Chocolate Cream Pie with Whipped Cream lightly with high-quality unsweetened cocoa powder or sprinkle finely shaved dark chocolate curls across the peaks.
A drizzle of tart raspberry coulis provides a lovely acidic counterpoint to the richness.
Troubleshooting Common Cream Pie Pitfalls
Even with detailed instructions, hiccups can occur. Knowing how to correct them ensures your dessert remains flawless.
Fixing a Runny Filling: Quick Recovery Methods
If your Chocolate Cream Pie with Pudding filling seems loose after chilling, it usually means the cornstarch didn't reach a full boil or you didn't use enough. If it’s only slightly soft, chill it longer.
For a significantly runny filling, you can gently scoop the filling out, reheat it slightly with an additional teaspoon of cornstarch slurry (mixed cold milk first), bring it back to a boil for one minute, and then pour it back into the cooled crust.
Serving Temperature Secrets for the Best Chocolate Experience
While the pie must be fully chilled to set, allowing it to sit at room temperature for just 10 to 15 minutes before slicing can slightly soften the filling, releasing the full depth of the dark chocolate flavor, making every bite more impactful.
Recipe FAQs
How do I stop the bottom of my Chocolate Cream Pie crust from getting soggy?
That's the age-old struggle, isn't it? The key to avoiding a soggy bottom is ensuring a proper blind bake for your Pâte Brisée crust. Make sure the crust is fully cooled before adding the filling, and for an extra layer of insurance, you can brush the inside of the warm, baked shell with a thin layer of melted white chocolate before it cools completely.
My custard filling looks a bit lumpy. Can I save my Chocolate Cream Pie filling?
Don’t panic, it happens to the best of us! If your filling is lumpy after cooking, take it off the heat and immediately pass it through a fine mesh sieve directly into the bowl with your chopped chocolate.
Whisk briskly once it’s strained this should smooth out any tiny bits of cooked egg or undissolved starch, restoring that lovely velvet texture.
Can I make this pie ahead of time, or does it need to be assembled right before serving?
You absolutely can make this ahead, which is brilliant for entertaining no last minute fuss! The filled and chilled pie (without the topping) can be made up to 2 days in advance.
However, the whipped cream topping should only be added right before you plan to serve it, as it tends to weep or deflate if left sitting for too long.
What’s the best way to store leftovers if I have any (unlikely, I know!)?
Because of the delicate whipped cream topping, it’s best to store leftovers in the fridge covered loosely with plastic wrap. If you know you’ll have significant amounts left, it’s advisable to scrape the cream off first, store the plain pie base and filling separately, and then re-top with fresh whipped cream when serving the next portion.
I'm not a fan of super rich desserts. Can I lighten up the topping or the filling?
For a lighter touch, you can certainly dial back the sweetness of the whipped cream topping by using less powdered sugar, or even skipping it entirely for a pure cream flavour. In the filling, ensure you use a 60% dark chocolate rather than something intensely bittersweet, which naturally reduces the overall sugary hit without sacrificing that deep chocolate note.
Ultimate Chocolate Silk Pie