The Ultimate Gobbler Drench Rich Silky Turkey Gravy
- Beyond the Bird: Crafting Superior Turkey Gravy
- The Essential Components for Rich Homemade Gravy
- Assembling Your Turkey Gravy Toolkit
- Step-by-Step Mastery: Building Your Flavour Base
- The Seamless Thickening Process: Mastering the Roux
- Elevating Your Gravy Game: Pro Tips and Troubleshooting
- Serving Suggestions and Preservation Strategies
- Recipe FAQs
- 📝 Recipe Card
Beyond the Bird: Crafting Superior Turkey Gravy
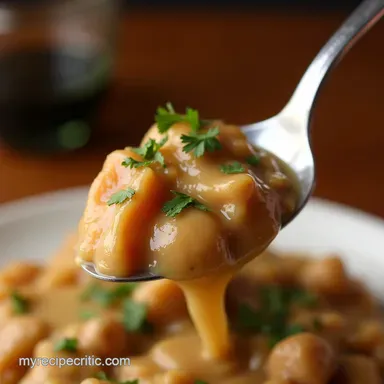
The Thanksgiving or Christmas centerpiece might be the magnificent turkey itself, but let’s be honest: the real star of the show, the element that ties the entire plate together, is the gravy.
A truly exceptional Turkey Gravy Recipe isn't just a sauce; it’s a flavour conductor, ensuring every bite of turkey, stuffing, and mashed potato sings in harmony.
Forget opening that can of gelatinous sauce we are diving deep into the alchemy of creating the Best Turkey Gravy you’ve ever tasted, transforming humble roasting remnants into liquid gold.
Your Secret Weapon for the Perfect Roast Dinner Drizzle
This comprehensive guide is dedicated to demystifying the process, ensuring your sauce achieves that coveted, glossy sheen and deep, savoury notes. We will cover everything from utilizing the fond left in your roasting pan to employing professional techniques that eliminate the dread of lumpy results.
Why This Recipe Succeeds Where Others Fail
Many amateur attempts at Turkey Gravy From Drippings fall short because they don't respect the flavour hierarchy. Our method prioritizes extracting maximum savoury depth from the pan before introducing any liquid.
We use a carefully calculated ratio of fat to flour to build a foundation that is rich but never heavy. On top of that,, the inclusion of specific umami boosters without overpowering the turkey’s natural taste sets this Homemade Turkey Gravy From Giblets style recipe apart.
If you are relying on store-bought stock, this approach guarantees your gravy won't taste like diluted broth; it will taste like concentrated roast dinner essence.
The Pledge: Achieving Luster Without Lumps
Lumps are the nemesis of a beautiful gravy. This is often caused by adding cold liquid to a hot roux, causing the flour to seize instantly. Our technique specifically counters this by introducing hot stock gradually while whisking furiously.
The resulting texture, if followed correctly, will be exquisitely smooth, pouring beautifully into your Turkey Gravy Boat without resistance.
From Pan Drippings to Liquid Gold: The Essence of True Flavour
The very soul of a traditional Turkey Gravy From Drippings lies in those caramelized, roasted bits stuck to the bottom of your pan the fond . These are not waste; they are concentrated flavour bombs.
A successful gravy relies on liberating this fond, either by deglazing or by incorporating the residual juices directly into the roux base. While you can make Turkey Gravy Without Drippings using only stock and butter, the resulting flavour is undeniably one-dimensional compared to this method.
The Essential Components for Rich Homemade Gravy
To create this memorable accompaniment, we require a balance of rendered fat, thickening agent, liquid volume, and seasoning. We’ll be using 1/2 cup of pure turkey drippings (fat separated from the pan juices) and 1/2 cup of all-purpose flour to form our thickening base, perfectly matched to four cups of hot, low-sodium stock.
Herbs like thyme and rosemary are essential counterpoints, while a small splash of Worcestershire sauce provides that elusive, deep background savoury note.
Assembling Your Turkey Gravy Toolkit
Before you light the burner, organization is key. Having your tools ready ensures you can move swiftly when the roux needs attention.
Sourcing Superior Fat and Fond
After resting your turkey, the roasting pan will contain rendered fat sitting atop a layer of dark, sticky juices. It is crucial to skim off the clear, pure fat we measure exactly 1/2 cup for our roux. The remaining watery juices, often full of browned, flavourful solids, should be reserved.
While some recipes call for pouring all juices in immediately, separating the fat allows us to control the roux perfectly, preventing a greasy final product. If you are incorporating Turkey Giblet Gravy elements, ensure the giblets are simmered separately and strained well before using their liquid here.
The Flour-to-Fat Ratio for Perfect Roux Consistency
We rely on a classic blonde roux: equal parts fat and flour by volume. This 1:1 ratio ensures that our gravy will thicken beautifully when we introduce the liquid, leading to that velvety mouthfeel associated with recipes like Natashas Kitchen Turkey Gravy variations.
Cooking the flour for a few minutes until it smells nutty removes the raw flour taste, a step that cannot be rushed.
Enhancers: Herbs, Aromatics, and Umami Bombs
While the turkey drippings provide the foundation, aromatics provide the character. Fresh thyme and finely chopped rosemary complement poultry beautifully. For that extra layer of savory depth that elevates it beyond simple meat juice, the secret addition is Worcestershire sauce.
It works magic to deepen the colour and complexity without lending an identifiable flavour.
Related Recipes Worth Trying
- Turkey Vegetable Soup GobbleGood Leftover Magic — Transform your holiday leftovers This Turkey Vegetable Soup is packed with flavor and nutrients Easy comforting and the perfect way to warm up Get the recipe
- Silky Smooth Turkey Gravy My Foolproof Family Recipe — The best turkey gravy recipe This is it Silky smooth packed with flavour and foolproof Even beginner cooks can make this homemade turkey gravy from...
- Homemade Turkey Noodle Soup Easiest Comfort Food — Cozy up with homemade turkey noodle soup This easy recipe uses leftover turkey and egg noodles for ultimate comfort food A perfect postThanksgiving treat
Step-by-step Mastery: Building Your Flavour Base

Our first active step involves prepping the roasting pan contents. Gently pour the contents of the roasting pan into a container to allow the fat to separate. Once settled, carefully skim exactly 1/2 cup of that pure turkey fat into your large, heavy bottomed saucepan.
Discard any excess fat greasy gravy is nobody's friend. Place the saucepan over medium heat.
The Seamless Thickening Process: Mastering the Roux
This is where precision matters most. Once the fat is melted, swiftly whisk in the 1/2 cup of all-purpose flour all at once. You must maintain continuous whisking as the mixture transforms from a slurry into a smooth, cohesive paste. Cook this mixture gently for about two to three minutes.
The goal is a light, blonde roux it should look sandy and smell faintly of roasted nuts, signifying that the starch is ready to absorb liquid without tasting pasty.
Extracting Maximum Flavour from the Roasting Pan
While the roux cooks, take a moment to address the remaining bits in the roasting pan. If you haven't yet, scrape up any remaining caramelized bits with a wooden spoon, adding them to your saucepan now, or consider deglazing that pan separately with a splash of stock before mixing into the main gravy batch.
This ensures every molecule of roasted flavour makes it into your final creation.
Whisking Technique: Introducing Broth Without Clumps
Crucially, remove the pan from the heat source before adding liquid. Have your 4 cups of turkey or chicken stock heated until steaming hot. Pour in the first cup of hot stock slowly, whisking the roux mixture with frantic energy.
Once this first addition is completely smooth, gradually stream in the remaining hot stock while keeping the whisk moving constantly. The heat differential is minimized by using hot stock, preventing the starch from clumping.
Simmering Secrets for Deep Gravy Colour
Return the saucepan to medium heat and bring the mixture to a soft, steady simmer. Let it bubble gently, whisking every few minutes, for 10 to 15 minutes. This low-and-slow process allows the flour to fully hydrate and thicken the liquid, deepening the colour naturally as it reduces slightly.
This simmering time is also when the sauce develops its characteristic, rich coat for your roast potatoes.
The Final Seasoning Check: Achieving Balance in Your Turkey Gravy
Once the gravy coats the back of a spoon, it’s time for flavour refinement. Stir in your teaspoon of fresh thyme leaves, 1/2 teaspoon of finely chopped rosemary, and the essential teaspoon of Worcestershire sauce. Taste it critically.
Since your stock and drippings likely contained salt, start by adding pepper, then cautiously add salt. Gravy should be robustly seasoned to stand up to the blander elements of the plate.
Elevating Your Gravy Game: Pro Tips and Troubleshooting
Even seasoned cooks face occasional gravy mishaps. Knowing how to pivot is what separates the good cook from the expert.
Troubleshooting Common Gravy Issues (Too Thick or Too Thin)
If your gravy has become an unappealing paste, the solution is simple: add more hot stock, a quarter cup at a time, whisking until the desired pourable consistency is achieved. Conversely, if it remains too thin after the full simmer time, create a slurry by mixing one tablespoon of cornstarch with two tablespoons of cold water until perfectly smooth.
Whisk this slurry into the simmering gravy and cook for one minute; it will thicken almost instantly.
Herb Swaps: Making Variations on Your Classic Recipe
While rosemary and thyme are classic, feel free to experiment. Sage pairs wonderfully, especially if you used it in your stuffing. For a richer, darker colour often sought in holiday Turkey Gravy , substitute half the stock with a dry red wine (reduce the wine in the pan first until syrupy before adding the fat/flour).
Freezing and Reheating: Storing Leftover Deliciousness
This gravy freezes beautifully. Allow it to cool completely before transferring it to an airtight, freezer safe container, leaving about an inch of headspace for expansion. When reheating, thaw it in the refrigerator overnight, then reheat slowly on the stovetop, whisking in a splash of water or stock if it has thickened too much during the freezing process.
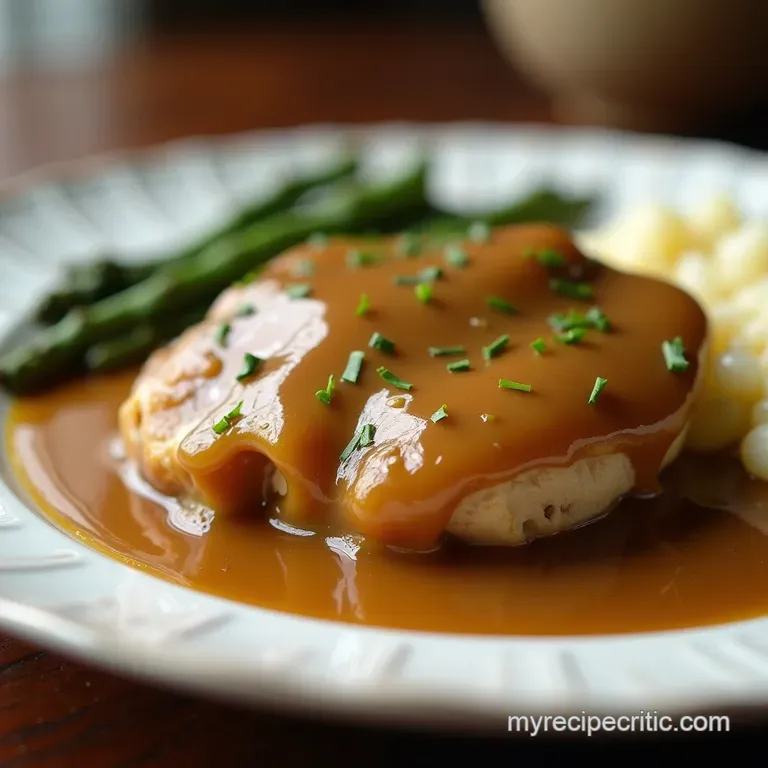
Pairing Perfection: What Gravy Compliments Best
Naturally, this rich sauce belongs alongside sliced white and dark turkey meat, creamy mashed potatoes, and crisp roast vegetables. However, do not underestimate its power poured over hot biscuits or used to moisten leftover turkey sandwiches the next day it elevates everything it touches.
Serving Suggestions and Preservation Strategies
For the best presentation, strain the finished gravy through a fine mesh sieve right before serving to catch any lingering herb stems or small clumps, ensuring that mirror like sheen.
Transfer immediately to a warmed Turkey Gravy Boat to keep it at the optimal temperature while the remainder of the meal is carved and plated. This batch yields roughly four generous cups, sufficient for a gathering of six to eight people, ensuring everyone gets their fill of this essential roast dinner drizzle.
Recipe FAQs
My gravy always ends up lumpy! How do I ensure my Turkey Gravy is perfectly smooth?
Ah, the bane of every budding gravy maker! The secret is temperature and patience. Ensure your stock is piping hot when adding it to the roux, and pour it in slowly while whisking like mad think of it as trying to whisk away bad memories.
If you do get a few lumps, don't panic; just pour the entire mixture through a fine mesh sieve right at the end.
Can I make this gravy ahead of time, or does it need to be made fresh after the roast?
You can certainly make it ahead, though it’s best served fresh. If you make it a day early, pop it in the fridge. When reheating, it will seize up quite a bit, so you must whisk in extra hot stock or a splash of boiling water until you reach that lovely, pourable consistency again.
It’s not quite as good as piping hot straight from the pan, mind you.
What if I don't have enough turkey fat from the roasting tin? Can I substitute it?
If you’re short on the required 1/2 cup of fat, you can certainly substitute! Use an equal amount of unsalted butter or a neutral oil like vegetable oil to make up the difference in your roux.
Just be aware that substituting the turkey fat will slightly lessen the deep, savoury 'roast' flavour, so be generous with your herbs.
My gravy seems a bit thin after simmering. How do I thicken it without ruining the flavour?
If it’s not clinging to the back of your spoon like it should, let it simmer for a few more minutes uncovered; sometimes it just needs time to reduce properly. If you need a quick fix, mix a teaspoon of cornflour (cornstarch) with two teaspoons of cold water to form a slurry, then whisk that into the simmering gravy until it thickens up nicely.
I like a really rich, dark gravy how can I achieve that deep colour?
To get a deeper colour without using artificial browning agents, cook your roux slightly longer until it turns a deep chestnut or peanut butter colour this is called a brown roux.
Alternatively, adding a splash of red wine or dry sherry right after the roux, letting it bubble down before adding the stock, will deepen both the colour and the flavour profile considerably.
Silky Turkey Gravy Secret