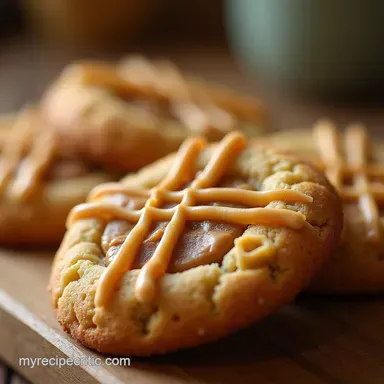
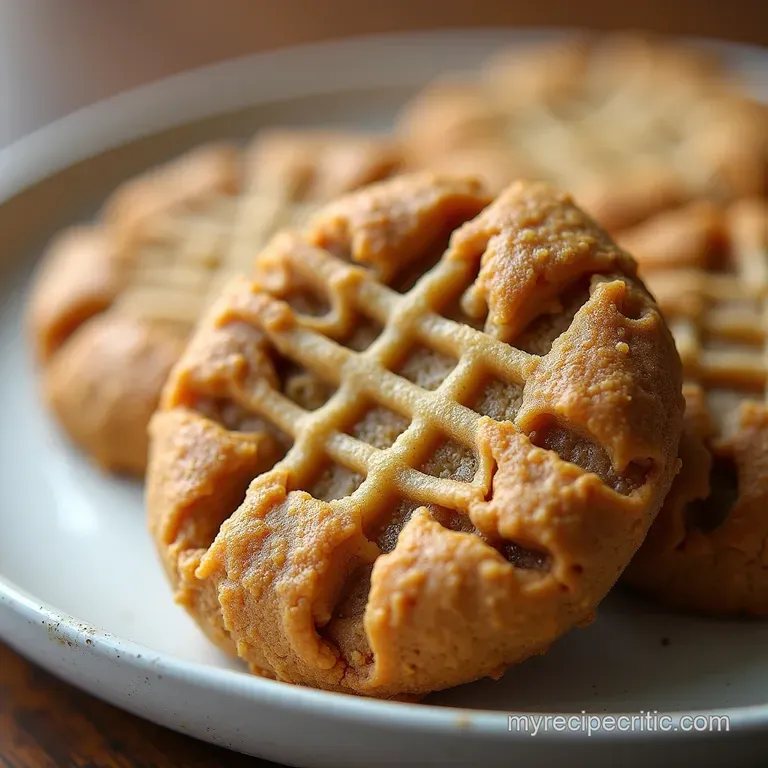
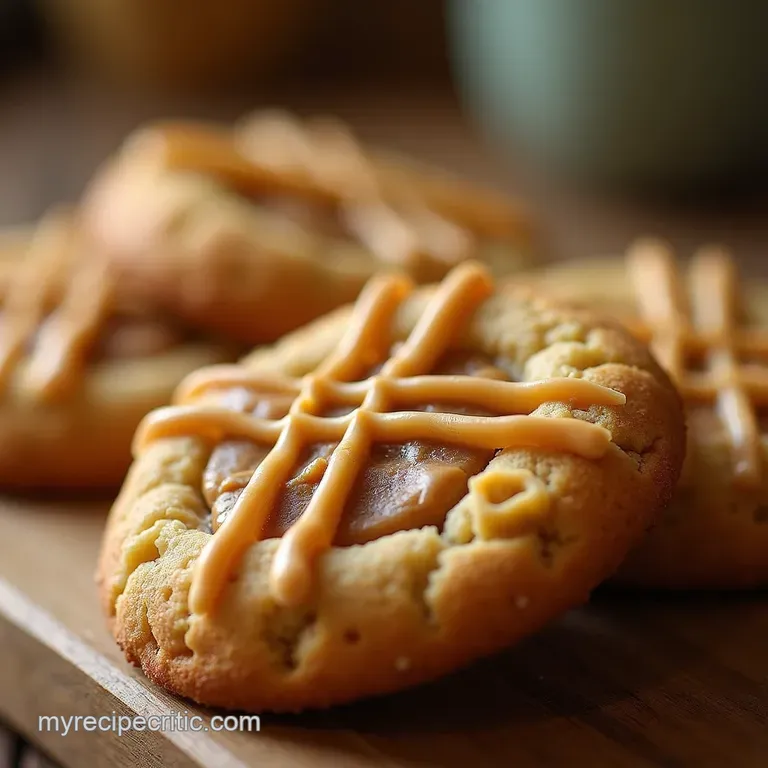
The Definitive Chewy Peanut Butter Crisscross Cookies Salty Sweet Perfection
- Unlocking the Secret to Truly Chewy Peanut Butter Cookies
- Why This Criss-Cross Classic Reigns Supreme
- Assembling Your Arsenal: The Building Blocks for Greatness
- Precision Measures: What You'll Need for These Cookies
- The Baker's Journey: Step-by-Step Dough Mastery
- Troubleshooting and Next-Level Peanut Butter Cookie Variations
- Preserving the Freshness of Your Baked Goods
- Recipe FAQs
- 📝 Recipe Card
Unlocking the Secret to Truly Chewy Peanut Butter Cookies
There is a distinct culinary divide in the world of baked goods, and few things highlight this better than the humble peanut butter cookie. Some are dry, crumbling instantly into sandy oblivion, while others achieve a blissful state of chewiness that makes you close your eyes in satisfaction with every bite.
If you’ve spent years chasing that perfect, substantial bite the kind that sticks delightfully to your teeth for a moment you’ve arrived at the right place.
We are diving deep into the mechanics of creating what I confidently call the Best Chewy Peanut Butter Cookies you will ever encounter. Forget fleeting trends; this is about mastering a timeless classic.
Why This Criss Cross Classic Reigns Supreme
This recipe for The Definitive Chewy Peanut Butter Criss Cross Cookies isn't just another list of measurements; it’s a carefully orchestrated baking symphony designed for texture and robust flavour.
We focus intensely on ratios that promote moisture retention, ensuring that these biscuits remain beautifully soft long after they’ve cooled.
The Quest for the Ultimate Texture: Beyond Crumble
The primary goal here is achieving that coveted thick, chewy texture. Dry cookies happen when there’s too much flour or insufficient moisture retention. Our methodology tackles this head-on.
We use brown sugar, which is inherently moister than its white counterpart, and we embrace the chilling process religiously. This deliberate slowing down of the butter allows the flour to hydrate properly, leading to a finished cookie that yields rather than snaps.
This structure ensures we end up with genuinely Thick Peanut Butter Cookies .
A Deep Dive into Salty Sweet Harmony
The magic of the peanut butter cookie lies in its inherent contrast. That rich, slightly salty nuttiness plays perfectly against deep sweetness. To amplify this, we ensure our recipe uses a specific, standard commercial peanut butter, which contains stabilised oils and salt, lending a consistent, powerful flavour profile that natural, runny butters often lack.
This consistency is the backbone of any reliable Peanut Butter Cookies Recipe Easy guide.
Setting the Stage: Essential Equipment for Biscuit Brilliance
Before we even touch the measuring cups, having the right tools makes the process seamless. A stand or hand mixer is highly recommended for the creaming stage, as this is where we incorporate the essential air that gives the cookies lift without relying on heavy leavening.
Beyond the mixer, you’ll need reliable baking sheets lined with parchment paper a non-negotiable step to prevent sticking and encourage even browning on the bottom. A standard dinner fork will, of course, be your instrument for creating that signature decorative crosshatch, signalling immediately that you are about to enjoy proper Peanut Butter Cookies .
Assembling Your Arsenal: The Building Blocks for Greatness
Baking is chemistry in action, and understanding the role of each component is key to reliably recreating this recipe, whether you are a novice attempting the Peanut Butter Cookies Recipe Easy approach or a seasoned baker.
We are aiming for a yield of approximately 18 to 20 perfect cookies from a 20-minute active prep time, though we strongly advise allocating an additional 30 to 60 minutes for dough chilling.
Related Recipes Worth Trying
- Easy Honey Butter Skillet Corn Recipe 17 Mins — This easy skillet corn recipe delivers charred nutty sweetcorn glazed in honey butter The best corn side dishes for your next BBQ
- The Ultimate Golden Crunch Garlic Butter Roasted Potatoes — Learn the proper job technique for utterly crisp Garlic Butter Roasted Potatoes Our secret ingredient guarantees a fluffy inside and shatteringly crisp exterior
- The Best Blueberry Pie Recipe with Flaky AllButter Crust — Achieve the perfect classic Blueberry Pie with this triedandtrue recipe We nail the sweettart filling and ensure zero soggy bottoms Get the secret to truly...
Precision Measures: What You'll Need for These Cookies
To create The Definitive Chewy Peanut Butter Criss Cross Cookies, you will need a foundational set of dry and wet components.
Choosing Your Nut Butter: The Creamy vs. Crunchy Debate Settled
For this specific recipe, which prioritises that wonderful, soft chew, creamy peanut butter is the clear winner. While you can certainly substitute crunchy if you prefer texture, creamy varieties bind more uniformly and contribute to a smoother dough structure.
Crucially, select a standard processed brand (like Jif or Skippy, for example) rather than natural, separated varieties. The added stabilisers and sugars in these standard butters are vital for preventing excessive spreading and achieving that sought after thickness.
Dry Components: Flour, Leaveners, and Sweeteners Explored
Your dry blend will consist of 1 ½ cups (180g) of all-purpose flour, which should be spooned and leveled for accuracy. Leavening is managed by 1 teaspoon of baking soda, supported by ½ teaspoon of fine sea salt remember to adjust this based on the saltiness of your chosen peanut butter.
The sweetness comes from a blend: ¾ cup of packed light brown sugar (the secret moisture carrier) and ¼ cup of granulated white sugar. Finally, we reserve about ½ cup of extra granulated sugar strictly for rolling the dough balls before baking.
The Role of Fats and Binders in Rich Dough Formation
The foundation of our cookie’s structure rests on ½ cup (113g) of unsalted butter, which must be softened to room temperature not melted! This butter is combined with your 1 cup (250g) of peanut butter.
A single large egg, ideally also at room temperature, acts as our primary binder, alongside 1 teaspoon of pure vanilla extract to round out the flavour profile. Note that this recipe is easily adaptable; if you are looking to make Peanut Butter Cookies No Eggs , you would typically substitute the egg with a tablespoon of flaxseed meal mixed with three tablespoons of water, though this will slightly alter the final chew factor.
The Baker's Journey: step-by-step Dough Mastery
The path to Best Ever Peanut Butter Cookies mastery begins with proper aeration.
Creaming Fundamentals: Achieving Lightness in Your Base
Begin by placing the softened butter, peanut butter, brown sugar, and white sugar into your mixing bowl. Cream these together thoroughly, beating on medium speed for a solid three minutes.
The mixture should become noticeably lighter in colour and texture this process whips tiny air bubbles into the fat, providing crucial lift during baking.
Incorporating Wet and Dry: Avoiding Overmixing Pitfalls
Next, introduce your wet binders. Beat in the single egg until it is just incorporated, followed quickly by the vanilla extract. Immediately pivot to the dry ingredients. Add the flour, baking soda, and salt mixture gradually, mixing only on the lowest speed until the streaks of flour have just disappeared.
Overmixing at this stage develops the gluten in the flour, leading to tougher, less tender cookies. The final dough should be quite stiff.
The Iconic Criss Cross: Mastering the Fork Press Technique
Now comes the crucial step for texture and aesthetics. Cover the thick dough and chill it for at least 30 minutes this prevents your Chewy Peanut Butter Cookies Recipe from spreading into thin pancakes.
Once chilled, preheat your oven to 350° F ( 175° C) and line your sheets. Scoop balls of dough (about 1.5 tablespoons each), roll them lightly in the reserved granulated sugar, and place them two inches apart on the sheet.
Using a standard fork, gently press down on the centre of each ball to flatten it slightly. Then, rotate the fork 90 degrees and press again to create the classic crosshatch. Remember to dip the fork in a bit of sugar between presses to prevent sticking!
Cooling Strategies for Maximum Chewiness
Bake for precisely 10 to 12 minutes. The key indicator here is that the edges should look set and slightly golden, but the centre must still appear soft and slightly underdone. This is paramount for ensuring a soft interior.
Allow the cookies to rest on the hot baking sheet for a full five minutes post removal; this residual heat finishes the baking process gently. Only then should you transfer them to a wire rack to cool completely.
Troubleshooting and Next Level Peanut Butter Cookie Variations
If your cookies haven't achieved the desired height or chew, a quick review of the chilling and creaming steps usually reveals the culprit. If they spread too thin, the butter was likely too soft or the dough wasn't chilled long enough.
Pro Tips: Why Chilling the Dough is Non-Negotiable
Chilling the dough isn't optional; it’s a structural necessity for achieving substantial cookies. Chilling solidifies the fats. When cold fat hits the hot oven, it melts slowly, giving the cookie time to set its structure before it spreads outward, resulting in perfectly Thick Peanut Butter Cookies .
Flavor Twists: Injecting Chocolate or Spice into the Mix
These cookies serve as a superb base for additions. For those who adore chocolate, folding in ½ cup of quality dark chocolate chips creates wonderful Peanut Butter Cookies with Chocolate Chips .
Alternatively, for a spiced variation, incorporating ½ teaspoon of ground cinnamon and a minuscule pinch of cayenne pepper into the dry ingredients adds unexpected depth and warmth.
Understanding Altitude Adjustments for Baking Success
If you bake at high altitudes (above 3,000 feet), you may need minor adjustments. Generally, reduce the white sugar slightly and consider adding an extra teaspoon of liquid or egg white to counteract the dryness inherent in high altitude baking, though the high fat/sugar content of this recipe is quite forgiving.
Storage Solutions: Keeping These Cookies Wonderfully Soft
To maintain that fresh baked softness, store cooled cookies in an airtight container at room temperature. For maximum longevity, place a slice of bread or a small apple wedge in the container with the cookies; the cookies will absorb ambient moisture from the bread/apple, keeping them perfectly soft for days.
Preserving the Freshness of Your Baked Goods
Once you’ve perfected this formula for the Easy Peanut Butter Cookies Recipe , you'll want to keep them fresh. Storing them correctly is just as important as getting the bake time right. Always ensure they are completely cool before sealing them away.
If you find yourself with an excess batch, freezing is an excellent option; simply stack the cooled cookies with parchment squares between each one in a freezer safe bag. They can be frozen for up to three months and thaw quickly on the counter, retaining their wonderful texture.
Recipe FAQs
Why are my Peanut Butter Cookies spreading out like a pancake?
Ah, the dreaded flat cookie! This usually happens because your butter or peanut butter was too warm, or you skipped the chilling phase. Chilling the dough for at least 30 minutes is absolutely crucial it firms up the fat so the cookies hold their shape in the heat.
Also, make sure you're using standard, emulsified peanut butter, not the runny natural type.
How can I make sure these Peanut Butter Cookies are wonderfully chewy instead of dry and crumbly?
The secret to true chewiness lies in the sugar ratio and the bake time. We use plenty of light brown sugar, which holds moisture beautifully, so don't try to substitute it all with white sugar.
Secondly, pull them out of the oven when the centres still look slightly underdone; they will set up perfectly on the hot baking sheet afterwards.
Can I make a batch of these ahead of time, or how should I store them?
Absolutely! Unbaked dough balls can be frozen on a tray and then stored in an airtight container for up to three months just add a few extra minutes to the baking time when you cook them from frozen.
Once baked, store the cooled cookies in an airtight tin; they’ll stay fresh and chewy for about a week, just like a proper biscuit selection tin.
I don’t have creamy peanut butter; can I use crunchy in this recipe?
You certainly can, and it will add a lovely texture contrast! If you swap to crunchy peanut butter, you might lose a tiny bit of that smooth, dense chewiness the recipe aims for, but the flavour will be fantastic.
Just ensure your crunchy variety isn't overly oily or separated before you mix it in with the butter and sugars.
What’s the deal with the criss cross pattern is it just for looks?
It’s partly for nostalgia, looking every bit the part of a classic cookie, but it’s also functional! Because this dough is quite thick, pressing down with the fork flattens the ball slightly, ensuring it bakes evenly all the way through.
It’s a proper baker’s trick to make sure the centre isn't raw while the edges cook.
Chewy Peanut Butter Cookies