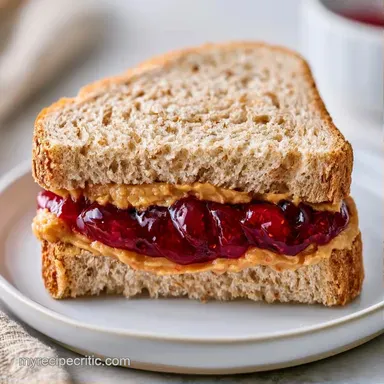
Peanut Butter and Jelly Sandwich Lunch in 5 Minutes
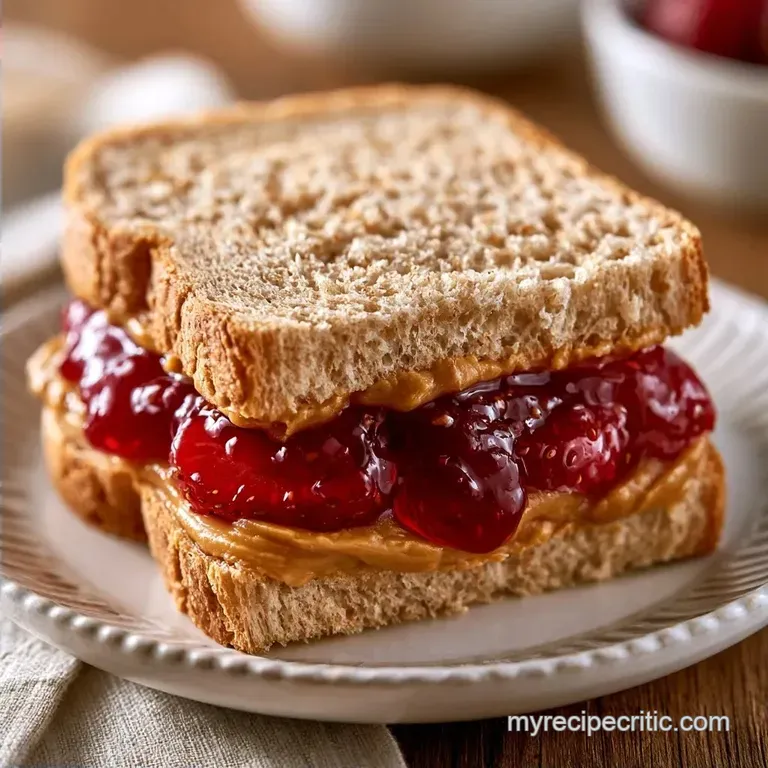
- Time: 5 min active
- Flavor/Texture Hook: Salty, creamy, and fruity with a soft chew
- Perfect for: School lunches, quick office breaks, or kid friendly meals
The Best Peanut Butter and Jelly Sandwich Lunch
That familiar click of a plastic container closing marks the end of the morning scramble. For a long time, though, I struggled with the dreaded "soggy sandwich." It's that frustrating moment when the jelly bleeds into the bread by midday, turning your meal into a purple, damp sponge.
It's the kind of disappointment that can derail a student's mood.
The solution, I found, lies in the layering process. Many people simply apply jelly to one slice and peanut butter to the other, but that leads to trouble. If you use the peanut butter as a waterproof shield, you can keep the bread soft and dry until the lunch bell rings.
This method upgrades a simple peanut butter and jelly creation into something that actually keeps its form. It's all about establishing a structural wall to keep the fruit preserves contained. No more seepage or mushy bread just a timeless combination that tastes like a piece of childhood.
Why This Works
The Fat Barrier: Peanut butter is mostly fat, which repels water. Putting it on both slices of bread stops the moisture from the jelly from migrating into the grain.
The Jelly Moat: Leaving a small gap of peanut butter around the edges acts like a gasket. This keeps the jelly from squishing out the sides when you take a bite.
The science is simple: fats are hydrophobic, meaning they push water away. This keeps your bread dry.
| Method | Time | Texture | Best For |
|---|---|---|---|
| Cold Assemble | 5 mins | Soft and pillowy | Standard lunch boxes |
| Pan Toasted | 8 mins | Crispy and melty | Immediate eating |
Gathering Your Essentials
I've found that the type of bread you pick really changes the experience. A sturdy whole grain holds up better over a few hours than a super thin white bread. For the peanut butter, I usually go with a creamy version to keep it easy to spread, but crunchy works if you want a bit of a snap.
| Ingredient | What It Does | Best Swap |
|---|---|---|
| Whole Grain Bread | Structural base | Sourdough (firmer) |
| Creamy Peanut Butter | Moisture barrier | Almond butter (nutty) |
| Grape Jelly | Sweet acidity | Strawberry jam (chunkier) |
For those with allergies, you can easily swap the nut butter for sunflower seed butter. It has a similar thickness and fat content, so the "barrier" trick still works.
Tools Needed
You don't need any fancy gear here, but a small offset spatula or a dull butter knife is a lifesaver. It helps you get that peanut butter right to the very edge of the crust without tearing the bread.
I also suggest using a clean cutting board or a large plate. It keeps the crumbs contained and gives you a flat surface to press the sandwich together firmly. If you're packing this for a kid, a sandwich cutter or a simple sharp knife for diagonal cuts makes it feel more like a treat.
Making the Sandwich
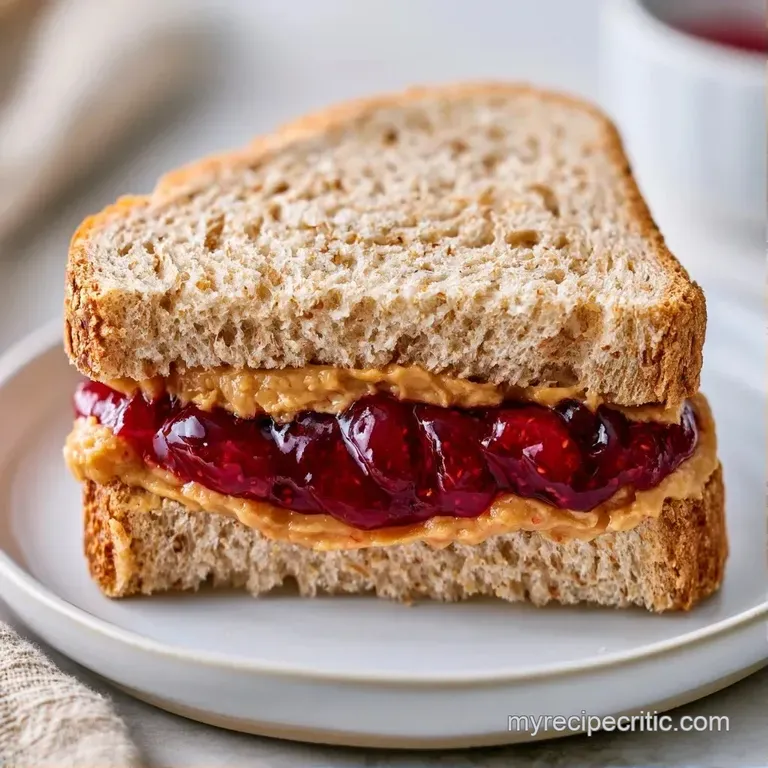
- Lay both slices of bread flat on your surface. Note: Use a flat area to avoid uneven spreading.
- Spread a thin, even layer of peanut butter across the entire surface of both slices, ensuring you reach the very edges to create a moisture seal.
- Spoon the jelly onto the center of one peanut butter coated slice.
- Spread the jelly in a circle, leaving a small border of peanut butter (about 1/4 inch) around the edge to prevent leaking.
- Press the two slices together firmly. until the layers bond.
- Cut the sandwich diagonally into two triangles or use a criss cross cut to create four small triangles.
Chef: If your peanut butter is too stiff and starts ripping the bread, microwave it for 10 seconds. It becomes much more pliable and spreads like a dream.
Fixing Common Issues
When the jelly is too runny, it tends to migrate even through the peanut butter. This usually happens with "low sugar" jams that have a thinner consistency. The fix is to increase the thickness of your peanut butter layer slightly to create a heavier wall.
If the bread is too soft, the pressure of pressing the slices together can flatten the loaf. Use a gentle but firm press. Don't mash it down like a panini unless you're planning to toast it.
Leaking Jelly
This happens when the jelly reaches the crust. Keep that 1/4 inch buffer zone of peanut butter around the perimeter to lock everything in.
Stiff Peanut Butter
Natural peanut butters often separate. Stir them thoroughly until smooth before spreading, or the oil will make the bread soggy.
Nut Free Needs
For a peanut butter and jelly sandwich school lunch in nut free zones, use WowButter or SunButter. They mimic the texture and saltiness of peanut butter.
| Problem | Fix |
|---|---|
| Soggy Bread | PB on both slices |
| Jelly Leakage | Leave 1/4 inch border |
| Ripped Bread | Warm the PB slightly |
Tasty Twist Ideas
Looking to mix things up? Try topping your sandwich with thin banana slices or a swirl of honey. To give your PB&J a professional edge, I suggest sprinkling a bit of sea salt over the peanut butter before adding the jam. This helps balance the sugar and enhances the overall flavor.
If you prefer a snack style presentation, try making a cracker version for school lunches. Simply replace the bread with sturdy crackers and use a small spoon or piping bag to apply the fillings. It's a fantastic way to create easy homemade lunchables for a fun, interactive lunch.
For a more indulgent treat, grill the sandwich in a buttered pan for 2 minutes per side. This melts the peanut butter into a creamy sauce. If you're a fan of that nutty taste, these peanut butter cookies are the perfect side.
| Goal | What to change |
|---|---|
| More Crunch | Use crunchy PB |
| Less Sweet | Swap jelly for fresh berries |
| More Protein | Use sprouted grain bread |
Storing Your Lunch
For a peanut butter and jelly sandwich lunch box, wrap the sandwich tightly in parchment paper or beeswax wrap. This keeps the air out and prevents the bread from drying out or picking up smells from other items in the bag.
You can keep these in a sealed container in the cooler for up to 24 hours. I don't recommend freezing them, as the jelly can change texture and become grainy once thawed.
To reduce waste, if you have a bit of peanut butter left in the jar that you can't get out with a knife, drop a tablespoon of warm water or maple syrup into the jar. Shake it up, and you can use the remaining bits as a sauce for oatmeal or apple slices.
Best Side Pairings
To balance out such a rich sandwich, you'll want something crisp and refreshing. I suggest packing baby carrots or cucumber slices with a side of hummus. The snap and acidity of these vegetables cut right through the creamy peanut butter.
While apple slices are the go-to, tossing them in a bit of lemon juice prevents them from browning before noon. A small portion of Greek yogurt with a few blueberries also offers a nice protein boost and a tang that complements the grape jelly.
For a high energy day, include some air-popped popcorn or a handful of pretzels. This salty contrast makes the sweetness of the jelly feel more balanced. Stick to simple drinks, like a chilled bottle of water or a small carton of milk, to wash down the sticky peanut butter.
Recipe FAQs
Is PB&J a suitable lunch option?
It is a quick, filling choice that provides a balance of protein and energy.
Tip: Use whole grain bread to increase fiber and stay full longer.
What sides pair well with this sandwich?
Fresh fruit, baby carrots, or pretzels provide a refreshing contrast.
Tip: If you enjoy the creamy texture here, see how it differs in a creamy tuna salad.
Should I eat PB&J before bed?
The protein and complex carbohydrates can help stabilize blood sugar during sleep.
Tip: Keep the portion small to avoid feeling too heavy before lying down.
Can this sandwich be considered healthy?
It is a nutritious meal when using natural peanut butter and whole grain bread.
Tip: Opt for jellies with lower added sugar to keep it lighter.
Does a PB&J work for school lunches?
It is an ideal choice because it remains stable at room temperature.
Tip: Wrap the sandwich in parchment paper to prevent the bread from drying out.
How to prevent the bread from getting soggy in a school bag?
Spread peanut butter on both slices of bread first to create a moisture seal.
Tip: Leave a quarter inch border of peanut butter around the edges to trap the jelly.
Is it true that jelly should be spread to the very edges of the bread?
False. Spreading jelly to the edge causes leaking and makes the bread soggy.
Tip: Spoon the jelly in the center and spread it in a circle, leaving a small peanut butter border.
Peanut Butter And Jelly Lunch