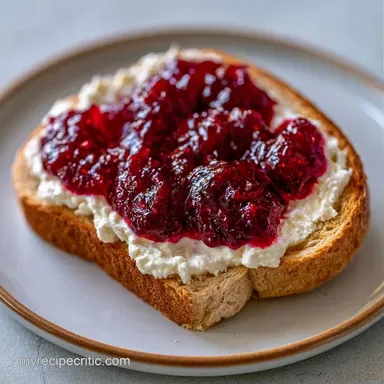
Cream Cheese Jelly Sandwich in 7 Minutes
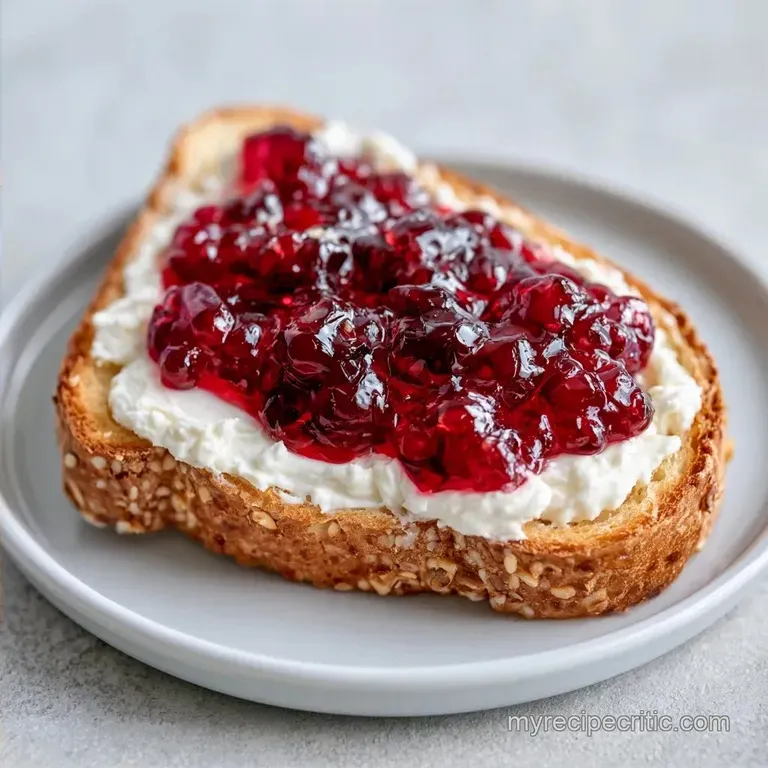
- Time: 5 min active + 2 min cook
- Flavor/Texture Hook: Crisp toasted edges with a velvety center
- Perfect for: A quick brunch or a kid's lunch
Forget the idea that you can just slap cold cream cheese on a slice of white bread and call it a day. I used to do exactly that. The result was always the same: the bread tore into shreds, the jelly leaked everywhere, and the whole thing felt cold and heavy. It wasn't a treat, it was a struggle.
You don't need fancy ingredients to fix this. The trick is all about temperature and a quick sear on the bread. This approach changes the texture from a soggy mess to something that feels intentional.
My first real success with a Cream Cheese Jelly Sandwich happened when I started treating the bread like a grilled cheese. By creating a moisture barrier, the preserves stay put and the cheese stays creamy. It's a simple shift that makes the whole experience feel balanced.
Why This Version Works
- Fat Balance: The creamy richness of the cheese offsets the intense sweetness of the fruit preserves.
- Bread Seal: Toasting creates a sturdy outer layer that prevents the jelly from soaking into the bread.
| Method | Time | Texture | Best For |
|---|---|---|---|
| Stovetop | 2 mins | Crisp edges, warm | Fresh eating |
| Oven/Toaster | 3 mins | Uniform crunch | Batch prep |
As noted by Serious Eats, the secret to a balanced flavor profile lies in the interplay between fats and sugars. In this dish, the cream cheese serves as a smooth base that grounds the bright, acidic qualities of the jelly.
Ingredient Deep Dive
For the base, you need full fat cream cheese. low-fat versions often have a watery consistency that makes the bread soggy. The vanilla extract is a small addition, but it bridges the gap between the tangy cheese and the sweet fruit.
The choice of jelly depends on your mood. Raspberry or blackberry provides a nice tartness, while apricot is more mellow. Using a high-quality preserve with actual fruit pieces adds a bit of chew that contrasts with the smooth spread.
Quick Recipe Specs
- 4 oz full fat cream cheese, softened Why this? Ensures a rich flavor and stable texture
- 1 tbsp unsalted butter Why this? Helps create a golden, moisture resistant barrier
- 1/4 tsp pure vanilla extract Why this? Balances the sharpness of the cheese
- 1/4 cup fruit preserves or jelly Why this? Contributes essential sweetness and tang
- 4 slices bread Why this? Brioche or a sturdy white bread works best for searing
Substitutions:
- Cream Cheese: Mascarpone (milder and creamier)
- Butter: Ghee (can withstand higher heat)
- Jelly: Fresh berry compote (more fruit, less sugar)
- Bread: Sourdough (offers a salty contrast)
Essential Tool List
You don't need much here. A small non stick skillet is best for the toast. A small mixing bowl and a rubber spatula will keep the cream cheese mixture smooth without overworking it. A serrated knife is a must for the final cut so you don't squash the filling.
Bringing It Together
Phase 1: Creating the Moisture Barrier
Warm the butter in a skillet over medium heat. Add your bread slices to the pan and toast each side for about 1 minute until they reach a pale gold color. This step creates a seal that prevents the sandwich from becoming soggy.
Phase 2: Whipping the Spread
Combine the softened cream cheese and vanilla extract in a bowl. Whisk the mixture vigorously for approximately 30 seconds until the texture is light and smooth. Make sure the cheese is at room temperature, as cold cheese can tear your toast.
Phase 3: The Final Assembly
Apply a generous, edge-to-edge layer of the cheese blend to two of the toasted slices. Place a dollop of jelly in the center of the cheese and spread it toward the edges, leaving a small border. This ensures the jelly doesn't leak out when the slices are pressed together.
Press the sandwiches closed firmly. Use a serrated knife to cut them diagonally, which provides clean, polished edges.
Fixing Common Problems
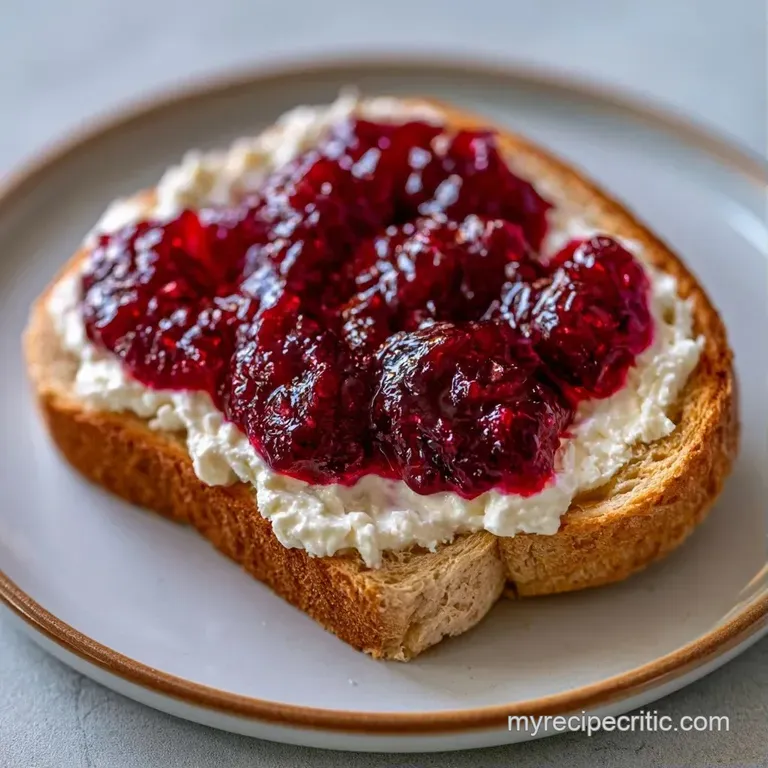
Preventing Bread Tears
If the bread rips when you spread the cheese, your cream cheese is too cold. Don't force it. Pop the cheese in the microwave for 5 seconds to soften it up.
Stopping Jelly Leaks
Leakage happens when you spread the jelly too close to the crust. Always keep a 1/4 inch border of cream cheese around the perimeter to act as a gasket.
Reducing Bread Sogginess
Sogginess occurs when the bread isn't toasted enough or is toasted and then left to sit for too long. Eat these immediately after assembly for the best contrast.
| Problem | Root Cause | Solution |
|---|---|---|
| Tearing Bread | Cheese too cold | Microwave 5-10 seconds |
| Runny Filling | Too much jelly | Use a 1:2 cheese to jelly ratio |
| Soggy Texture | Insufficient toast | Toast until pale gold |
Flavor Swaps and Twists
You can easily shift the vibe of this meal. For a tart, wintery version, try using a homemade cranberry sauce recipe instead of standard jelly. It adds a sharp brightness that works well with the rich cheese.
If you want a savory kick, use pepper jelly. This turns the dish into an appetizer. For a more dessert like spread, serve these alongside some Snickerdoodle Cookies for a full tea time platter.
Decision Shortcut:
- Extra tang? → add 1 tsp lemon juice to the cheese
- More sweetness? → use apricot preserves
- Heavier bite? → use sourdough bread
Adjusting the Yield
For a single sandwich, simply halve the ingredients. Use 2 slices of bread and 2 oz of cream cheese. The cooking time remains the same.
When preparing larger quantities, it's best to work in batches. Avoid overloading the skillet, otherwise the bread may steam rather than toast. For 4 or more sandwiches, you can use the oven at 350°F for 3-4 minutes per side.
| Original Ingredient | Budget Substitute | Impact |
|---|---|---|
| Brioche Bread | Standard White Bread | Less richness, more crunch |
| Pure Vanilla | Vanilla Essence | Slightly less depth |
| Fruit Preserves | Store brand Jam | More sugar, fewer fruit chunks |
Storage and Waste Tips
Because this sandwich is toasted, it's best enjoyed immediately. However, you can store your Cream Cheese Jelly Sandwich in the refrigerator for 24 hours. Just wrap it tightly in parchment paper to keep the bread from drying out.
To reheat, skip the microwave, as it makes the bread rubbery. Instead, use a toaster oven for 2 minutes to bring back the crispness.
To avoid waste, use any extra cream cheese mixture as a dip for apple slices. Any remaining jelly in the jar can be mixed with a pinch of cinnamon and served as an oatmeal topping.
Best Side Pairings
Because these sandwiches are quite indulgent, they pair best with bright, acidic flavors. Sliced Granny Smith apples or fresh raspberries are excellent choices to balance the creamy cheese.
If you are serving this at brunch, a cup of hot black coffee or tart Earl Grey tea will cut through the sugar. To ensure the meal doesn't feel too heavy, avoid serving other dense breads or pastries on the side.
What Makes This So Good
This approach works by treating a basic sandwich like a curated dessert. By balancing the fats and sugars, you avoid the heavy sugar slump often found in standard jam sandwiches.
The real appeal is the contrast of textures and temperatures. You get the heat of toasted bread, the chilled creaminess of the cheese, and the syrupy sweetness of the fruit. It’s a simple way to transform an ordinary lunch into a special treat.
Recipe FAQs
Is cream cheese and jelly a good combination?
Yes, it is a classic sweet and tangy pairing. The richness of the cream cheese balances the sugary fruit notes of the jelly perfectly.
How to prevent the bread from getting soggy?
Toast the bread slices for 1 minute per side. This creates a crisp seal that prevents the cream cheese and jelly from soaking into the crumb.
Do I need a panini press to get the seal?
Surprisingly, no. A simple skillet over medium heat with butter works best to achieve a pale gold finish.
Can I use preserves instead of jelly?
Yes, preserves add a nice texture with real fruit chunks. Since you enjoy balancing sweet and tart flavors here, see how we use a similar balance in our canned tomato soup.
What creates the airy texture in the cheese?
Vigorously stirring the softened cheese with vanilla extract. This incorporates air and ensures a smooth, spreadable consistency.
Does the sandwich keep well overnight?
Yes, for up to 24 hours in the fridge. Wrap it tightly in parchment paper and reheat in a toaster oven for 2 minutes to restore crispness.
Is it true vanilla extract is unnecessary?
Actually, no. It enhances the creaminess and adds a subtle aromatic depth that ties the cheese and fruit together.
Which bread works best for this recipe?
Use a sturdy white or sourdough slice. This provides enough structure to support the generous layers of cream cheese and jelly without tearing.
Cream Cheese Jelly Sandwich