No Bake Cheesecake: Silky-Smooth and Stable
- Time:20 minutes active + 6 hours chilling = Total 6 hours 20 mins
- Flavor/Texture Hook: Velvety, tangy filling with a buttery, shatter prone crust
- Perfect for: Summer parties, beginner bakers, or when you can't risk overheating the kitchen
That scent of cold vanilla and zesty lemon hitting the air is exactly where the magic starts. I remember one July afternoon where the humidity was so thick you could practically chew it, and the last thing I wanted was to turn on my oven.
I had this wild idea that I could skip the eggs and the water bath entirely, but my friends warned me that without gelatin, the whole thing would just be a bowl of sweet soup.
Forget everything you've heard about no bake desserts being "mushy" or "unstable." The secret isn't some magic powder or a chemical stabilizer, it's all about how the fats behave when they're whipped and then chilled.
Once I stopped obsessing over the "traditional" way and focused on the temperature of my cream cheese, I realized you don't need a heat source to get a professional slice.
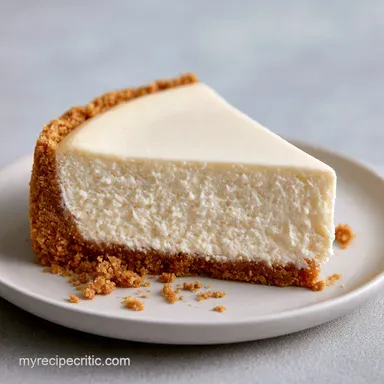
This no bake cheesecake is all about the contrast. You get that rich, velvety center that practically melts on your tongue, paired with a base that has a distinct, buttery crackle.
It's a straightforward process, but there are a few non negotiable rules about temperature that we'll cover so your cake doesn't decide to slide off the plate.
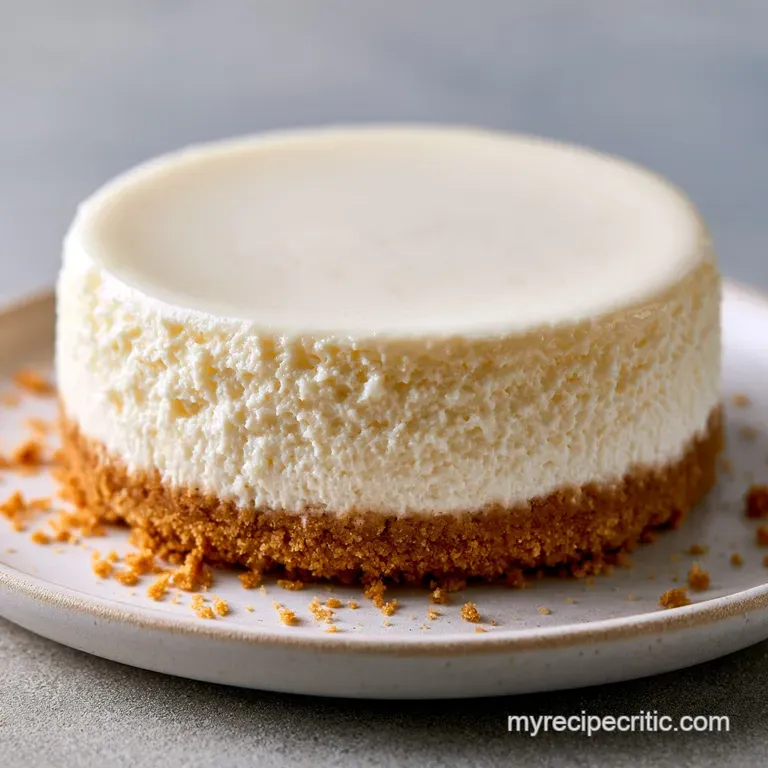
The best no bake cheesecake
Right then, let's get into why this particular version works where others fail. Most people struggle with this dish because they don't trust the ingredients to do the heavy lifting. When you use full fat cream cheese and heavy cream, you're working with a high concentration of saturated fats.
These fats are soft at room temperature but firm up significantly in the fridge.
The lemon juice isn't just for that bright, tangy aroma, it actually helps the proteins in the cream cheese tighten up. When you fold in the whipped cream, you're introducing millions of tiny air bubbles.
These bubbles get trapped in the fat matrix, giving the cake its lift and preventing it from feeling like a block of cold cream.
I've found that the most common mistake is rushing the chill time. If you try to slice this after only three or four hours, the center will still be too soft. You need the full 6 hours for the fats to fully crystallize and lock together.
Trust me on this, the wait is what transforms it from a dip into a proper cake.
Why This Recipe Works
Instead of relying on heat to set the proteins, we use a combination of aeration and refrigeration. Here is the breakdown of what's happening in your bowl:
- Fat Stabilization: The high fat content in the cream cheese acts as the primary structure, hardening as it reaches 40°F.
- Air Integration: Whipping the heavy cream creates a foam that supports the heavier cheese, ensuring the texture is velvety rather than dense.
- Acidic Tightening: The citric acid in the lemon juice subtly alters the protein structure of the dairy, helping it hold a sharper edge.
- Crust Compression: Pressing the crumbs firmly creates a dense layer that prevents the filling from seeping into the base.
| Method | Texture | Set Time | Best For |
|---|---|---|---|
| No Bake | Velvety & Light | 6+ hours | Summer, beginners |
| Baked | Dense & Custard like | 1 hour + chill | Formal events, richness |
| Stovetop (Custard) | Silky & Soft | 4+ hours | Individual jars, trifles |
Component Analysis
Understanding how each part of this no bake cheesecake behaves helps you avoid the dreaded "slump."
| Ingredient | Science Role | Pro Secret |
|---|---|---|
| Full Fat Cream Cheese | Structural Base | Must be exactly room temp to avoid lumps |
| Heavy Whipping Cream | Aeration & Volume | Use a chilled bowl for maximum peak stability |
| Lemon Juice | Flavor & Setting | Freshly squeezed only; bottled is too metallic |
| Graham Crumbs | Moisture Barrier | Add a pinch of salt to cut the sugar |
What You'll Need
For the base, we're looking for a balance of salt and sugar. The graham cracker crumbs provide a honeyed sweetness that anchors the tang of the cheese.
- 1.5 cups (180g) graham cracker crumbs Why this? Classic flavor profile that complements the tang
- 1/3 cup (75g) unsalted butter, melted Why this? Binds the crumbs into a solid slab
- 2 tbsp (25g) granulated sugar Why this? Adds a slight crunch to the base
- 1/4 tsp (1.5g) salt Why this? Balances the richness of the dairy
For the filling, the quality of your dairy is everything. I highly recommend using a brand like Philadelphia for the cream cheese because the fat consistency is very predictable.
- 16 oz (450g) full fat cream cheese, softened to room temperature Why this? The core structure of the cake
- 1/2 cup (60g) powdered sugar, sifted Why this? Dissolves instantly for a smooth texture
- 1 tsp (5ml) pure vanilla extract Why this? Adds a warm, aromatic depth
- 1 cup (240ml) heavy whipping cream, cold Why this? Provides the lift and airiness
- 1 tbsp (15ml) fresh lemon juice Why this? Cuts the heaviness and helps the set
If you find yourself wanting something a bit different, you can swap the graham crackers for crushed digestive biscuits or even Biscoff cookies. Just keep in mind that Biscoff is sweeter, so you might want to drop the extra 2 tbsp of sugar in the crust.
Equipment Needed
You don't need a professional kitchen for this, but a few specific tools make the process much smoother. A 9 inch springform pan is mandatory here. If you use a regular cake pan, getting the no bake cheesecake out without destroying the edges is nearly impossible.
I also suggest using a handheld electric mixer or a stand mixer such as KitchenAid. While you could whip the cream by hand, you'll be there for an hour, and you risk the cream cheese warming up too much while you work.
A flat bottomed drinking glass is my secret weapon for pressing the crust it's much more effective than a spoon.
Finally, have a rubber spatula ready. When it comes time to combine the whipped cream and the cheese, you want to fold, not stir. Stirring knocks the air out, and we want this cake to feel like a cloud, not a brick.
The Cooking Process
Let's crack on with the assembly. Pay close attention to the texture cues; that's how you know you're on the right track.
Phase 1: Pressing the Foundation
- Combine graham cracker crumbs, melted butter, sugar, and salt in a bowl. Mix until the mixture resembles wet sand.
- Pour the crumb mixture into a 9 inch springform pan. Use the bottom of a flat glass to press the crumbs firmly into the base and slightly up the sides Note: Firm pressure prevents the crust from crumbling when sliced.
- Place the crust in the freezer for 10 minutes. This locks the structure and ensures the butter doesn't leak into the filling.
Phase 2: Aerating the Filling
- In a large bowl, beat the softened cream cheese and powdered sugar. Mix until the mixture is pale and completely smooth.
- Stir the vanilla extract and lemon juice into the cream cheese mixture Note: The lemon juice will thin the mixture slightly, which is normal.
- In a separate chilled bowl, whip the heavy whipping cream. Beat until stiff peaks form (the cream should stand straight up when you lift the whisk).
Phase 3: The Set and Release
- Gently fold the whipped cream into the cream cheese mixture using a spatula. Stop as soon as no white streaks remain Note: Over mixing here will cause the cake to lose its lift.
- Spread the filling evenly over the chilled crust, smoothing the top with a spatula.
- Cover with plastic wrap and refrigerate for at least 6 hours. I usually leave mine overnight so I can be 100% sure it's set.
- Run a thin knife around the edge of the pan before opening the springform latch to release the cake.
Chef's Note: If you want an even cleaner slice, dip your knife in hot water and wipe it dry between every single cut. It's the only way to get those sharp, professional edges.
Avoiding Kitchen Disasters
The most common issue I see with this recipe is a filling that stays too soft. Usually, this happens because the heavy cream wasn't whipped to stiff peaks or the cream cheese wasn't full fat. According to Serious Eats, the temperature of your ingredients drastically affects how emulsions behave in desserts.
Why Your Filling Is Runny
If your cake doesn't set, it's likely a fat to air ratio problem. If the whipped cream was under beaten, there wasn't enough structure to hold the cheese. Alternatively, using "light" cream cheese reduces the saturated fat that hardens in the cold.
| Problem | Root Cause | Solution |
|---|---|---|
| Runny Center | Under whipped cream | Chill for another 4 hours; if it still fails, freeze for 2 hours |
| Lumpy Filling | Cold cream cheese | Sift the cheese through a mesh strainer or re beat it |
| Soggy Base | Didn't press firmly | Use a flat glass to compress crumbs more tightly next time |
Stop the Crust from Crumbling
If your crust falls apart, you likely didn't use enough butter or didn't press it hard enough. The "wet sand" texture is key. If it looks like loose crumbs, add another tablespoon of melted butter.
Prevent Lumps in the Cheese
Lumps happen when the cream cheese is too cold. It doesn't "behave" and refuses to incorporate with the sugar. Always let it sit on the counter for 2 hours before starting.
Common Mistakes Checklist:
- ✓ Checked that cream cheese is truly room temperature.
- ✓ Whipped cream until stiff peaks form (not just soft).
- ✓ Pressed the crust firmly with a flat object.
- ✓ Chilled for the full 6 hours minimum.
- ✓ Folded the cream gently to keep the air bubbles.
Dietary Adaptations
Making this work for everyone doesn't have to mean sacrificing that velvety texture. If you're avoiding gluten, you can use a gluten-free graham cracker or even almond flour mixed with melted butter and a bit of honey.
For those looking for a lower sugar option, you can substitute the powdered sugar with a 1:1 powdered monk fruit sweetener. It behaves similarly, though the aftertaste can be slightly different. If you're feeling adventurous, you can turn these into mini cheesecakes by using a muffin tin instead of a springform pan. Just reduce the chill time to about 3 hours.
If you want a chocolatey twist, replace 1/4 cup of the graham crumbs with cocoa powder and add a handful of mini chocolate chips to the filling. The addition of cocoa adds a bit of dryness, so you might need an extra teaspoon of melted butter to keep the crust from being too brittle.
Adjusting the Batch Size
Scaling a no bake cheesecake is relatively simple, but you have to be careful with the pan size.
Scaling Down (Half Batch): If you're making a smaller version, use a 6 inch pan. You'll need to reduce the chill time by about 20%, though 4-5 hours is still recommended. When splitting the eggs (if using a different recipe), beat one egg first and then measure out half by weight.
Scaling Up (Double Batch): For a larger crowd, use two 9 inch pans rather than one deep one. If you try to make one massive cake, the center may take 12+ hours to set properly. Keep the salt and vanilla at 1.5x instead of 2x, as these flavors can become overpowering in large volumes.
| Modification | Adjustment | Result |
|---|---|---|
| 6 inch Pan | 1/2 Ingredients | Faster set, smaller portions |
| 12 inch Pan | 1.7x Ingredients | Thinner cake, faster chill |
| Double Layer | 2x Ingredients | Needs 12 hours chill time |
Common Misconceptions
There are a few myths about this dish that I want to clear up. First, many people believe you must use gelatin to get a firm slice in a no bake recipe. This is simply not true. As long as you use full fat dairy and whip your cream correctly, the natural fats provide plenty of structure.
Another myth is that you can use any type of cream cheese. "Spreadable" or "Whipped" cream cheese contains more air and water, which will cause your cake to slump. You need the dense, brick like block of full fat cream cheese for the chemistry to work.
Finally, some think that adding the lemon juice at the end is just for flavor. While it tastes great, the acidity actually helps the cream cheese proteins bond more tightly, contributing to the overall stability of the cake.
Preservation Secrets
To keep your no bake cheesecake tasting fresh, store it in the refrigerator covered with plastic wrap. It will stay velvety and delicious for up to 5 days. Do not leave it on the counter for more than 2 hours, as the high dairy content makes it prone to spoiling in warm weather.
Freezing Guidelines: This cake freezes surprisingly well. Slice it into portions first, then wrap each slice individually in parchment paper and place them in a freezer bag. It'll keep for up to 2 months. To thaw, move a slice to the fridge the night before you want to eat it.
Zero Waste Tips: If you have leftover graham cracker crumbs, don't toss them! Mix them with a bit of melted butter and cinnamon to make a quick crumble topping for apples or pears.
If you have a bit of the cream cheese mixture left in the bowl, stir it into your morning yogurt or use it as a dip for fresh strawberries.
Pairing Ideas
Because this cake is so rich and tangy, you want pairings that offer a contrast in texture or flavor. Fresh berries are the classic choice blueberries or raspberries provide a tart pop that cuts through the fat.
For something a bit more indulgent, try serving a slice alongside some buttery shortbread for an extra crunch. If you're serving this at a dinner party, a crisp glass of Prosecco or a strong cup of black coffee balances the sweetness perfectly. For those who love fruit, a mango coulis or a passionfruit drizzle adds a tropical aroma that makes the cake feel like a high end restaurant dessert.
Recipe FAQs
How to use Philadelphia No-Bake original cheesecake filling?
Pour the pre-made filling directly over your chilled crust. Smooth the top with a spatula and refrigerate for the time specified on the packaging.
What is the 2 ingredient cheesecake?
A simplified version typically made with only cream cheese and condensed milk. This professional recipe uses heavy cream and lemon juice instead to ensure better stability and a tangier flavor.
Is cheesecake good for heart patients?
Generally no, due to high saturated fats. The full fat cream cheese and butter make this dessert calorie dense, which may not be suitable for restricted heart healthy diets.
How to make a no-bake cheesecake better?
Sift your powdered sugar and ensure the cream cheese is completely softened. This prevents lumps and creates a professional, velvety texture in the filling.
Do I really have to refrigerate it for 6 hours?
Yes, this time is mandatory. The heavy cream and fats need to set completely to ensure the cake holds its shape and doesn't slide when sliced.
Why is my crust crumbling after I slice the cake?
You likely didn't press the crumbs firmly enough into the pan. Use the bottom of a flat glass to pack the mixture tightly into the base and sides before freezing for 10 minutes.
Is it true that I must use gelatin to make a no-bake cheesecake stable?
No, this is a common misconception. Stability is achieved by whipping heavy cream to stiff peaks and using chilled full fat cream cheese; if you enjoyed mastering texture control here, the same fat ratio logic applies to our moist banana bread.
No Bake Cheesecake