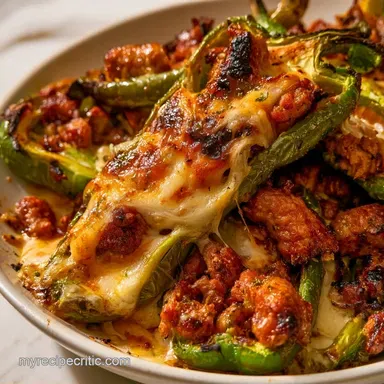
Char-Grilled Stuffed Anaheim Peppers
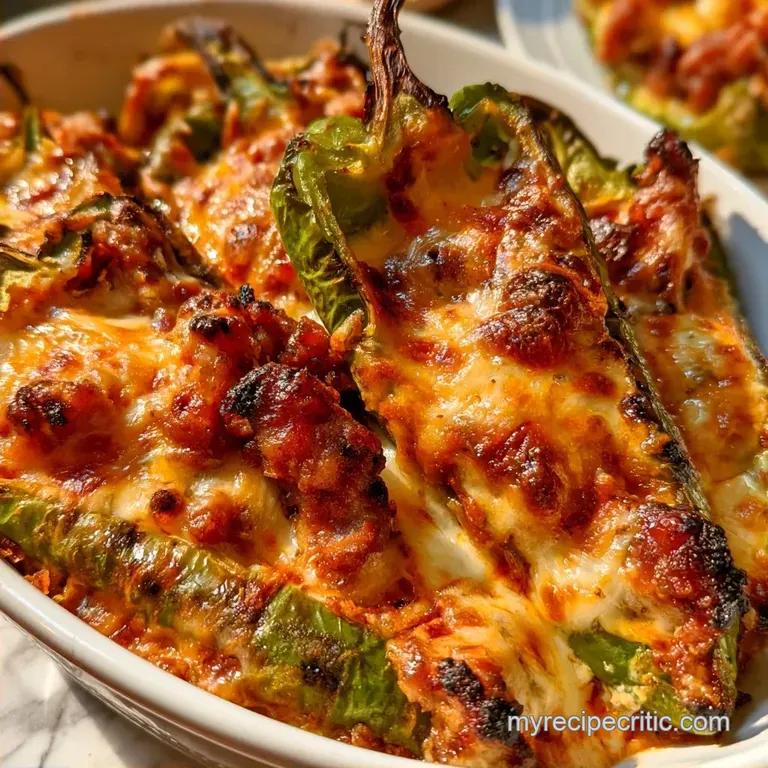
- Time: 15 min active + 20 min grilling
- Flavor/Texture Hook: Smoky, charred skins with molten, salty filling
- Perfect for: Game day, backyard BBQs, or a hearty starter
The smell of wood smoke and rendering bacon is enough to bring the whole neighborhood to your patio. I remember the first time I tried these, I was using a standard oven. They came out fine, but they lacked that "char" that makes a pepper actually taste like it belongs on a grill.
It was too soft, almost steamed, and the flavors stayed muted.
Then I switched to the grates. The difference is night and day. When the skin of an Anaheim pepper hits 400°F, it doesn't just cook, it blisters. It develops these mahogany colored pockets that taste like a campfire. That's why the Anaheim pepper is the star here.
It's mild enough that you can eat it without sweating, but it has a thick wall that holds up to high heat without collapsing into a puddle.
If you use a bell pepper, you'll find it's too watery and bland. Jalapeños? Way too hot for a crowd. The Anaheim is the sweet spot. These Stuffed Anaheim Peppers Grilled are all about the balance between the mild, earthy pepper and the salty, rich punch of pork and Pepper Jack cheese.
Stuffed Anaheim Peppers Grilled Specs
When you're working with these, you want high, direct heat. We're aiming for a specific look: skins that are charred and slightly peeling, while the bacon is crisp. I usually set my grill to exactly 400°F (200°C).
If you go much higher, you'll burn the bacon before the pepper softens.
The timing is tight. Since the filling is mostly pre cooked on the stove, you're really just heating the center and charring the outside. I've found that 8 to 12 minutes is the sweet spot. Any longer and the cheese leaks out of the sides, leaving you with a mess on your grates.
It's a fast process once the grill is hot. You'll spend about 15 minutes getting the filling ready and stuffing the boats, then 20 minutes on the fire. It's a low stress way to make something that looks and tastes like it took hours.
Why This Recipe Works
The grill does something an oven can't. It creates a direct sear on the pepper skin, which adds a layer of smoky complexity. This cuts through the richness of the sausage and cheese so the dish doesn't feel too heavy on the palate.
Direct Heat: High temperatures cause the skin to blister quickly, trapping the juices inside the pepper wall. Bacon Baste: As the bacon renders, the fat drips directly onto the pepper, essentially frying the skin while it grills.
| Method | Texture | Flavor Profile | Time |
|---|---|---|---|
| Oven | Soft/Tender | Mild & Cheesy | Slower |
| Grill | Blistered/Charred | Smoky & Bold | Faster |
Ingredient Deep Dive
I like to use ground pork sausage because it has a higher fat content than beef, which keeps the filling from drying out under the intense grill heat. The Pepper Jack adds a little zing without overpowering the smoke.
| Ingredient | What It Does | Best Swap |
|---|---|---|
| Anaheim Peppers | Provides a mild, smoky vessel | Poblano peppers (earthier, slightly spicier) |
| Ground Pork Sausage | Adds richness and savory depth | Ground beef (leaner, needs a pinch more salt) |
| Pepper Jack Cheese | Creates a molten, spicy binder | Monterey Jack (milder flavor) |
| Thick cut Bacon | Adds salt and a crisp wrap | Prosciutto (saltier, thinner) |
Necessary Gear
While you can make do with the basics, a few specific tools simplify the process. I recommend a heavy cast iron skillet for the sausage, as it retains heat better for a more even brown.
On the grill, long tongs are a must. You'll be rearranging the peppers often, and you don't want to be hovering over a 400°F grate. A small pastry brush is also handy for coating every part of the pepper in olive oil.
If you have a gas grill, ensure the burners are clean to avoid the kind of grease flare-ups that can soot up your bacon.
The Cooking Process
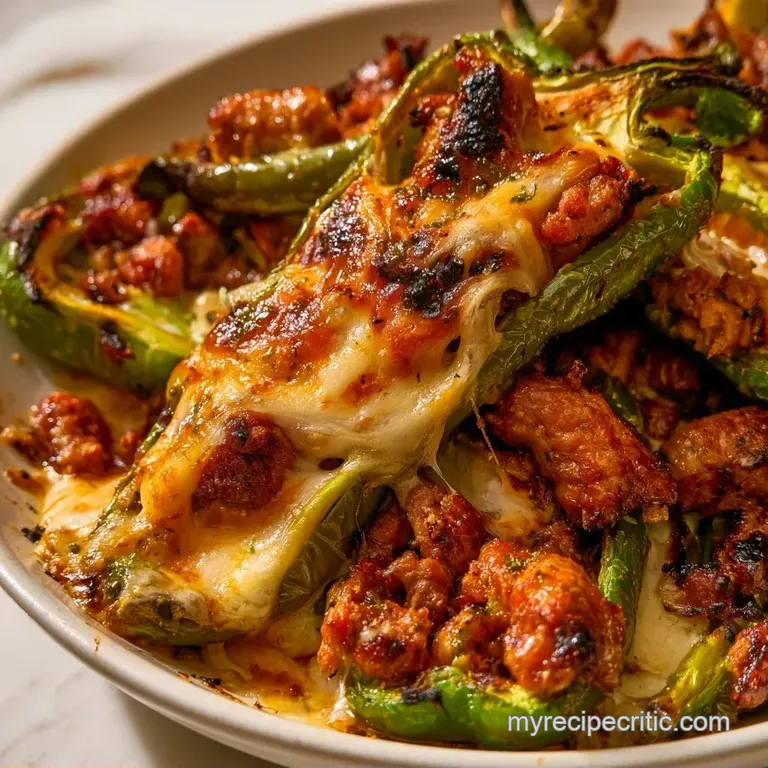
Let's get into it. The goal is a filling that stays put and a pepper that looks like it's been through a fire.
Phase 1: Preparing the Filling
- Sauté the diced onion and garlic in a skillet over medium heat until they look translucent and smell fragrant.
- Add the ground sausage. Use your spatula to break it into small crumbles and cook until it's browned and no longer pink.
- Stir in the smoked paprika, cumin, salt, and black pepper. Note: Toasting the spices in the meat fat for a minute wakes up the flavor.
- Remove the skillet from the heat. Fold in the shredded Pepper Jack cheese until it's just melted and the mix is cohesive.
Phase 2: Stuffing the Peppers
- Slice each Anaheim pepper lengthwise. Use a spoon to scrape out the seeds and membranes.
- Brush the interior and exterior of the peppers with olive oil. Note: This prevents sticking and helps the skin blister.
- Spoon the meat mixture into each pepper boat. Press firmly with the back of the spoon to ensure there are no air pockets.
- Wrap one strip of thick cut bacon tightly around each stuffed pepper. Secure it with a toothpick so it doesn't unravel on the grill.
Phase 3: Grilling to Perfection
- Preheat your grill to medium high heat (approx. 400°F / 200°C).
- Place the Stuffed Anaheim Peppers Grilled on the grates. Grill for 8–12 minutes, turning them occasionally, until the skins are blistered and mahogany colored.
- Keep grilling until the bacon is crisp and the fat has fully rendered.
Chef's Tip: If the bacon is browning too fast but the pepper is still firm, move them to a cooler part of the grill and close the lid to let the internal heat finish the job.
Avoiding Kitchen Disasters
It's easy to mess these up if you're not watching the heat. The most common issues are usually related to temperature or how you pack the meat.
Filling Leaking Out
This happens when you overstuff the peppers or use too much cheese. If the filling expands and pushes past the edges, it'll drip into the coals. Leave about a quarter inch of space at the top of the pepper wall to give the cheese room to bubble without overflowing.
Peppers Collapsing
If your peppers are turning into mush, your grill is likely too cold. You want a sear, not a slow roast. If the heat is too low, the pepper steams in its own juices instead of charring. Make sure the grates are screaming hot before the peppers go on.
Bacon Not Getting Crisp
Thick cut bacon takes longer to render than the pepper takes to cook. If the pepper is done but the bacon is flabby, you can pop them under a broiler for 2 minutes.
USDA guidance puts the safe internal temperature for ground pork at 160°F, so as long as the meat is hot, a quick broil won't hurt.
Dietary Adaptations
These Grilled Stuffed Anaheim Peppers are easy to customize depending on what you have in your fridge. If you prefer beef, simply replace the sausage with 80/20 ground beef. Be sure to add an extra pinch of salt, as beef lacks the seasoning found in sausage.
For a lighter alternative, try Vegetarian Stuffed Anaheim Peppers Grilled. Substitute the meat with a blend of ricotta, sautéed spinach, and feta. Since you won't have bacon fat, brush the peppers generously with olive oil to achieve that charred finish.
These pair beautifully with a side of Burst Cherry Tomato Sauce for dipping. The acidity from the tomatoes balances out the rich pork and cheese.
- - For more heat
- use hot Italian sausage.
- - For a softer pepper
- grill for an additional 3 minutes.
- - For crispier bacon
- use thin cut strips.
Storage and Leftovers
Store any remaining portions in an airtight glass jar in the refrigerator for a maximum of 3 days. While the bacon may soften slightly, the taste remains excellent.
Skip the microwave when reheating, as it tends to make the bacon soggy and the pepper rubbery. For the best results, use a toaster oven or grill at 350°F for 5 to 8 minutes to restore the crunch. For a hearty brunch, these leftovers are a great side for Tuscan Ravioli.
Don't throw out the onion pieces or pepper stems. I typically save them in a bag in the freezer along with various vegetable trimmings to brew a homemade stock later.
Presentation Tips
These look best when they're served on a wooden board or a cast iron platter. The contrast of the charred skin against a light colored board makes the colors pop. I like to sprinkle a bit of fresh chopped cilantro or sliced green onions over the top right before serving.
Since these are rich, serve them with something bright. A squeeze of fresh lime juice over the top right before the first bite wakes up all the heavy flavors. If you're feeling fancy, a dollop of sour cream or a side of avocado crema adds a cool, lush element that balances the heat of the Pepper Jack.
One last thing, let them rest for about 3 minutes after they come off the grill. This lets the melted cheese set slightly so it doesn't all run out the moment you bite into it. Trust me, it's worth the wait.
High in Sodium
840 mg 840 mg of sodium per serving (37% 37% of daily value)
The American Heart Association recommends a limit of 2,300mg of sodium per day for most adults to maintain heart health.
Tips to Reduce Sodium
-
Swap the Sausage-30%
Replace the pork sausage with fresh ground pork and season it yourself with extra smoked paprika and cumin to mimic the flavor without the processing.
-
Alternative Bacon-25%
Substitute thick-cut bacon with low-sodium turkey bacon or omit it entirely and use a dash of liquid smoke for that characteristic flavor.
-
Omit Added Salt-15%
Remove the 1/4 tsp of salt from the recipe; the inherent sodium in the cheese and meats is sufficient for seasoning.
-
Reduce the Cheese-15%
Use a low-sodium version of Pepper Jack or reduce the amount of cheese by half to significantly lower the salt content.
-
Enhance with Aromatics
Increase the amount of fresh garlic and onion, or add chopped fresh cilantro to provide a flavor boost without adding any sodium.
Recipe FAQs
Are Anaheim peppers good to grill?
They are excellent for grilling because their thick walls hold filling well and develop a smoky flavor.
Tip: Brush the exterior with olive oil to get a better char and prevent sticking.
Can I use bell peppers instead of Anaheim peppers?
Substitute them easily, though they will be sweeter and less spicy than Anaheims.
Tip: For another flavor-packed addition, serve these alongside a zesty basil chimichurri.
How to keep the filling inside the peppers while grilling?
Press the meat mixture firmly into each pepper boat to eliminate air pockets.
Tip: Use a small spoon to pack the filling tightly against the pepper walls before adding bacon.
Is it true that you must peel the skins off Anaheim peppers before stuffing them?
False. Grilling the peppers with the skin on provides structural support and adds a charred aroma.
Tip: Only peel the skins after grilling if you prefer a softer, silkier texture.
Stuffed Anaheim Peppers Grilled in 35 Min