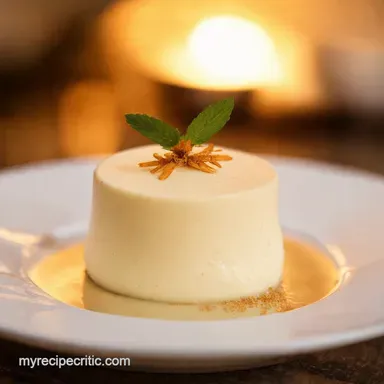
Coconut Panna Cotta with Coconut Milk
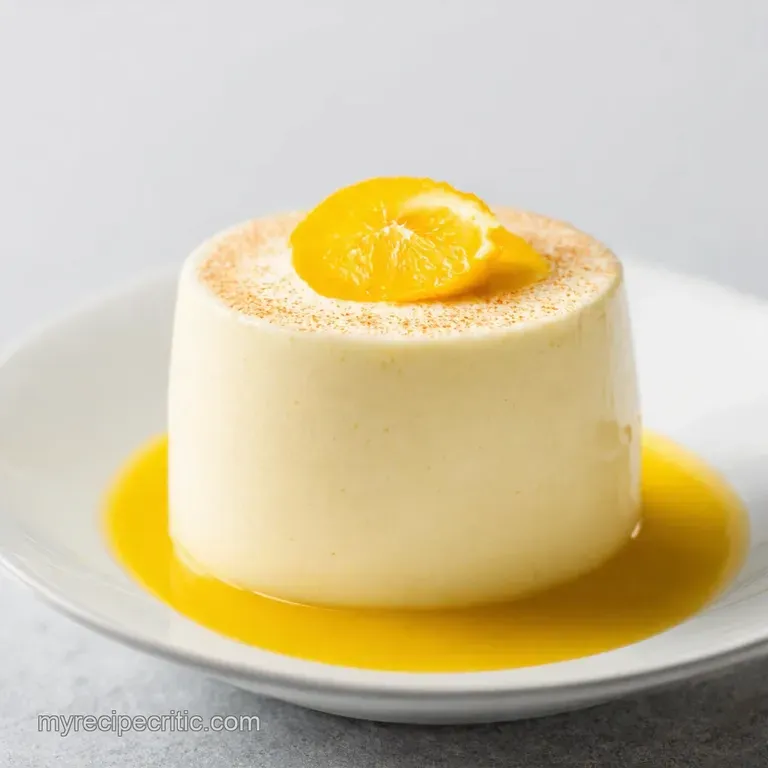
- Time: 10 min active + 4 hours chilling
- Flavor/Texture Hook: Tropical, creamy, and a gentle wobble
- Perfect for: Dinner party finales or a dairy-free treat
The scent of warming coconut milk always brings me back to my first real panna cotta at a tiny bistro in Florence. In Italian, "panna cotta" means "cooked cream," and the goal is a perfect harmony of richness and a slight, shivering set. It is a sophisticated dessert that relies on very simple chemistry.
I aimed to bring that Italian spirit into my kitchen but without the heavy dairy. Substituting coconut for cow's cream transforms the mood, turning a European staple into a tropical escape. The result is a Coconut Panna Cotta that feels like a vacation in a glass.
You can expect a treat that doesn't feel overly heavy. It offers a contrast between the velvety coconut base and the sharp, acidic brightness of fresh berries and lime. Because the coconut provides so much natural depth, you don't need nearly as much sugar.
The Trick for the Set
Cold Blooming: Sprinkling gelatin over cold milk allows the proteins to hydrate slowly. This prevents those annoying little rubbery clumps from forming in your finished dessert.
Controlled Heat: Keeping the mixture at a gentle simmer instead of a hard boil protects the gelatin. If you boil it too hard, the gelatin loses its strength, and your dessert won't set.
| Method | Time | Texture | Best For |
|---|---|---|---|
| Full Fat Can | 4 hours | Rich and opaque | Classic dessert feel |
| Coconut Cream | 3 hours | Dense and heavy | Ultra rich indulgence |
| Light Coconut Milk | 6 hours | Watery and light | Low calorie options |
The Shopping List
| Component | Purpose | Substitute Notes |
|---|---|---|
| Full fat Coconut Milk | Base fat and flavor | Light coconut milk: thinner result |
| Coconut Cream | Added richness | Heavy cream: makes it non vegan |
| Gelatin Powder | Structural set | Agar Agar: use 1 tsp for 1 tbsp gelatin |
| Lime Juice | Acidic balance | Lemon juice: similar but less tropical |
- 1 can (400ml) full fat coconut milk Why this? Provides the essential fat for a creamy set
- 1/2 cup (120ml) coconut cream Why this? Thickens the body of the dessert
- 1/3 cup (65g) granulated sugar
- 2 1/4 tsp (7g) unflavored gelatin powder Why this? Creates the signature wobble
- 1 tsp (5ml) vanilla extract
- 1/4 tsp (1.5g) fine sea salt
- 1/2 cup (75g) fresh raspberries or diced mango
- 1 tbsp (15ml) lime juice
- 1 tsp (5g) lime zest
- Fresh mint leaves
| Original Ingredient | Substitute | Why It Works |
|---|---|---|
| Granulated Sugar | Maple Syrup | Liquid sweetener. Note: Adds a woody flavor |
| Gelatin Powder | Agar Agar | Seaweed based. Note: Sets firmer and faster |
| Raspberries | Passion Fruit | High acidity. Note: More intense tropical flavor |
The Technical Details
To achieve a consistently smooth set, it is best to weigh your gelatin and sugar with a digital scale.
- Prep time:10 minutes
- Cook time:10 minutes
- Total time:4 hours 20 minutes
- Yield: 4 servings
Pro Tip: When working with brands like Savoy or Aroy D, shake the can thoroughly before opening to ensure the coconut fat doesn't stay separated at the top.
Must Have Gear
While basic equipment will work, a few specific tools can make the process much easier.
- Medium Saucepan: Use one with a heavy base to prevent the milk from scorching.
- Whisk: A balloon whisk works best to ensure the gelatin is fully incorporated.
- Fine Mesh Strainer: This is essential for achieving a perfectly smooth consistency.
- Ramekins or Glasses: 4 containers with a capacity of about 150ml each.
Step by step Method
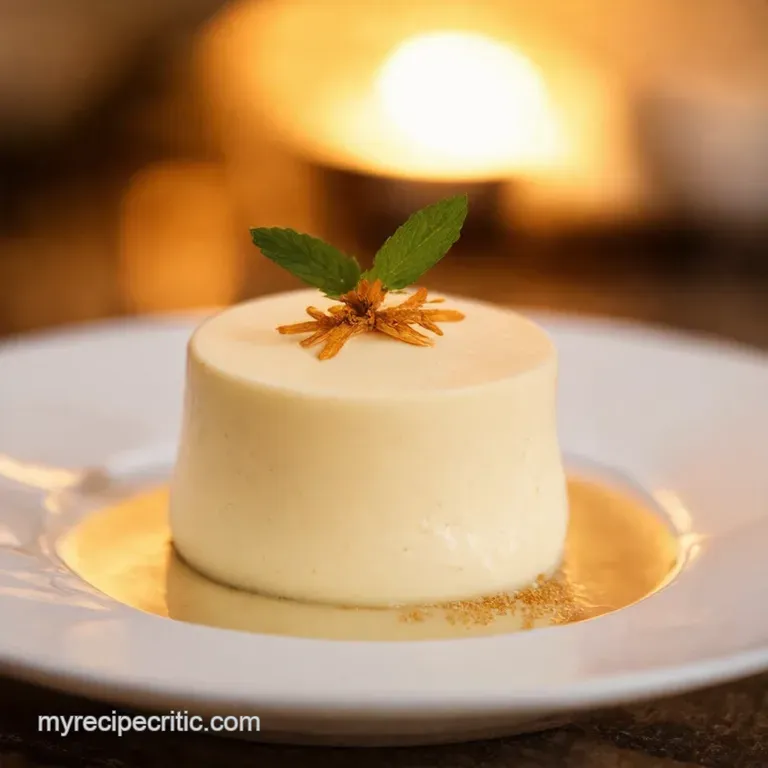
Phase 1: Blooming the Gelatin
Pour 2 tablespoons (30ml) of the cold coconut milk into a small bowl. Sprinkle the gelatin powder evenly over the surface. Let it sit undisturbed for 5–10 minutes. It should become a thick, sponge like mass.
Phase 2: Infusing the Coconut Base
In a medium saucepan, combine the remaining coconut milk, coconut cream, sugar, and salt. Place over medium low heat. Whisk occasionally until you see small bubbles forming around the edges. Stop before it reaches a rolling boil.
Phase 3: Combining and Setting
Remove the pan from the heat. Add the bloomed gelatin and vanilla extract. Whisk vigorously for 1–2 minutes. Continue until the gelatin is completely dissolved and the liquid looks smooth.
Phase 4: Final Plating
Pour the mixture through a fine mesh strainer into 4 ramekins. This catches any undissolved gelatin bits. Refrigerate for at least 4 hours. The Coconut Panna Cotta should have a firm yet supple set.
Phase 5: Garnish
Just before serving, top each glass with fresh raspberries or diced mango. Add a drizzle of lime juice, a pinch of lime zest, and a fresh mint leaf.
Fixing Common Issues
If the Texture is Rubbery
This usually happens when too much gelatin is used or the mixture is chilled for too long in a freezing cold fridge. To avoid this, always measure your gelatin by weight rather than volume. If it's already too firm, serve it with a more liquid topping, like a mango puree, to soften the mouthfeel.
If the Base is Too Runny
If your Coconut Panna Cotta doesn't set, it's often because the gelatin wasn't bloomed or the mixture boiled too hard, breaking the protein bonds. You can fix this by gently reheating the mixture in a pan. Add another 1/2 tsp of bloomed gelatin, whisk until smooth, and pour it back into the glasses to chill again.
If the Coconut Separates
Sometimes the fat in coconut milk separates during heating. This creates a layer of oil on top. Use a whisk to emulsify the mixture as it heats. Pouring the final liquid through a strainer, as mentioned in the steps, also helps create a uniform consistency.
Storage and Freshness
Store these treats in the fridge; they will remain fresh for 3 days. Seal the ramekins with plastic wrap so they don't absorb any odors from other chilled items.
I suggest skipping the freezer since these contain coconut fats and gelatin. Freezing destroys the emulsion, leaving the dessert with a grainy texture after it thaws.
To minimize waste, hold onto the leftover lime zest and mint stems. You can freeze the zest in ice cube trays for later baking or steep the stems in hot water for a simple herbal tea.
Best Side Pairings
Because this dessert is rich and creamy, it needs something to cut through the fat. I love serving this alongside a bright, acidic fruit salad.
If you're planning a full tropical themed menu, this pairs well with other coconut based dishes. For example, if you've had a savory start like a Thai Yellow Chicken Curry, this dessert provides a cooling, sweet finish that complements the spices.
For a beverage pairing, a cold glass of sparkling water with a slice of cucumber or a light hibiscus tea works well. Avoid heavy desserts or creamy drinks, as they'll clash with the Coconut Panna Cotta.
Ways to Change Flavor
You can easily customize the base using whatever ingredients you have on hand.
For a Velvety Mouthfeel
To achieve a richer consistency, swap the coconut milk for 100% coconut cream. This makes the dessert more decadent and dense, though it may require an additional 30 minutes of chilling.
For a Silky Wobble
If you prefer a more delicate, glossy finish, reduce the sugar by 10g and stir in a teaspoon of honey. The honey changes how the gelatin holds its tension, creating a more refined movement when the glass is tapped.
For a Vegan Version
Replace the gelatin powder with agar agar. Use 1 teaspoon of agar agar for every tablespoon of gelatin. Keep in mind that agar agar sets much faster and results in a firmer, more brittle texture than standard gelatin.
For a Nutty Profile
Brown some shredded coconut in a dry pan for 3 minutes. Sprinkle this over the Coconut Panna Cotta just before serving to add a crunch that offsets the smooth cream.
For a Coffee Twist
Whisk 1 teaspoon of instant espresso powder into the coconut milk while heating. This creates a "coconut mocha" flavor, which is ideal if you prefer a dessert that isn't too sweet.
Decision Shortcut for Texture:
- For a firmer set: chill for 6 hours instead of 4.
- For a softer cream: use 100ml less coconut cream.
- For a cleaner taste: omit the vanilla and use extra lime zest.
Regarding nutrition, coconut milk is rich in medium chain triglycerides. For a full breakdown of these fats, USDA FoodData Central is an excellent source for checking the caloric density of full fat coconut items.
This Coconut Panna Cotta is a great way to explore plant based fats. Once you master the bloom, you'll find this recipe is quite flexible. Just remember to use low heat and stay patient during the chilling process. Trust me, that first chilled, creamy spoonful is well worth the wait.
Recipe FAQs
Can I use cream of coconut instead of coconut milk?
No, avoid using cream of coconut. It contains high amounts of added sugar and thickeners that will disrupt the gelatin set and make the dessert cloyingly sweet.
Is it true that the mixture must reach a rolling boil to set?
That's a myth. Bringing the base to a rolling boil can break the emulsion; simply simmer it gently until small bubbles form around the edges.
How to ensure the gelatin doesn't leave lumps?
Start by blooming the gelatin in chilled coconut milk. Dust the powder evenly across the surface and allow it to hydrate for 5 10 minutes; once it forms a thick, sponge like consistency, whisk it into the heat.
What toppings pair best with the creamy base?
Fresh raspberries or diced mango work best. Combine these fruits with lime juice and zest to cut through the richness. If you enjoyed this balance of creamy and acidic, you'll love the flavor profile of our chicken lettuce wraps.
Creamy Coconut Panna Cotta