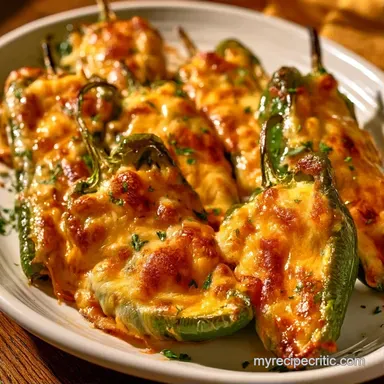
Baked Cream Cheese Anaheim Peppers
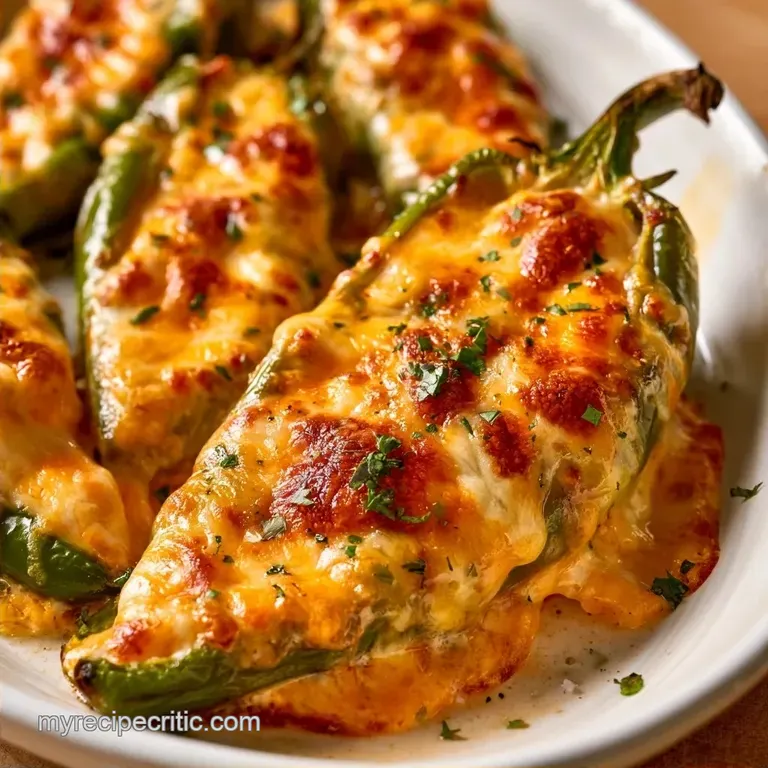
- Time: 10 min active + 30 min bake
- Flavor/Texture Hook: Blistered skins with a smooth, molten core
- Perfect for: Game day apps or a quick party platter
Cream Cheese Anaheim Peppers
Listen to that sizzle when the oil hits the pan. There's something about the smell of roasting peppers that just hits different, especially when you add a bit of smoked paprika into the mix.
I used to think that getting a restaurant style char on a pepper required a blowtorch or a professional grill, but you actually just need a hot oven and a rimmed baking sheet.
Forget the idea that you need a culinary degree to balance spice and richness. Most people overcomplicate these, thinking they need to pre roast the peppers or make a complex roux for the filling. You don't. The trick is letting the oven do the heavy lifting while the cheese melts into the pepper walls.
This version of Cream Cheese Anaheim Peppers is all about speed and high impact flavor. We're skipping the tedious peeling process and going straight for a blistered, mahogany finish. It's a straightforward process that gives you a punchy, savory appetizer without leaving you in the kitchen for hours.
Why You'll Love This
The Fat Heat Balance: Cream cheese is high in fat, which binds to the capsaicin in the peppers. This stops the heat from feeling sharp and instead makes it a warm, glowing sensation. If you love that richness, you might also like the way a creamy cheese sauce adds depth to other savory dishes.
Over High heat Char: Baking at 400°F (200°C) creates a quick sear on the pepper skins. This creates a smoky flavor profile that mimics a charcoal grill, adding contrast to the cool, creamy filling.
Simple Structural Integrity: Using the pepper halves as "boats" means you don't need a baking dish. The peppers hold their own shape, making them easy to grab and eat.
| Source | Texture | Flavor Profile | Time Saved |
|---|---|---|---|
| Fresh Peppers | Crisp then tender | Bright, fruity, smoky | 0 min |
| Jarred Peppers | Soft, vinegary | Tangy, muted | 10 min |
| Fresh Garlic | Pungent, sharp | Bold and aromatic | 0 min |
| Garlic Powder | Mellow, salty | Consistent, soft | 2 min |
Ingredient Deep Dive
The Anaheim pepper is the star here. It's milder than a jalapeño but has a distinct, fruity flavor that doesn't drown out the cheese. I prefer the large, wide ones because they hold more filling. If you can't find them, Poblano peppers work, though they have a slightly earthier taste.
The filling relies on the contrast between the tang of the cream cheese and the sharpness of the cheddar. Using a sharp cheddar is non negotiable. A mild cheddar just disappears into the cream cheese, whereas the sharp variety cuts through the fat.
For the seasoning, smoked paprika is what gives this recipe its "cooked over a fire" vibe. It adds a deep red color and a woody aroma. Fresh chives provide a necessary hit of oniony freshness at the end, preventing the dish from feeling too heavy.
Essential Gear
You only need a few things, but the pan choice matters. Use a rimmed baking sheet. As the peppers roast, they release a bit of moisture and oil, and a rim prevents that from dripping all over your oven floor.
A medium mixing bowl is enough for the cheese. I usually use a rubber spatula to fold the ingredients together. It's much faster than a whisk and prevents you from overworking the cream cheese, which can make the filling too runny.
A small brush for the olive oil is helpful, but your fingers work just fine. The goal is a thin, even coat on both the inside and outside of the pepper. This ensures the skins blister instead of just drying out.
How to Make It
- Slice each Anaheim pepper in half lengthwise. Use a spoon to scrape out the seeds and membranes. Note: This removes the most intense heat.
- Brush the interior and exterior of each pepper with olive oil and a pinch of salt.
- Place peppers cut side up on a rimmed baking sheet.
- In a medium bowl, combine the softened cream cheese and shredded cheddar.
- Fold in the minced garlic, smoked paprika, black pepper, and chives. Stir until the mixture is uniform and velvety.
- Generously spoon the cream cheese mixture into each pepper half, pressing down firmly with the back of a spoon.
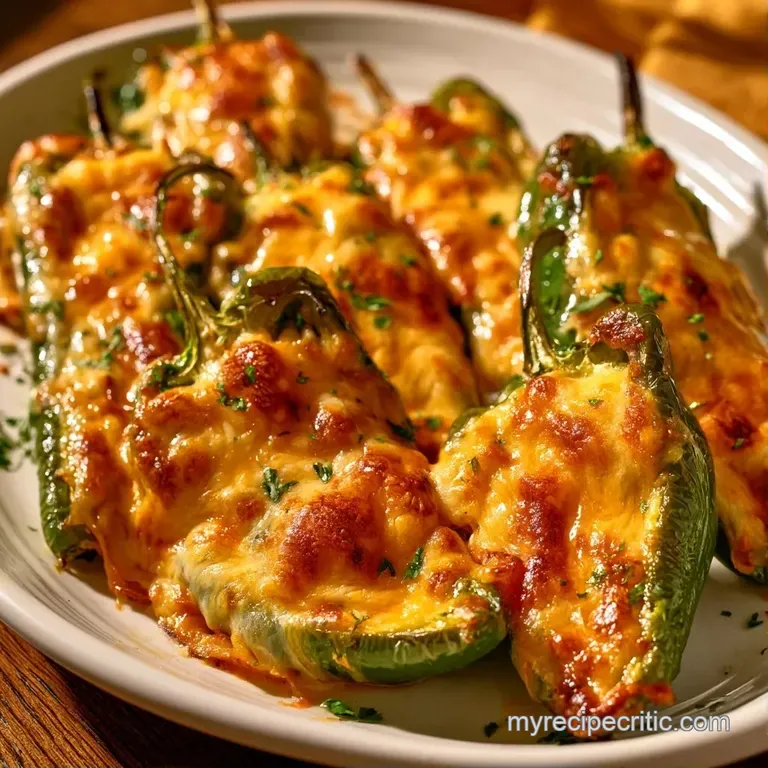
- Bake in a preheated oven at 400°F (200°C) for 20–25 minutes until the cheese is bubbling and the pepper edges are deep mahogany brown.
Common Fixing Tips
The Filling Leaks
This usually happens if the cream cheese was too warm before it went into the oven. If it's already melted in the bowl, it will liquefy too fast in the heat. Keep your cream cheese softened but still holdable. If you see leaks on the pan, just scoop the cheese back in with a spoon as soon as they come out.
Peppers Too Mushy
If the peppers lose their structure, you might have used ones that were too old or overbaked them. Aim for that 20-25 minute window. The edges should be charred, but the base of the pepper should still have enough "snap" to hold the cheese.
Filling Too Runny
Over mixing the cheese can introduce too much air or break the emulsion. Stir gently until just combined. If it feels too loose, stir in an extra tablespoon of shredded cheddar to help bind the mixture together.
| Goal | What to Change |
|---|---|
| More Heat | Add diced jalapeño |
| Lighter Filling | Use Greek yogurt |
| Heartier Meal | Mix in cooked sausage |
Flavor Variations
Cream Cheese Anaheim Peppers with Ground Beef: Brown 1/4 lb of lean ground beef with cumin and onion powder. Fold the cooked beef into the cheese mixture. This turns the appetizer into a full meal.
Stuffed Anaheim Peppers Cream Cheese and Sausage: Swap the ground beef for spicy Italian sausage. The fennel notes in the sausage play really well with the sweetness of the peppers. For a similar zesty vibe, you could serve these alongside a homemade zesty Rotel base.
The Vegetarian Southwest: Add canned black beans and corn to the filling. It adds a nice texture contrast and makes the dish feel more substantial without adding meat.
Keto Friendly Crunch: Top the filled peppers with crushed pork rinds or a sprinkle of almond flour and parmesan before baking. This gives you a crispy crust without the carbs.
Storage Guidelines
Store any remaining portions in an airtight container in the refrigerator for 3 days. While the peppers will soften as they sit, the flavor actually becomes more intense.
When warming them up, try to skip the microwave, as it often makes the peppers rubbery. Instead, warm them in the oven at 350°F (175°C) for roughly 8 minutes. This allows the cheese to bubble again and prevents the pepper skins from becoming too soggy.
To minimize waste, save the pepper seeds when making a big batch. You can dry these in a low oven and grind them into a mild chili powder for future use. Place the stems in a freezer bag with other veggie scraps for your next batch of stock.
Presentation Tips
Adding a Zesty Touch
Offset the richness of the cheese with something bright and acidic. I recommend serving these with a side of lime wedges; a quick squeeze just before eating cuts through the cream cheese and helps the flavors shine.
Serving Suggestions
Present your peppers on a wooden board accompanied by vibrant dips. A spicy chipotle mayo or some salsa verde works perfectly. To keep things balanced, surround the peppers with sliced radishes or cucumbers to give your guests a crisp palate cleanser between cheesy bites.
I once served these at a gathering where I forgot the limes, and my guests mentioned the appetizer felt a bit "heavy." As soon as I added the lime halfway through, the mood changed. That hit of acid is really the missing piece.
Now, you're all set to get these in the oven. Just remember to monitor the edges of the peppers. Once they reach a dark brown hue, they're ready to be pulled out and enjoyed. Believe me, they won't last on the platter for more than five minutes.
Recipe FAQs
Do bell peppers and cream cheese go together?
They pair excellently. The sweetness of the pepper balances the richness of the cream cheese.
How do you make cream cheese stuffed Anaheim peppers?
Slice peppers in half and scrape out seeds. Fill them with a mixture of cream cheese, cheddar, garlic, paprika, pepper, and chives, then bake at 400°F (200°C) for 20 25 minutes.
What's the best thing to do with Anaheim peppers?
Stuffing them with a savory cheese blend is a top choice. These pair beautifully with a warm flatbread dough for a complete appetizer.
Is Anaheim hotter than jalapeño?
Surprisingly, no. Anaheim peppers are significantly milder than jalapeños, making them a safer choice for those sensitive to heat.
Which ways can I use hatch green chiles in cooking?
Roast them under a broiler until the skin blisters. Peel the skin and dice the flesh for salsas or stuffing.
Can you make peppers taste more delicious?
Roast them at 400°F (200°C) to caramelize the natural sugars. This creates the deep mahogany brown edges that add a smoky flavor.
What is the method for roasting poblano peppers for stuffing?
Char them under a broiler, turning frequently until the skin is blackened. Steam them in a covered bowl for 10 minutes before peeling.
Are these peppers only good when served immediately?
Incorrect. They taste great at room temperature, but you can warm them for 8 minutes in an oven set to 350°F (175°C).
Cream Cheese Anaheim Peppers