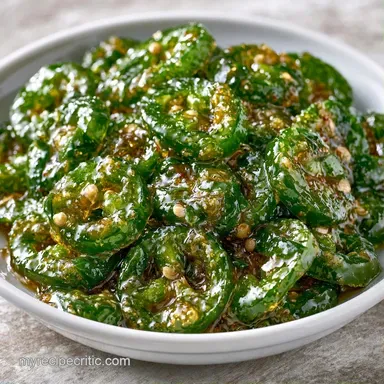
Cowboy Candy: Sweet and Spicy Candied Jalapeños
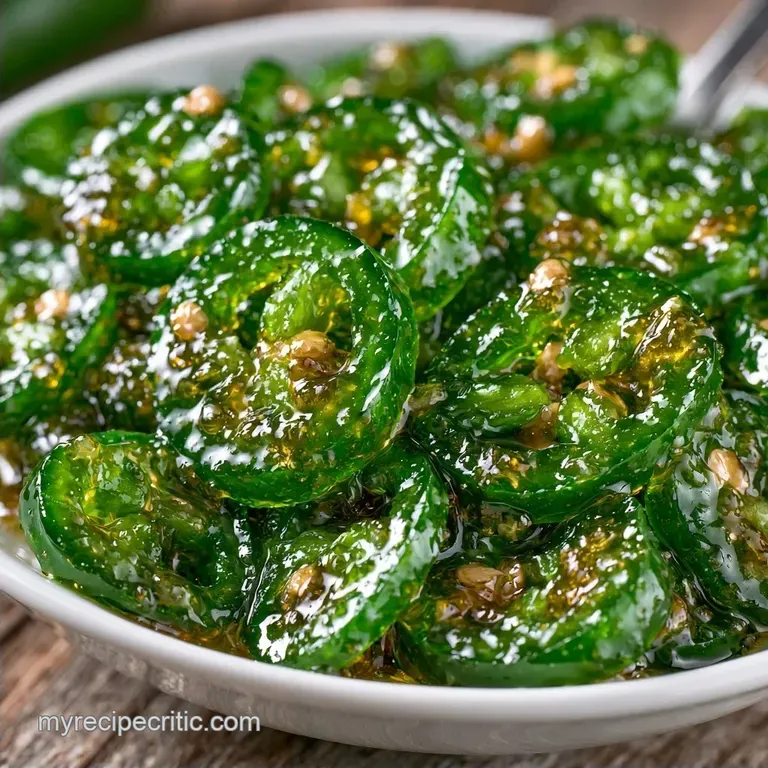
- Time: 15 min active + 35 min simmering/resting
- Flavor/Texture Hook: Tangy, sweet heat with a crisp snap
- Perfect for: Charcuterie boards, burgers, or a bold appetizer
The sharp, acidic scent of apple cider vinegar hits you first, followed by that unmistakable spicy punch of sliced jalapeños. When the sugar starts to bubble and merge with the peppers, the kitchen smells like a strange, wonderful hybrid of a candy shop and a Tex Mex grill.
It's a scent that tells you something bold is happening on the stove.
I used to buy these in small jars at farmers markets, but they were always too soft, almost like cooked canned peppers. I wanted that distinct crunch that makes the contrast with the syrup actually work. This version focuses on a simple salt draw to ensure the peppers don't turn into mush.
You can expect a condiment that balances fire and sugar without feeling cloying. This Cowboy Candy is a versatile addition to any pantry, whether you're topping a cream cheese spread or adding a kick to a sandwich.
How to Make Zesty Cowboy Candy
The Salt Cure: Salting the peppers first pulls out excess water. This makes them less likely to absorb too much syrup and stay crisp.
Sugar Acid Balance: The ratio of vinegar to sugar ensures the syrup doesn't become a thick jam. It stays a pourable glaze that clings to the pepper slices.
Temperature Control: A gentle simmer rather than a hard boil prevents the jalapeños from breaking down. This keeps the internal structure of the pepper intact.
Ingredient Deep Dive
Since Cowboy Candy relies on a few key items, knowing how they interact helps you tweak the flavor to your liking.
| Ingredient | What It Does | Best Swap |
|---|---|---|
| Jalapeños | Provides the heat and base structure | Serrano peppers (hotter, smaller) |
| Apple Cider Vinegar | Adds tang and preserves the crispness | White distilled vinegar (sharper taste) |
| Granulated Sugar | Balances heat and creates the glaze | Honey (thicker, floral notes) |
| Turmeric | Gives that bright, golden green glow | A pinch of saffron (earthier, pricier) |
Gathering the Goods
Grab these items before you start. I prefer using a medium saucepan so the syrup has room to bubble without splashing over the sides.
- 450g fresh jalapeño peppers, stemmed and sliced into 6mm rounds Why this? Consistent thickness ensures even cooking.
- 5ml kosher salt Why this? Coarser grains draw moisture more effectively.
- 200g granulated sugar Why this? Clean sweetness that doesn't mask the pepper.
- 240ml apple cider vinegar Why this? Milder, fruitier than white vinegar.
- 2.5ml garlic powder Why this? Even distribution of savory flavor.
- 1.25ml turmeric Why this? Natural color boost.
- 1.25ml celery seed Why this? Adds a subtle, savory background note.
Simple Setup Guide
This process requires only a few common kitchen essentials:
- Medium saucepan
- Fine mesh strainer
- Large mixing bowl
- Wooden spoon or silicone spatula
- Glass jars for storage
Step-by-step Cooking
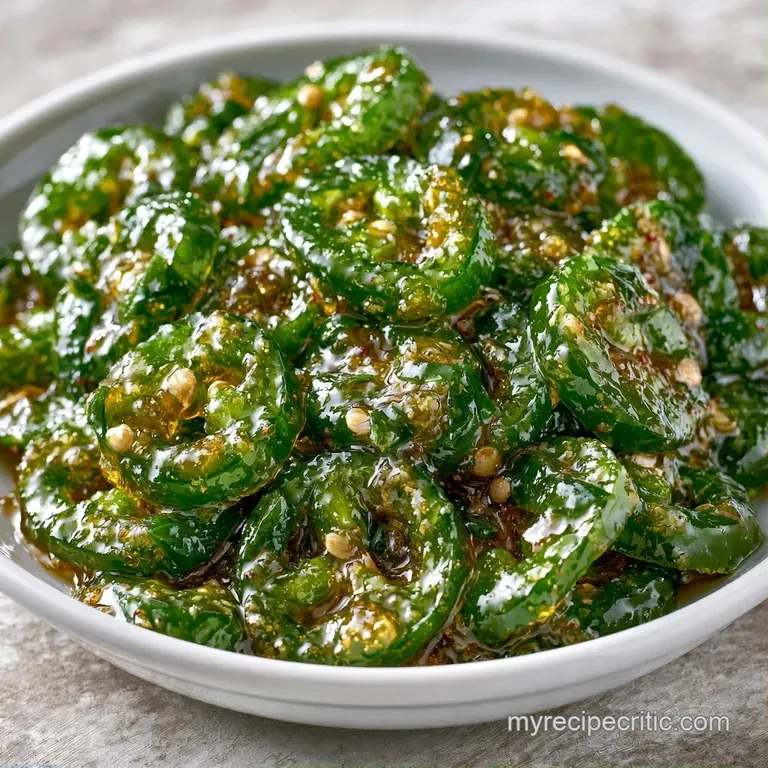
Let's dive into the preparation. The most important part is monitoring the color of the peppers.
- Combine the sliced jalapeños with 5ml kosher salt in a bowl. Allow them to sit for 15 minutes. Note: This step reduces water and bitterness.
- Use a fine mesh strainer to drain the peppers. Give them a quick rinse with cold water to clear away extra salt.
- In your saucepan, mix 240ml apple cider vinegar, 200g sugar, 2.5ml garlic powder, 1.25ml turmeric, and 1.25ml celery seed.
- Heat the mixture to a rolling boil over medium high heat. Stir from time to time until the sugar has dissolved and the liquid is clear.
- Carefully add in the rinsed jalapeño slices.
- Turn the heat down to a simmer. Cook for 5–8 minutes until the peppers reach a translucent, olive green shade.
- Keep simmering until the syrup thickens into a velvety glaze.
- Take off the heat and let the mixture cool slightly before pouring into jars.
Chef Note: For a smoky touch, you can lightly char the whole peppers under the broiler for 2 minutes before slicing and salting.
Fixing Common Issues
If your batch doesn't look quite right, it usually comes down to temperature or timing. For more on the chemistry of brining, Serious Eats has a great breakdown on how salt affects vegetable cell walls.
Fixing Mushy Peppers
This usually happens if you boil the peppers too hard or skip the salt cure. The salt creates a barrier that prevents the pepper from becoming waterlogged.
Taming the Heat Level
If the heat is too intense, you can remove some of the seeds and membranes before slicing. Alternatively, adding a bit more sugar to the syrup can mellow out the fire.
Syrup Too Thin
If the glaze is too watery, simmer it for another 2-3 minutes after removing the peppers. Just be careful not to burn the sugar.
| Problem | Root Cause | Solution |
|---|---|---|
| Peppers are soft | Overcooked or no salt cure | Simmer gently; always salt first |
| Syrup is grainy | Sugar didn't dissolve | Stir more during the initial boil |
| Too much vinegar taste | Not enough reduction | Simmer 5 minutes longer |
Adjusting the Batch
Adjusting the batch size for Cowboy Candy is straightforward, though you shouldn't simply double every ingredient.
For a half batch: Use a smaller saucepan to stop the syrup from evaporating too quickly. Decrease the simmering duration by roughly 20% due to the lower volume.
For a double batch: I suggest working in stages if your pot is small. If using a large pot, only multiply the celery seed and garlic powder by 1.5x instead of 2x, as these spices can easily dominate the flavor. If you are in a hurry, you might prefer this 30 Minute Cowboy Candy recipe version.
Because the results differ based on the cooking method, here is how the stovetop approach compares to a slow oven method.
| Method | Texture | Time |
|---|---|---|
| Stovetop | Snappy, glossy glaze | 50 minutes |
| Oven | Softer, concentrated syrup | 3-4 hours |
Saving and Storing
For the best crunch, store your Cowboy Candy in glass jars. Unlike certain metals, glass won't react with the vinegar.
Keep the jars refrigerated for up to 3 weeks. The flavors actually deepen after a few days as the peppers fully absorb the syrup. Freezing is an option for extended storage, though the texture will soften slightly.
Save the remaining syrup. It makes a wonderful base for a spicy vinaigrette or a glaze for grilled pork chops; just whisk in a squeeze of lime and some olive oil.
Best Serving Pairs
This condiment is all about contrast. I love pairing it with creamy, fatty foods that cut through the acidity.
Try it on a burger with a slice of sharp cheddar and some melted brie. It also works as a topper for a block of cream cheese served with buttery crackers. For a truly weird but satisfying treat, serve a few slices alongside some Cowboy Cookies for a sweet and salty dessert board.
For a savory appetizer, pile it onto a platter of sliced salami, prosciutto, and aged gouda. The vinegar cuts through the richness of the cured meats.
Fun Flavor Twists
You can easily shift the vibe of this Cowboy Candy by swapping out one or two ingredients.
For a smoky depth: Add 2.5ml of smoked paprika to the syrup. This gives it a wood fired taste without needing a smoker.
For a citrusy brightness: Swap half of the apple cider vinegar for fresh lime juice. This makes the recipe feel lighter and more like a Mexican candy.
For a savory umami kick: Stir in a teaspoon of soy sauce or a pinch of MSG during the syrup boiling phase. It deepens the flavor and makes the peppers taste more complex.
Right then, you're ready to get started. Once you've got a jar of this Cowboy Candy in your fridge, you'll find yourself adding it to everything from eggs to tacos. It's one of those simple additions that makes a meal feel a bit more special. Trust me, your friends will be asking for the recipe.
Recipe FAQs
What are the best ways to serve these candied peppers?
Pair them with crackers or grilled meats. They also add a sweet heat kick to burgers. If you're short on time, see how the same flavor profile works in our 30 minute version.
How to make sweet pickles without canning?
Simmer sliced jalapeños in a sugar and apple cider vinegar glaze. Cook until the peppers turn translucent and the syrup thickens into a velvety glaze.
Is it true that you must use a pressure canner for these?
Surprisingly, no. You can simply store them in the refrigerator after they have cooled completely.
How do people get the heat out of jalapeno peppers?
Toss sliced peppers with kosher salt and let them sit for 15 minutes before rinsing with cold water. This process removes bitterness and reduces some of the spice.
Can I substitute dried jalapeños for fresh ones?
No, stick with fresh. Dried peppers have a completely different texture and will not achieve the translucent, olive green color required for this glaze.
Why do the peppers need to sit in salt for 15 minutes?
Salt draws out excess moisture and bitterness. This ensures the syrup adheres properly to the peppers for a consistent, glossy finish.
What happens if I omit the turmeric?
The peppers will lack their vibrant golden hue. While the flavor change is minimal, the final product will look less appetizing without it.
Cowboy Candy Recipe