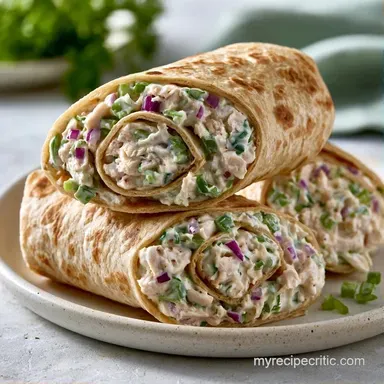
Chicken Salad Pinwheels with Cream Cheese
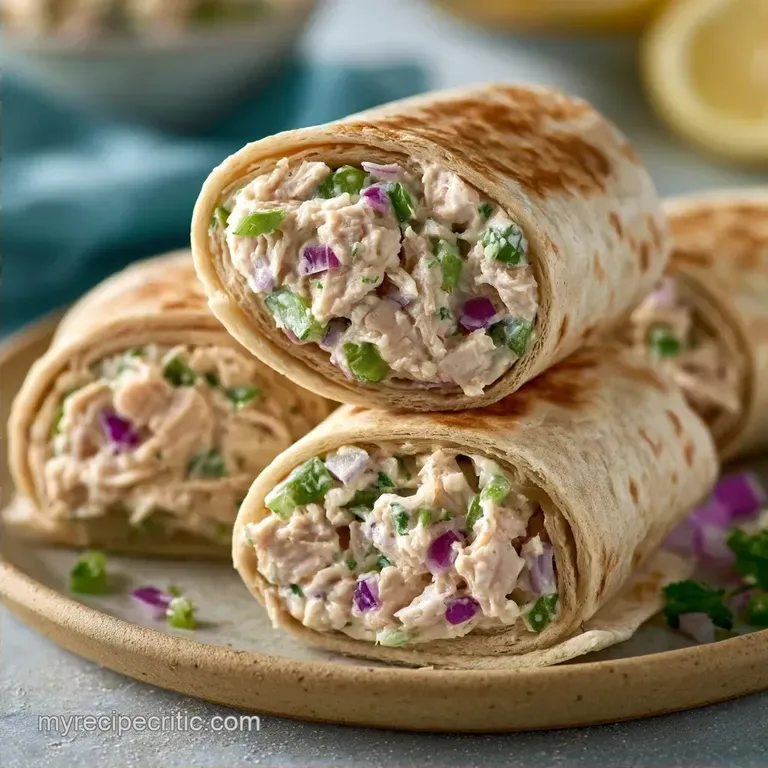
- Time: 15 min active + 30 min chilling
- Flavor/Texture Hook: Zesty, creamy, and crisp
- Perfect for: Low budget party appetizers or meal prep
The snap of cold celery and the sharp zing of fresh lemon juice are what make a good chicken salad. I used to make the mistake of just rolling the filling into a wrap, but they always ended up as soggy tubes by the time the guests arrived. It was a mess.
Then I started using a fat based barrier. By spreading cream cheese first, you create a wall that the chicken salad can't penetrate. These Chicken Salad Pinwheels actually stay structural and clean when you slice them, which is the only way to serve them if you want to avoid a crumbly disaster.
You don't need expensive ingredients for this. A store brand cream cheese and some leftover rotisserie chicken work just as well as the fancy stuff. We're focusing on textures and balance here, not a huge grocery bill.
Recipe Specs
Let's start with the fundamentals. This is a cold assembly with no cooking required, but the chilling time is essential. If you bypass the fridge, your slices will end up looking like smashed pancakes rather than tidy spirals.
This recipe yields 24 pieces, which is plenty for a small crowd. Since we are using large flour tortillas, the final size depends on how tightly you roll them. I recommend a half inch thickness to ensure they stay bite sized.
Keeping this budget friendly is easy. Simply use any cooked chicken you have available. Whether it's shredded rotisserie or poached breast, it all mixes well with the mayonnaise and mustard.
Why the Layers Stay Dry
I'm a fan of how a little bit of fat prevents a lot of sogginess. According to the techniques at Serious Eats, creating a moisture barrier is the only way to keep bread or tortillas from absorbing wet fillings.
Fat Barrier: Cream cheese is mostly fat, which repels the water based moisture in the chicken salad. This keeps the tortilla flexible and dry.
Tension Control: Rolling the log tightly pushes out air pockets. This ensures that every slice of these Chicken Salad Pinwheels has a consistent spiral pattern.
Cold Setting: Chilling the rolls firms up the fats in the cream cheese and mayo. This locks everything in place so the knife cuts through without squishing the filling.
What Each Ingredient Does
Each part of this recipe serves a purpose, from the structure to the acid that cuts through the richness of the mayo.
| Ingredient | Role | If You Don't Have It |
|---|---|---|
| Cream Cheese | Moisture barrier | Mashed avocado (adds color/flavor) |
| Mayo | Binding agent | Greek yogurt (tangier, less fat) |
| Lemon Juice | Acid balance | Apple cider vinegar |
| Sharp Cheddar | Salt and structure | Pepper Jack (for a kick) |
The choice of flour tortillas is based on flexibility. Corn tortillas would crack instantly under the pressure of the roll. If you're looking for a different base, you can try using a homemade flatbread if you roll it very thin.
Equipment Needed
While basic tools work, having a few specific items on hand will make the assembly much quicker.
- Offset Spatula: This is ideal for spreading the cream cheese evenly from edge to edge without leaving clumps.
- Serrated Knife: To avoid crushing the wrap, use a bread knife to gently saw through the logs rather than a smooth blade.
- Plastic Wrap: This is crucial for the "tight roll" stage to maintain tension while the log chills.
- Large Mixing Bowl: Use this to stir the chicken salad together without any spills over the sides.
The step by step Process
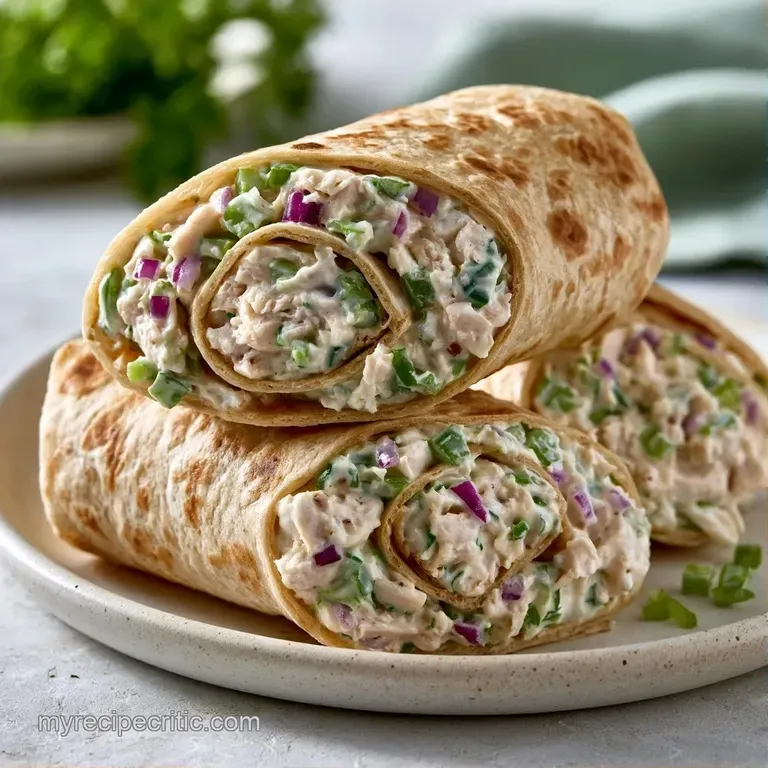
Let's get into the assembly. Trust me on the border rule, or you'll have filling leaking out the sides of your rolls.
Mixing the Filling
- Combine the diced chicken breast, mayonnaise, Dijon mustard, minced celery, and red onion in a large bowl.
- Stir in the lemon juice, salt, and pepper until the mixture is creamy and evenly distributed.
Layering the Barrier
- Lay a tortilla flat on your workspace.
- Spread a thin, silky layer of softened cream cheese across the surface, leaving a 1/2 inch border around all edges. Note: This border is your seal.
Building the Core
- Sprinkle the shredded cheddar cheese over the cream cheese.
- Place baby spinach leaves over the cheese, keeping them inside the cream cheese border.
- Spoon 1/2 cup of the chicken salad mixture over the greens and spread it into a smooth layer.
Rolling and Setting
- Lift the edge of the tortilla and roll it tightly into a log, applying firm pressure to remove air gaps.
- Wrap the log tightly in plastic wrap and refrigerate for 30 minutes until the log feels firm to the touch.
- Slice the chilled logs into 1/2 inch rounds using a serrated knife and arrange on a platter.
Handling Common Issues
Most people struggle with the "squish factor." If your Chicken Salad Pinwheels are flattening as you cut them, it's usually a temperature or tool issue.
Fixing Loose Rolls
If the spiral looks gapped, you didn't apply enough pressure during the rolling phase. Use the plastic wrap to squeeze the log firmly before putting it in the fridge.
Stopping Tortilla Cracks
Stiff tortillas break. To fix this, microwave the tortillas for 10 seconds between damp paper towels to make them elastic.
Managing Over filling
When you add too much chicken salad, the wrap won't seal. If it's overflowing, scoop some filling out and save it for a sandwich.
| Problem | Root Cause | Solution |
|---|---|---|
| Soggy Tortilla | No barrier or too much liquid | Ensure cream cheese covers the whole surface |
| Smashed Slices | Not chilled long enough | Chill for full 30 minutes; use serrated knife |
| Leaking Filling | No border left on edges | Leave 1/2 inch gap at the edges |
Keeping Your Wraps Fresh
While these are freshest on the day you make them, you can certainly prepare them in advance. Keep sliced pinwheels in a sealed container in the fridge for no more than two days. If you're prepping for a party tomorrow, store the logs whole and wrapped in plastic, slicing them just before guests arrive.
Avoid freezing these. The cream cheese and mayonnaise tend to separate, and the spinach becomes watery after thawing.
To minimize waste, serve any remaining chicken salad on crackers or as a filling for chicken lettuce wraps. Save leftover spinach stems in a freezer safe bag to use in your next smoothie.
Different Flavor Ideas
You can easily tweak this recipe to fit whatever you have in the pantry. Since the base is neutral, most flavor profiles work well.
Adding a Sweet Kick
For Cranberry Chicken Salad Pinwheels, fold 1/4 cup of dried cranberries into the chicken mixture. The sweetness pairs great with the sharp cheddar.
Going Low Carb
To make Healthy Chicken Salad Pinwheels, swap the flour tortilla for a large collard green leaf or a low carb wrap. Note that collard greens need to be blanched for 30 seconds first to make them flexible.
Boosting the Protein
For Southwest Chicken Salad Pinwheels, add a pinch of cumin to the chicken and swap the spinach for shredded romaine and diced jalapeños.
Quick Decision Guide:
- Extra tang? → fold in 1 tsp lemon zest
- More crunch? → double the celery
- Lighter version? → swap mayo for Greek yogurt
Best Pairing Options
To balance the richness of these wraps, I recommend serving them with refreshing sides like sliced cucumbers or chilled grapes. A simple salad with a light vinaigrette also works well to cut through the cream cheese.
If you're planning these for a full lunch, try pairing them with a bowl of tomato soup. The warmth of the soup is a great contrast to the chilled, crisp wraps.
Now you're all set to make Chicken Salad Pinwheels that stay perfectly intact on the plate. Just keep in mind: the cream cheese barrier, a tight roll, and a cold fridge. Enjoy!
Recipe FAQs
What ingredients go into chicken pinwheels?
Combine diced chicken, mayonnaise, Dijon mustard, celery, red onion, lemon juice, salt, and pepper, then layer on tortillas with cream cheese, cheddar, and spinach.
Tip: if you enjoy assembling cold lunch components, this layering method is a great skill to add to your routine.
How to keep pinwheels from falling apart?
Roll the tortilla tightly into a log while applying firm pressure to eliminate air gaps.
Tip: wrap the log tightly in plastic wrap before refrigerating to maintain the tight spiral shape.
Is it true that these must be sliced immediately after rolling?
No, this is a common misconception. Chilling the logs for at least 30 minutes is essential for clean cuts.
Tip: use a sharp serrated knife to saw through the roll without squashing the filling.
Can I assemble these the night before?
Assemble the logs up to 24 hours before you plan to slice and serve them.
Tip: keep them wrapped tightly in plastic to prevent the tortillas from drying out.
Chicken Salad Pinwheels