Mint Fudge: Creamy Peppermint Pattie Fudge (No Candy Thermometer Needed)
- The Secret to Perfect Mint Fudge Without a Candy Thermometer
- The Science of Set: Achieving Creamy, Non-Grainy Fudge Texture
- Essential Ingredients for Layered Mint Fudge and Smart Swaps
- Detailed Directions: How to Construct the Dual-Layer Mint Fudge
- Fudge Troubleshooting: Avoiding Common Mistakes and Ensuring Success
- Best Practices for Storing Homemade Mint Fudge
- Elevating Your Dessert: Presentation and Pairing Ideas
- Recipe FAQs
- 📝 Recipe Card
The Secret to Perfect Mint Fudge Without a Candy Thermometer
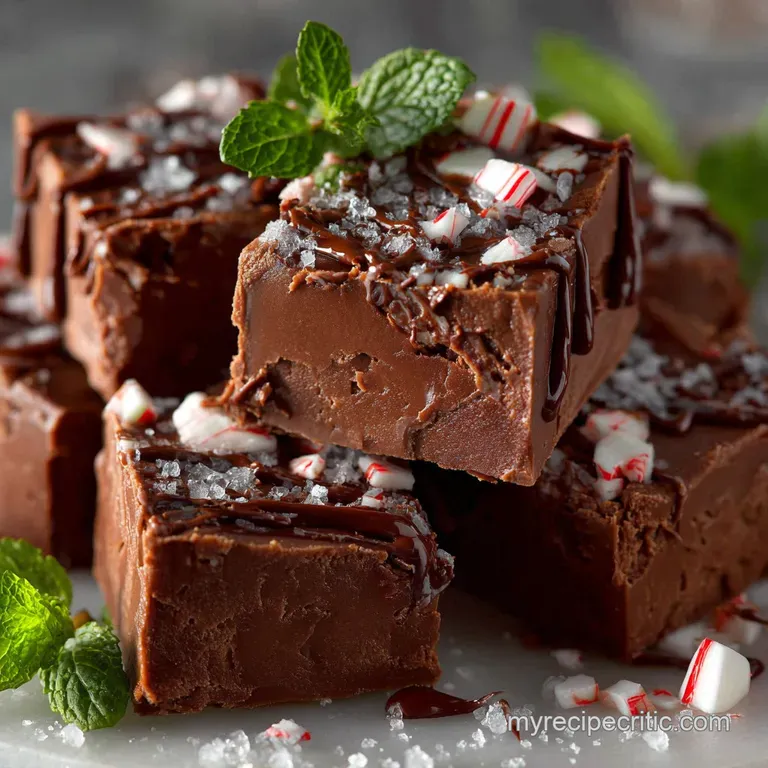
That smell when you lift the lid on a freshly cut tray of homemade mint fudge is pure magic, isn't it? It’s a powerful, comforting scent that combines deep, dark chocolate richness with that intensely cool, clean burst of peppermint.
The resulting squares are dense, utterly luxurious, and they deliver the texture of an elegant, grown-up after dinner mint.
Forget everything you’ve heard about stressing over sugar stages and temperamental candy thermometers, because this specific method is a total revelation. We rely on the magic of sweetened condensed milk, which acts as a stabilizer, meaning you can whip up the base mixture in about eight minutes flat.
This recipe is fast, wonderfully cheap to make, and it’s my secret weapon for high impact holiday gifting or when I just need a quick dessert that looks impressive.
I’ve made all the mistakes, believe me, from batches that tasted like powdered sugar dust to those that crumbled into grainy messes. Now I know the crucial steps, especially regarding temperature control after the initial melt, which guarantees that dreamy, non-grainy, creamy mint fudge set every time.
Trust me on this process; you'll never go back to the complicated method.
The Science of Set: Achieving Creamy, Non-Grainy Fudge Texture
Ditching the Degrees: Why the No-Bake Method Reigns Supreme
Traditional fudge relies on boiling sugar past the soft ball stage (234°F) and then controlling crystal formation as it cools a fussy, high maintenance process. Our method cleverly bypasses all that temperature drama by using sweetened condensed milk, which is already a thick, stable sugar syrup.
When you introduce the melted chocolate, the cocoa butter sets everything up beautifully without any boiling required.
A Timeless Classic: The Peppermint Pattie Layers Explained
This recipe achieves the iconic peppermint patty look by separating the layers, offering a brilliant contrast both visually and texturally. The bottom is a rich, robust dark chocolate layer, offering necessary depth to prevent the final product from tasting too sweet.
The top mint layer is lighter in color, featuring that intense peppermint kick that defines the candy.
Preparation Time: How Quickly You Can Achieve Fudge Nirvana
Honestly, the biggest time commitment here is waiting for the fudge to chill, which takes about two hours. The hands-on cooking time is truly minimal, maybe 15 minutes of quick stirring from start to finish.
This makes it a perfect no-bake fudge recipe for when you have unexpected guests or need to contribute to a potluck quickly.
Emulsification Magic: Integrating Liquids for a Smooth Base
When you melt the chocolate chips into the warm condensed milk and butter mixture, you are creating a thick, stable emulsion. Crucially, you must remove the mixture from the heat before adding the chocolate.
Letting the residual heat melt the chips prevents scorching and ensures the mixture stays cohesive and glossy. If you cook the chocolate too long, it can "break," resulting in an oily, grainy mess.
Why High Heat Isn't Necessary for a Proper Set
High heat, especially when dealing with condensed milk, causes sugars to caramelize and dry out, leading to that unpleasant, crumbly texture. We are aiming for a smooth solution, not a brittle toffee base. Low and slow melting is the secret weapon to achieve that perfectly creamy mint fudge texture.
Rapid Cooling vs. Slow Cooling: The Key to Crystal Structure
Unlike some baked goods that benefit from slow cooling, fudge thrives when chilled quickly. A faster, more rapid chill in the refrigerator encourages tiny sugar crystals to form, which creates the smooth, luxurious mouthfeel we crave.
If you let it cool slowly on the counter, larger crystals form, and that is what leads to dreaded grainy fudge.
Essential Ingredients for Layered Mint Fudge and Smart Swaps
I always say that simplified recipes demand high-quality ingredients, and this one is no exception. Because we aren't cooking the daylights out of everything, the raw flavor of your components shines through.
| Ingredient | Role | Viable Substitute |
|---|---|---|
| Sweetened Condensed Milk | Sugar base, structure | Non-dairy condensed coconut milk (may need longer chilling) |
| Semi Sweet Chocolate Chips | Flavour and setting agent | Dark chocolate bar (55 65% cacao), chopped finely |
| Unsalted Butter | Smoothness, richness | high-quality margarine or clarified butter (Ghee) |
| Peppermint Extract | Signature flavour | Use 2x the amount of Crème de Menthe liqueur (boil off alcohol first) |
| Green Gel Food Colouring | Aesthetic pop | Spirulina powder (use sparingly for light green) |
Defining the Flavor: Peppermint Extract vs. Spearmint Oil
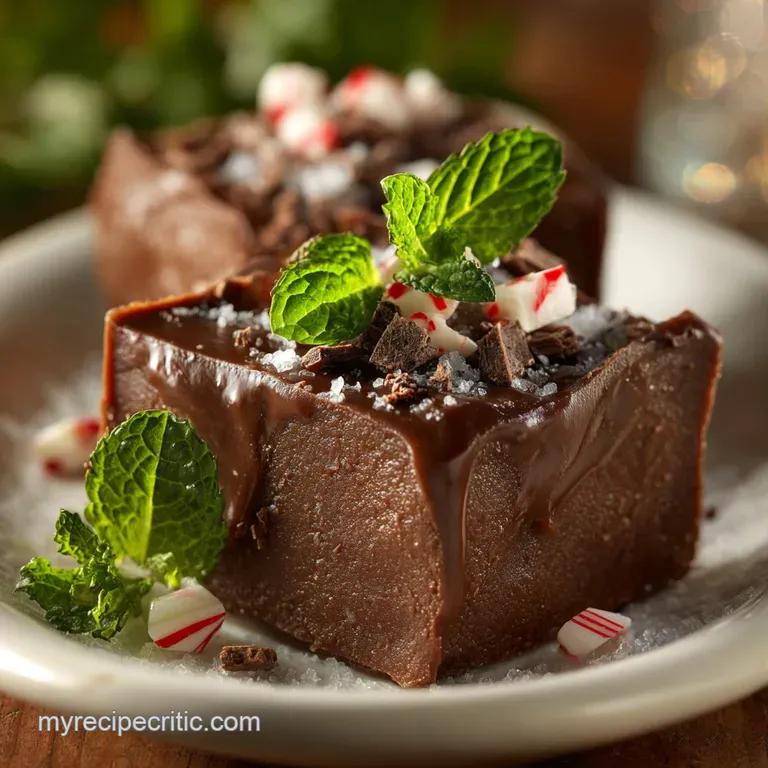
Always use pure peppermint extract for classic mint fudge. Spearmint oil or extract has a much grassier, softer flavor that gets completely lost against the rich chocolate. Peppermint is sharp and cooling it cuts through the sweetness perfectly. If you really want to lean into the mint, consider adding a little fresh chopped mint for garnish, like I do in my The Ultimate Summer Peach Fruit Salad with HoneyLime Mint .
The Best Chocolate Base for a Rich Contrast
I prefer semi sweet (around 50 60% cacao) chips for the base. They melt easily and offer a rich, dark contrast to the bright mint layer. Avoid milk chocolate, which is too sweet for this application. If you enjoy really robust dark chocolate, you could even go up to 70% cacao.
Dairy Choices: Evaporated Milk vs. Sweetened Condensed Milk Notes
Do not, under any circumstances, confuse sweetened condensed milk with evaporated milk. Evaporated milk is unsweetened and will result in a runny, non-setting disaster. The high sugar content in condensed milk is what allows the fudge to properly set at room temperature (or, preferably, the fridge).
Coloring Your Confection: Natural Green Alternatives
We want that bright, vibrant green that screams "Mint Fudge!" Gel food coloring is absolutely mandatory because liquid coloring can alter the texture of the fudge. If you really want to avoid artificial colors, use a very small pinch of spirulina powder, or simply omit the color entirely.
It will still taste fantastic, just beige!
Detailed Directions: How to Construct the Dual Layer Mint Fudge
Phase One: Preparing the Rich Dark Chocolate Foundation
- Line the Pan: Line an 8x8-inch pan with parchment paper, leaving generous overhangs on two sides. Give the pan a quick spritz of cooking spray first to help the parchment stay flat.
- Melt the Dairy: In a medium, heavy bottomed saucepan, combine the cubed butter and the entire can of condensed milk. Stir constantly over low heat until the butter is completely melted and the mixture is warm (but not simmering).
- Add Chocolate: Immediately remove the pan from the heat. Add the chocolate chips, salt, and vanilla extract. Let the mixture sit undisturbed for 2 minutes this is a genius step. Now, stir vigorously using a sturdy rubber spatula until the mixture is perfectly smooth and glossy. If you need a deep chocolate fix, this base is similar to the one I use in my Proper Thick Chewy Double Chocolate Chip Cookies Brown Butter Fudge .
- Reserve: Measure out exactly 1 cup of the finished chocolate fudge mixture and put it into a separate bowl for the mint layer.
- Pour Base: Pour the remaining chocolate fudge into the prepared pan. Smooth the surface quickly and transfer it to the refrigerator to chill while you work on Phase Two.
Phase Two: Mixing and Layering the Vibrant Mint Topping
- Flavour the Reserve: Take the reserved 1 cup of warm chocolate mixture. Stir in the peppermint extract and 2 3 drops of gel food coloring. Mix thoroughly until the color is evenly distributed and vibrantly green. A quick taste test is key here; adjust the mint strength now.
- Layer Up: Remove the pan from the fridge. Gently pour the green mint mixture over the dark chocolate layer. Spread carefully with a spatula, ensuring the layer is even. Be careful not to swirl or mix the two layers.
- Chill to Set: Return the pan to the refrigerator for a minimum of 2 hours, or until the fudge is firm enough that you can easily press on it without leaving a deep indent.
Ensuring Clean Edges: Tips for Easy Cutting and Setting
Chef's Note: For truly professional looking squares, chill the fudge for 30 minutes, remove it, score the top lightly where you plan to cut the squares, and then return it to the fridge for the remainder of the setting time.
Use the parchment sling to lift the fudge block out. Peel off the paper and place the fudge block on a cutting board. Heat a large, sharp knife under hot water, dry it quickly, and slice the fudge. Wipe the blade clean between every single cut. This prevents the chocolate from dragging and gives you beautifully crisp edges, just like my triple layer mint brownies. (Speaking of which, if you want a richer baked dessert, check out my Ultimate Fudgy Mint Brownies with Glossy Ganache and Mint Frosting .)
Fudge Troubleshooting: Avoiding Common Mistakes and Ensuring Success
Why Did My Fudge Not Set? (Altitude and Moisture Issues)
If your fudge is too soft and won't hold its shape, it's usually one of two things: You used low-quality waxy chocolate, or you didn't heat the base mixture long enough initially. While this isn't a boiling recipe, the condensed milk and butter must be truly warm and fully integrated to help dissolve the chocolate properly.
If you live at high altitude, sometimes reducing the added butter by half a tablespoon helps compensate for moisture differences.
The Importance of a Chilled Pan (Preventing Bleeding Between Layers)
If you pour the warm mint layer over an unchilled chocolate base, the heat will cause the bottom layer to melt and bleed, ruining the clean line between them. That initial chill time in the fridge (Step 6) is mandatory!
The "Too Sticky" Problem: Adjusting Powdered Sugar Ratios
If you are using the traditional sugar method, stickiness is often a moisture issue. In this no-bake recipe, the only reason for stickiness is usually insufficient cooling time. If the fudge is fully set but still tacky on the surface, dust your knife lightly with powdered sugar before cutting.
Best Practices for Storing Homemade Mint Fudge
Shelf Life: How Long Does Mint Fudge Last on the Counter?
Because this mint fudge recipe is so dense and uses high sugar content, it stores beautifully. You can keep it at cool room temperature (below 70°F) for about 3 4 days in an airtight container. However, I always recommend storing homemade mint candy in the refrigerator.
Maximizing Freshness: Air-Tight Containers are Mandatory
Fudge absorbs ambient flavors and smells incredibly quickly. Use a clean, airtight container, separating layers of fudge with small pieces of parchment paper to prevent them from sticking together. Stored this way, it will keep fresh in the fridge for up to 3 weeks.
Can I Freeze Fudge? A Guide to Thawing Without Compromising Texture
But does it freeze well? You bet it does. Wrap the entire block of fudge (before slicing) tightly in plastic wrap, followed by a layer of aluminum foil, and place it in a large freezer bag. It will last for up to 3 months.
When you’re ready to serve, thaw the fudge overnight in the refrigerator, still wrapped . Slice it only after it has fully thawed; cutting it frozen can cause it to crack.
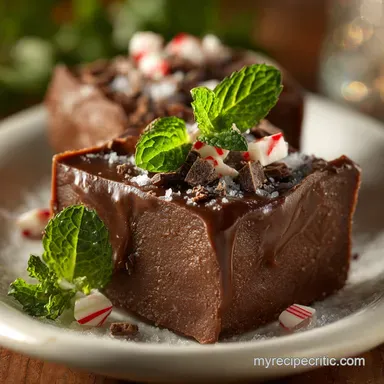
Elevating Your Dessert: Presentation and Pairing Ideas
Mint fudge is brilliant served alongside strong coffee, but you can also use it to elevate other desserts. Try crumbling some over vanilla bean ice cream for an instant sundae.
You can also roll the finished fudge squares in a thin layer of tempered dark chocolate for a stunning, glossy shell a true homemade peppermint patty experience. Dust the tops with flaky sea salt just before serving; the salt enhances the intensity of the chocolate dramatically.
 : PIN FOR LATER")
Recipe FAQs
Why is my Mint Fudge grainy or crumbly instead of smooth?
Graininess usually occurs if the sugar crystallized during the cooling or mixing phases. Ensure you stir thoroughly during the boiling process until the sugar is fully dissolved, and avoid scraping down the sides of the pan once the mixture begins to cool.
Over beating the mixture while it's cooling can also encourage sugar crystallization, so only stir until the mixture is just combined.
Since this is a fuss free method, how do I know when the mixture is ready without a candy thermometer?
This recipe relies on bringing the mixture to a full, rolling boil for a specific, predetermined time, typically 5 minutes, which is sufficient to reach the soft ball stage necessary for proper setting.
The key indicator is maintaining a strong, steady boil for the exact time specified, ensuring the mixture is visibly denser and reduced before removing it from the heat.
Can I substitute the required Sweetened Condensed Milk (SCM) for heavy cream or evaporated milk?
No, sweetened condensed milk is mandatory for this quick set, no-thermometer fudge method, as it provides both the necessary high sugar content and the specific thickening structure.
Substituting SCM will fundamentally alter the chemical structure of the mixture and prevent it from setting into the creamy, solid block that characterizes fudge.
What is the best way to store Mint Fudge, and how long does it typically last?
Store your cut fudge pieces in an airtight container at cool room temperature for up to one week, or refrigerate for up to two weeks if you prefer a firmer texture. For longer preservation, wrap individual pieces tightly in plastic and aluminum foil, then freeze them for up to three months, thawing slowly in the refrigerator before serving.
I live in a humid environment. Will this affect my fudge setting time?
Humidity can slightly increase the setting time because the mixture tends to absorb moisture from the air, making it softer. If you are experiencing high humidity, you may need to boil the mixture for an extra 30 60 seconds to ensure adequate moisture evaporation.
Alternatively, allow the finished fudge to cool and set entirely in the refrigerator rather than relying on room temperature setting.
Can I adjust the intensity of the mint flavor or change the frosting color?
Absolutely; for a stronger flavor, start by adding an extra half teaspoon of pure peppermint extract, tasting the frosting mixture before adding more, as extract potency varies widely.
To change the color, you can substitute the green food coloring for pink or blue, or omit it entirely for a naturally white peppermint layer.
Is it possible to make this Mint Fudge recipe vegan or dairy-free?
Yes, this recipe adapts well to dietary requirements using modern substitutions. Look for high-quality, plant based sweetened condensed milks (often made from oat or coconut) as a direct 1:1 replacement for the dairy version.
Ensure both your chocolate chips and the butter used in the frosting are certified vegan products.
Creamy Mint Fudge No Bake Recipe
Ingredients:
Instructions:
Nutrition Facts:
| Calories | 738 kcal |
|---|---|
| Protein | 10.8 g |
| Fat | 28.7 g |
| Carbs | 110.0 g |
