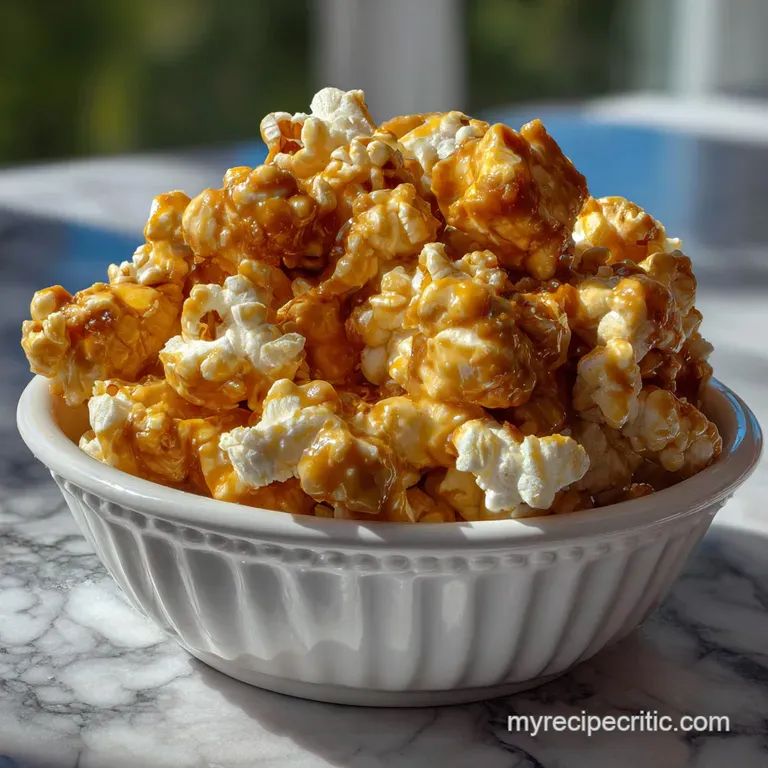
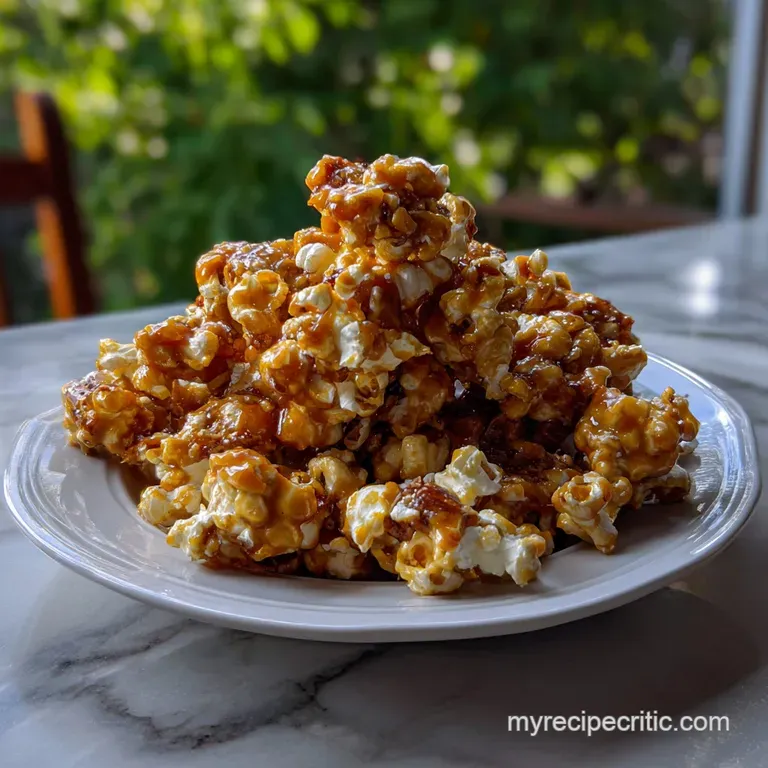
Candy Popcorn: Shatter-Crisp Buttery Brittle
- Time: Active 10 minutes, Passive 45 minutes, Total 55 minutes
- Flavor/Texture Hook: Shatter-crisp buttery toffee with a velvety vanilla finish on your candy popcorn.
- Perfect for: Movie nights, holiday gifting, or a crowd-pleasing party snack featuring this amazing candy popcorn.
- Understanding the Science Behind Perfect Candy Popcorn
- Factors Making This Glazed Snack Succeed
- Recipe Metrics and Essential Success Checkpoints
- Assembling Your Flavorful Toffee Component Matrix
- Essential Hardware for High Heat Success
- Execution Protocol for Shatter Crisp Coatings
- Eliminating Common Texture and Flavor Errors
- Creative Flavor Profiles and Ingredient Swaps
- Batch Expansion Logic
- Preserving Crunch and Reducing Kitchen Waste
- Best Pairings for These Sweet Snacks
- Perfecting Every Batch of Candy Popcorn
- Common Questions
- 📝 Recipe Card
Understanding the Science Behind Perfect Candy Popcorn
The sound of a kernel hitting the lid of a heavy pot is a universal signal for snack time, but making a truly great batch of candy popcorn requires more than just luck. Most homemade versions suffer from a chewy, tacky texture that glues your jaws together.
This happens because the sugar hasn't reached the correct temperature or the popcorn still holds internal moisture, ruining the final candy popcorn result.
I remember my first attempt at this years ago. I thought I could just pour melted sugar over corn and be done. The result was a soggy, sticky mess that went into the trash a cautionary tale for anyone attempting homemade candy popcorn.
The secret, it turns out, is the "oven cure." By baking the coated corn at 250°F, we evaporate any remaining water in the syrup and the corn itself. This creates a stable, glassy structure that stays crunchy for days, defining superior candy popcorn.
We are aiming for a specific type of sugar chemistry here. When you boil butter and brown sugar together, you are creating a butter toffee that coats the kernels perfectly for excellent candy popcorn. This isn't just a simple syrup.
It's an emulsion where the fat from the 1 cup of unsalted butter is suspended in the dissolved sugar. This produces that rich, melt-on-your tongue sensation that plain sugar coatings simply cannot match on your candy popcorn.
Factors Making This Glazed Snack Succeed
- Aeration Chemistry: Adding 1/2 tsp baking soda to the hot syrup causes a rapid release of carbon dioxide. This creates tiny air bubbles, making the toffee light and easy to bite rather than rock hard, which is crucial for light candy popcorn.
- Thermal Curing: Low-temperature baking (250°F) acts as a dehydrator. It pulls moisture out of the popcorn's center while slowly setting the sugar into a crisp shell, ensuring your batch of candy popcorn lasts.
- Fat Distribution: Coconut oil has a higher smoke point than butter, making it the ideal medium for popping the kernels without scorching the hulls before they become delicious candy popcorn.
- Glass Transition: Taking the syrup to a boil for four minutes without stirring allows the sugar molecules to bond. This ensures the coating hardens into a "shatter" texture rather than remaining a soft caramel on your candy popcorn.
In my experience, the baking soda step is where the magic happens for this type of candy popcorn. Watch the syrup turn from a dark mahogany to a pale, foamy gold. This change in density is what prevents the popcorn from becoming a solid, unbreakable brick.
This technique shares a lot of DNA with a Classic Christmas Toffee recipe, where temperature control is the difference between a chewy mess and a professional grade confection that elevates this snack beyond simple candy popcorn.
Recipe Metrics and Essential Success Checkpoints
To ensure your batch of candy popcorn comes out exactly as intended, keep these three precision checkpoints in mind throughout the process.
| Metric Type | Target Value | Why It Matters |
|---|---|---|
| Boiling Time | 4 minutes (unstirred) | Ensures sugar reaches the "soft ball" stage for a firm set on your candy popcorn. |
| Oven Temperature | 250°F (121°C) | Dehydrates without burning the delicate sugar or corn, making the best candy popcorn. |
| Kernel Weight | 100g (approx. 1/2 cup) | Provides the correct surface area for the 2 cups of syrup required for quality candy popcorn. |
Fast vs. Classic Comparison
| Feature | Stovetop Only (Fast) | Oven Cured (Classic) |
|---|---|---|
| Texture | Chewy, often sticky | Shatter crisp, dry |
| Shelf Life | 4 6 hours | 7 10 days for preserved candy popcorn |
| Effort | Minimal | Requires 45 mins baking |
Assembling Your Flavorful Toffee Component Matrix
Functional Breakdown
| Ingredient | Chemical/Physical Role (Science) | The Pro Secret (Why This Matters) |
|---|---|---|
| Light Brown Sugar | Maillard reaction and caramelization | Molasses content adds depth and acidity for the soda reaction in the toffee layer of the candy popcorn. |
| Baking Soda | Thermal decomposition (CO2 release) | Creates a porous, brittle texture that won't break your teeth when eating this candy popcorn. |
| Unsalted Butter | Fat-in-water emulsification | Provides the "short" texture that makes the toffee tender. |
| Coconut Oil | over High heat lipid medium | Transfers heat efficiently to the kernel's moisture pocket. |
The Essential Shopping List
- 1/2 cup (100g) unpopped popcorn kernels: Use a high-quality brand like Orville Redenbacher for a better pop-to-dud ratio. Why this? Higher moisture content in fresh kernels leads to larger, fluffier blooms for better candy popcorn.
- 2 tbsp (30ml) coconut oil: Better than vegetable oil for a clean, non-greasy finish.
- 1 cup (225g) unsalted butter: I prefer Kerrygold for its high fat-to-water ratio. Why this? Less water means the toffee sets faster and stays crisper.
- 1 cup (200g) light brown sugar: Use C&H Light Brown Sugar, firmly packed.
- 1/2 tsp fine sea salt: Use Morton's for consistent salinity.
- 1 tsp (5ml) vanilla extract: Nielsen Massey is my go-to for deep aroma.
- 1/2 tsp baking soda: Arm & Hammer is the standard for reliable aeration.
Essential Hardware for High Heat Success
You don't need a candy lab, but the right tools prevent burnt sugar and uneven coating on your candy popcorn.
- Lodge Enameled Cast Iron Dutch Oven: The heavy bottom prevents the butter and sugar from scorching during the 4 minute boil.
- Nordic Ware Baker's Half Sheet: A rimmed aluminum pan provides even heat distribution in the oven.
- Silpat Silicone Mat: This is non-negotiable for easy cleanup. Sugar won't stick to it, allowing for a clean release of the candy popcorn.
- Heat Resistant Silicone Spatula: Crucial for folding the thick syrup over the airy popcorn without crushing the kernels.
Execution Protocol for Shatter Crisp Coatings
1. The Prep and Pop
Heat 2 tbsp coconut oil in your Dutch oven over medium high heat. Add 3 "test" kernels; once they pop, the oil is at the ideal 350 400°F. Add the remaining 1/2 cup kernels and cover with a lid. Shake the pot constantly to prevent scorching until the popping slows to 2 seconds between pops.
2. Removing Unpopped Kernel Hazards
Transfer the popped corn to a large bowl. I like to use my hands to gently lift the popcorn into a second bowl, leaving the "old maids" (unpopped kernels) and small fragments at the bottom. Nobody wants a tooth chipping surprise in their candy popcorn snack.
3. The Golden Toffee Reduction
In a heavy saucepan, combine 1 cup unsalted butter, 1 cup light brown sugar, and 1/2 tsp sea salt. Melt over medium heat, stirring constantly until combined. Once it reaches a boil, stop stirring. Set a timer for 4 minutes.
4. The Carbon Dioxide Aeration Trick
Remove the pan from the heat. Quickly whisk in 1 tsp vanilla extract and 1/2 tsp baking soda. The mixture will foam up and turn a lighter, opaque tan. This is the carbon dioxide creating the airy structure we need for perfect candy popcorn.
5. Achieving Even Distribution
Immediately pour the hot foam over the popcorn. Use two large spoons to gently fold the mixture from the bottom up. Work quickly; as the syrup cools, it becomes viscous and harder to spread over the kernels of your candy popcorn.
6. The over Low heat Oven Cure
Spread the coated corn onto a Nordic Ware sheet lined with a Silpat. Preheat your oven to 250°F. This low temperature is vital. It allows the moisture to escape without burning the sugar coating your delicious candy popcorn.
7. Managing Your Oven Curing Time
Bake for 45 minutes total. Every 15 minutes, remove the tray and use a spatula to turn the popcorn over. This ensures the syrup doesn't pool at the bottom and every kernel gets an even "bake" in the oven, solidifying the candy popcorn.
8. The Final Cooling Phase
Remove the tray from the oven. The popcorn will still feel slightly soft while hot. As it hits the room temperature air, the sugar will undergo a "glass transition" and harden into the signature crunch of this candy popcorn.
9. Breaking the Clusters
Once completely cool (about 15 minutes), use your hands to break any large clumps into bite sized pieces. It should sound like breaking glass a sharp, clean snap from your finished candy popcorn.
10. The Quality Check
Taste a piece from the center of the tray. It should be bone dry and shatter instantly. If it’s still chewy, it needs another 10 minutes in the oven to dry out the moisture trapped in the candy popcorn.
Eliminating Common Texture and Flavor Errors
Fixing Chewy or Soft Glazes
If your candy popcorn feels tacky or sticks to your teeth, the culprit is almost always residual moisture or an under boiled syrup. Sugar is hygroscopic, meaning it pulls moisture from the air.
| Problem | Root Cause | The Fix | Pro Protocol |
|---|---|---|---|
| Sticky Popcorn | Under baked or high humidity | Return to 250°F oven for 10 15 mins | Use a digital thermometer; ensure syrup hits 235°F before coating the corn for the best candy popcorn. |
| Grainy Texture | Sugar crystallized during boiling | Add a tsp of corn syrup or don't stir | Avoid scraping the sides of the pan once boiling starts for a smooth coating. |
| Burnt Aftertaste | Heat was too high during the 4 min boil | Lower heat to medium low | Use a heavy bottomed Dutch oven for better heat buffering when making candy popcorn. |
Creative Flavor Profiles and Ingredient Swaps
I love the classic version, but this base is a canvas for whatever is in your pantry. If you want a richer, darker profile, try adding a tablespoon of cocoa powder to the baking soda step. This creates a flavor profile similar to our Cool Whip Dream recipe, which balances deep chocolate with a light, airy texture in this great treat.
| Original Ingredient | Substitute | Why It Works |
|---|---|---|
| Coconut Oil | Ghee (Clarified Butter) | High smoke point with a rich, nutty aroma. |
| Light Brown Sugar | Dark Brown Sugar | More molasses leads to a deeper, more bitter sweet toffee coating for the candy popcorn. |
| Sea Salt | Smoked Salt | Adds a campfire depth that pairs perfectly with the sweet glaze. |
Decision Shortcut
- If you want a "Sweet & Salty" finish, drizzle 1/2 cup melted dark chocolate over the cooled candy popcorn and hit it with extra flaky salt.
- If you want Candy Popcorn Balls, let the mixture cool for only 5 minutes, then grease your hands with butter and press into spheres.
- If you want an Autumn twist, add 1 tsp of pumpkin pie spice along with the vanilla to your candy popcorn syrup.
Batch Expansion Logic
When you need to feed a crowd, scaling this recipe is straightforward if you follow the physics of sugar.
- Scaling Up (2x): Use a 1.5x ratio for the salt (3/4 tsp total) to avoid over seasoning. Work in two separate baking sheets to avoid crowding, which traps steam and leads to sogginess in the doubled batch of candy popcorn.
- Scaling Down (1/2): The boiling time remains 4 minutes. Use a smaller saucepan so the syrup doesn't spread too thin and burn.
- The Pan Crowding Rule: Never fill a baking sheet more than 1 inch deep. If you double the recipe, you MUST use two sheets. Crowding kills the "shatter" by preventing airflow necessary for crisp candy popcorn.
Preserving Crunch and Reducing Kitchen Waste
Storage & Zero Waste
Storage: Store in an airtight container at room temperature for up to 10 days to maintain the crunch of your candy popcorn. Do not put this in the pantry near a stove or dishwasher, as the steam will turn the sugar back into a sticky mess.
Zero Waste: Don't toss the unpopped kernels or the "dust" at the bottom of the bowl. Save the tiny toffee covered crumbs and use them as a crunchy topping for vanilla ice cream or yogurt, sprinkled over your remaining candy popcorn.
Science of Storage: Sugar is a natural preservative, but it is also a magnet for water. By keeping the container sealed, you prevent the sugar from absorbing atmospheric moisture and losing its crystalline structure, which keeps your candy popcorn fresh.
Best Pairings for These Sweet Snacks
This treat is heavy on the sugar and fat, so it needs a beverage or side that offers high acidity or bitterness to cleanse the palate after enjoying this sweet candy popcorn.
- Hot Beverages: A strong, black coffee or a spicy chai tea cuts through the buttery coating perfectly.
- The "Bar Snack" Duo: Serve this alongside spicy roasted nuts. The contrast between the sweet toffee and the heat of cayenne or chili powder is addictive when paired with this candy popcorn.
- Dessert Toppers: I often crush a handful of this popcorn and sprinkle it over a cheesecake for an unexpected textural element.
Perfecting Every Batch of Candy Popcorn
Myth: You must use corn syrup to make the glaze set. Truth: While corn syrup acts as an "interfering agent" to prevent graininess, a 4 minute boil of butter and brown sugar creates enough inverted sugar naturally to set perfectly, making this the best method for achieving hard crack candy popcorn.
Myth: Air-popped corn is better for candy coatings. Truth: Oil-popped corn has a slightly "toasted" flavor and a surface that the syrup clings to more effectively than air-popped kernels when making candy popcorn.
Myth: You can't make this on a humid day. Truth: You can, but you must extend the oven curing time by 15 minutes and move the candy popcorn to an airtight container the second it reaches room temperature. Don't let it sit out on the counter.

Common Questions
What temperature must the syrup reach for a shatter crisp texture?
Boiling for exactly four minutes unstirred. This precise boiling duration allows the sugar to reach the glass transition point for a brittle shell. Failure to reach this stage leaves the coating soft and tacky after cooling.
Can I use salted butter instead of unsalted butter?
Unsalted butter for precision control. Salted brands vary (80-200mg sodium per tbsp), making standardization impossible. Unsalted lets you adjust salt based on cheese/bacon content.
Why is my candy popcorn sticky and chewy after cooling?
Syrup didn't reach correct temperature or moisture remains. The sugar must fully crystallize without residual water content to achieve a glassy hardness.
- Extend oven cure to 55 minutes total
- Ensure 4 minutes of sustained, hard boil
- Store immediately in low-humidity environment
Is the baking soda step optional for this recipe?
No. Baking soda creates essential aeration. It decomposes under heat, releasing CO2 bubbles that lighten the dense toffee. This reaction prevents the glaze from becoming rock hard and impossible to chew.
What is the minimum curing time needed in the oven?
Forty five minutes minimum is required for dehydration. The low 250°F heat slowly drives residual moisture from the popcorn and the syrup coating. Insufficient curing results in a soft, pliable final product.
Should I use oil-popped kernels or air-popped kernels?
Oil-popped kernels are preferred for adhesion. The slight oil residue on the kernel surface helps the hot toffee adhere more effectively than a fully dry, air-popped surface.
Myth: You must stir the syrup once it boils.
Myth: You must stir the syrup once it boils. Reality: Stirring introduces nucleation sites, encouraging early sugar crystallization, which results in a grainy, not glassy, candy coating.
Candy Popcorn Brittle Snack

Ingredients:
Instructions:
Nutrition Facts:
| Calories | 298 kcal |
|---|---|
| Protein | 1.4 g |
| Fat | 21.3 g |
| Carbs | 27.8 g |
| Fiber | 1.5 g |
| Sugar | 20.2 g |
| Sodium | 175 mg |
