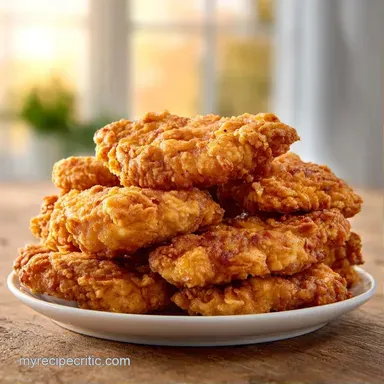
Baked Chicken Tenders: Ultra-Crispy
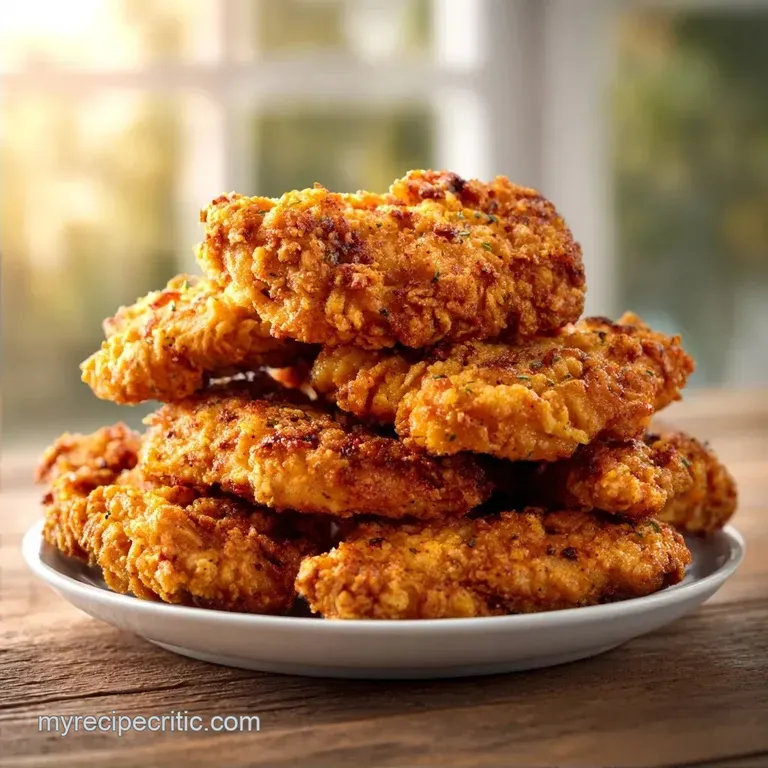
- Time: 10 min active + 20 min baking
- Flavor/Texture Hook: Shatter crisp Panko with a tangy, velvety interior
- Perfect for: Fast weeknight dinners or kid friendly meal prep
- The Secret to Crispy Baked Chicken Tenders
- Why the Coating Actually Stays Crispy
- The Component Analysis
- Ingredients and Smart Swaps
- The Essential Kitchen Tools
- Step by Step Cooking Guide
- Avoid These Common Coating Mistakes
- Flavor Variations to Try
- Storage and Waste Reduction
- Serving Ideas and Pairings
- Recipe FAQs
- 📝 Recipe Card
The Secret to Crispy Baked Chicken Tenders
That sound of a fork scraping against a soggy, limp piece of chicken is the worst. I've spent way too much time making breaded chicken in the oven only to find the bottom side had turned into a wet sponge.
It happens because the chicken releases moisture as it cooks, and if it's sitting directly on a baking sheet, it just steams in its own juices.
The fix is actually pretty simple, but most people ignore it. You need a wire rack and a specific binder that doesn't just slide off the meat. By using a mix of mayo and mustard, we create a barrier that keeps the chicken moist while giving the Panko something to really grip onto.
You can expect these Baked Chicken Tenders to have a deep mahogany color and a crunch that you can hear from the next room. No deep fryer is needed here, just a hot oven and a few pantry staples. Trust me, once you stop putting your chicken directly on the pan, you'll never go back.
Why the Coating Actually Stays Crispy
Most oven baked breading fails because it doesn't have enough fat to mimic the effect of frying. Here is what is actually happening in the oven:
- The Mayo Buffer: Mayonnaise is mostly oil and egg. It creates a fat layer around the meat, which helps the breadcrumbs brown faster and keeps the chicken from drying out.
- Airflow Gap: Using a wire rack allows hot air to circulate under the chicken. This dries out the bottom crust instead of letting it sit in a pool of moisture.
- Panko Structure: Panko flakes are larger and airier than standard breadcrumbs. They don't pack together tightly, which means more surface area for the heat to hit.
- High Heat Shock: 400°F is the sweet spot. It's hot enough to sear the outside quickly before the inside overcooks and becomes rubbery.
| Method | Time | Texture | Best For |
|---|---|---|---|
| Standard Pan | 20 min | Soft bottom | Those without a rack |
| Wire Rack | 20 min | All over crunch | Maximum crispiness |
| Air Fryer | 12 min | Very dry crunch | Small batches |
The Component Analysis
Before we get into the grit of the recipe, let's look at why these specific ingredients are in the bowl.
| Ingredient | Science Role | Pro Secret |
|---|---|---|
| Panko | Structural Crunch | Press firmly into meat to avoid gaps |
| Mayonnaise | Fat Barrier | Prevents the chicken from drying out |
| Dijon Mustard | Flavor Anchor | Cuts through the fat of the mayo |
| Garlic Powder | Aromatic Base | Mix into crumbs, not the meat |
Ingredients and Smart Swaps
I keep these basics in my pantry because they work every time. Make sure your chicken is patted dry before you start, or the binder will just slide right off.
- 1 lb chicken tenderloins Why this? Naturally tender and cook evenly
- 1/2 tsp salt
- 1/4 tsp black pepper
- 1 large egg Why this? Provides the protein structure for the bond
- 2 tbsp mayonnaise Why this? Adds fat for browning
- 1 tsp Dijon mustard Why this? Adds a subtle tang
- 1 cup Panko breadcrumbs Why this? Lighter and crunchier than AP crumbs
- 1 tsp garlic powder
- 1 tsp paprika
- 1/2 tsp onion powder
- 1/4 tsp salt
Substitution Options
| Original Ingredient | Substitute | Why It Works |
|---|---|---|
| Panko Breadcrumbs | Crushed Cornflakes | Even more crunch. Note: Sweeter taste |
| Dijon Mustard | Yellow Mustard | Similar tang. Note: Less complex flavor |
| Egg | Flax Egg (1tbsp ground flax + 3tbsp water) | Vegan binder. Note: Slightly nuttier taste |
| Mayonnaise | Greek Yogurt | Lower fat. Note: Less browning, tangier finish |
Right then, before we move to the steps, just a quick reminder to have your bowls ready. I call this "mise en place," but really it's just making sure I don't realize I'm out of eggs while my oven is already screaming at me.
The Essential Kitchen Tools
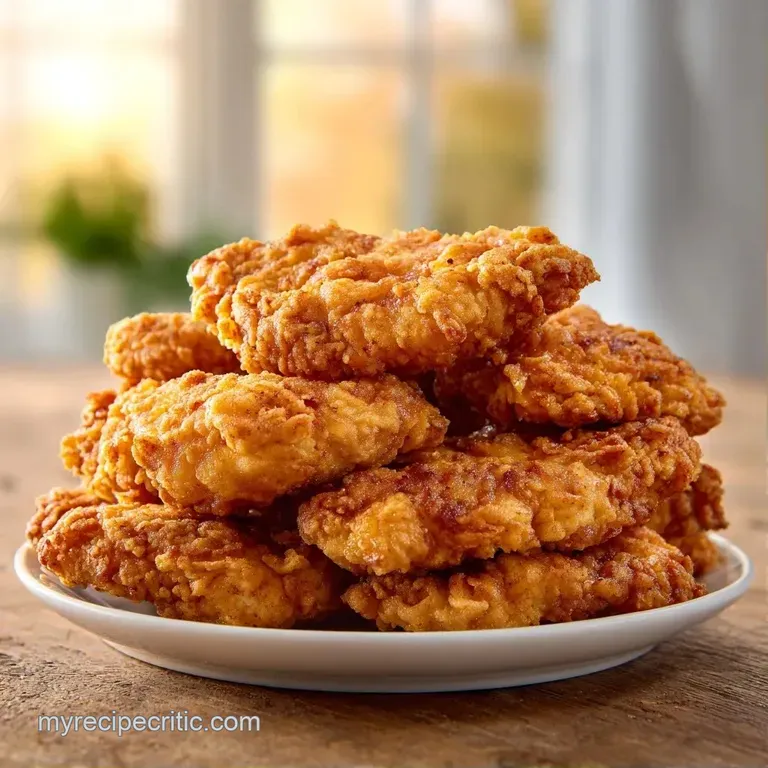
You don't need a fancy setup for this, but two things are non negotiable if you want that "shatter" texture.
First, the wire cooling rack. If you don't have one, any metal rack that fits inside a rimmed baking sheet will do. This is what prevents the soggy bottom I mentioned earlier. Second, use two separate wide bowls.
If your bowls are too small, you'll spend the whole time fighting with the chicken, and the breading will end up all over your counter.
I usually use a simple whisk for the binder and a fork for the breadcrumbs. If you're feeling lazy, you can use a gallon sized Ziploc bag for the Panko mixture, then just shake the chicken inside. It's a bit messier, but it's fast.
Step by step Cooking Guide
Let's crack on. Follow these steps exactly, and you'll get that mahogany finish every time.
- Preheat your oven to 400°F (200°C) and place a wire cooling rack inside a rimmed baking sheet. Note: Preheating the rack helps sear the bottom immediately.
- Pat the chicken tenderloins dry with paper towels and season them with the 1/2 tsp salt and 1/4 tsp black pepper.
- In one bowl, whisk together the egg, mayonnaise, and Dijon mustard until the mixture is velvety and smooth.
- In a second bowl, combine the Panko breadcrumbs, garlic powder, paprika, onion powder, and 1/4 tsp salt.
- Dip each chicken tender into the binder mixture, ensuring it's fully coated from end to end.
- Press the tender firmly into the Panko mixture. Use your palm to push the crumbs into the meat so they stick.
- Place the breaded tenders on the wire rack, leaving at least half an inch of space between each piece.
- Bake for 15-20 minutes until the crust is mahogany colored and the internal temperature hits 165°F (74°C).
Chef's Note: If you want an even deeper gold color, give the breaded tenders a very light spritz of olive oil spray right before they go in the oven. It helps the Panko "fry" in the oven heat.
Avoid These Common Coating Mistakes
The most common issue I see with Baked Chicken Tenders is the breading peeling off in one big sheet. This usually happens because the chicken was too wet or the binder was too thin. If you see the breading sliding, it means you didn't pat the meat dry enough.
Why Your Coating Is Falling Off
This usually comes down to moisture. If there is water on the surface of the chicken, the egg and mayo can't bond to the protein. The breading basically floats on a layer of steam.
| Problem | Root Cause | Solution |
|---|---|---|
| Peeling Breading | Damp chicken surface | Pat dry with paper towels |
| Pale Crust | Oven temp too low | Verify 400°F with a thermometer |
| Dry Meat | Overcooked | Use a meat thermometer at 165°F |
Quick Quality Check
- ✓ Chicken is patted bone dry before seasoning.
- ✓ Breading is pressed firmly, not just rolled.
- ✓ Tenders aren't touching each other on the rack.
- ✓ Internal temperature is exactly 165°F.
- ✓ Oven is fully preheated before the pan goes in.
Flavor Variations to Try
Once you've got the base method down, you can really play with the spices. If you want a spicy kick, add 1/2 tsp of cayenne pepper or a pinch of chipotle powder to the Panko mixture. For a more savory, salty vibe, mix in 1/4 cup of finely grated Parmesan cheese.
The cheese melts into the Panko and creates a crust that is almost like a fritter.
If you're looking for a side to go with this, my Green Beans recipe is a great way to add some freshness to the plate. For those who love a dip, you can't go wrong with a honey mustard or a simple BBQ sauce. If you want something richer, a side of Cheese Sauce makes these feel like a gourmet pub meal.
Decision Shortcut for Flavor
- Want it Spicy? Add cayenne and a dash of hot sauce to the binder.
- Want it Savory? Add grated Parmesan and extra garlic powder to the crumbs.
- Want it Herby? Mix in dried parsley and oregano for a "Italian style" crust.
Storage and Waste Reduction
If you have leftovers, don't just throw them in a plastic container and call it a day. To keep them from getting soft, let them cool completely on the rack before moving them. Store them in an airtight container in the refrigerator for up to 3 days.
When you're ready to eat them again, avoid the microwave. Microwaves turn breading into rubber. Instead, pop them back in the oven at 350°F for about 10 minutes. This recrisps the Panko without drying out the center.
For freezing, you can actually freeze these before they are baked. Just follow the breading steps, freeze them on a tray for 2 hours (so they don't stick together), and then toss them in a freezer bag. They'll last for 3 months.
Bake them straight from frozen, just add 5-8 minutes to the cooking time.
As for zero waste, don't toss that leftover egg and mayo binder. If there's a bit left, you can use it as a binder for fish fillets or even some cauliflower florets. Just use the same Panko mixture and bake them at the same temperature.
Serving Ideas and Pairings
The beauty of Baked Chicken Tenders is that they fit almost any meal vibe. For a classic dinner, serve them with a pile of steamed veggies and a dipping sauce. If you're doing a "snack board" for friends, slice them into strips and serve them with celery sticks and a tangy ranch.
I personally love serving these with a side of coleslaw. The acidity of the vinegar in the slaw cuts right through the richness of the mayo binder, making the whole meal feel balanced. If you're feeding kids, keep it simple with some corn on the cob or sliced apples.
One final tip: let the chicken rest for about 3-5 minutes after they come out of the oven. This allows the juices to redistribute, ensuring that the first bite is velvety and moist rather than spraying juice all over your plate. Enjoy your crunch!
Recipe FAQs
Is it better to cook chicken tenderloins at 350 or 400?
Stick with 400°F. This higher temperature ensures the Panko crust becomes mahogany-colored and crispy before the meat overcooks.
How long do chicken tenders need to bake at 400 degrees?
Bake for 15 to 20 minutes. Use a meat thermometer to confirm the internal temperature has reached 165°F.
Is it better to bake chicken at 375 or 400?
Go with 400°F. This specific heat provides the intensity necessary for a proper sear on the bottom and a crispier exterior.
How to bake chicken tenders without drying them out?
Use a wire cooling rack on a baking sheet. This allows hot air to circulate around the entire tender, cooking it evenly and quickly.
How to reheat leftovers so they stay crispy?
Bake at 350°F for 10 minutes. Avoid the microwave, as it turns the breading rubbery instead of crisp.
Can I freeze these tenders before baking?
Yes, you can freeze them after breading. This makes them a great meal prep option, similar to how you can prep crispy cutlets for a future dinner.
Is it true that you should bake chicken tenders directly on a baking sheet?
No, this is a common misconception. Placing them directly on the sheet leads to soggy bottoms; using a preheated wire rack ensures a mahogany finish on all sides.
Crispy Baked Chicken Tenders