Homemade Hot Cocoa Mix: the Proper Job Rich Velvety Chefs Blend
- Crafting the Ultimate Homemade Hot Cocoa Mix: An Overview
- The Science Behind the Velvet: Why This Hot Cocoa Mix is Rich & Creamy
- Ingredients Breakdown: Achieving the Proper Job Hot Cocoa Mix
- Mixing and Storing Your Ultimate Blend: Step-by-Step Guide
- Troubleshooting & Chef’s Tips for a Perfect Cup Every Time
- Shelf Life and Proper Storage for Homemade Hot Cocoa Mix
- Elevating Your Cocoa Experience: Serving and Pairing Suggestions
- Recipe FAQs
- 📝 Recipe Card
Crafting the Ultimate Homemade Hot Cocoa Mix: An Overview
The moment you open that jar and get a deep, intoxicating whiff of dark cocoa and spice, you know exactly what winter smells like. Forget the thin, powdery stuff of your childhood; this mix is dark, rich, and intensely chocolatey.
It has a magical way of dissolving completely, leaving you with a wonderfully velvety texture that coats your tongue.
This Homemade Hot Cocoa Mix is seriously a lifesaver when the chilly weather hits. It takes less than ten minutes to prep a massive batch, meaning you’re never more than two minutes away from the perfect mug.
Plus, it’s vastly cheaper and tastes approximately a hundred times better than anything store-bought. It makes incredible gifts for neighbours, teachers, or that friend who always complains about the cold (I know I do!).
Are you ready to stop drinking chalky, separated hot beverages and start enjoying the real deal? We're going to dive into the few key ingredients that make this the most satisfying, deeply flavourful hot cocoa mix recipe you'll ever keep stocked in your pantry. Let’s crack on and get mixing!
The Science Behind the Velvet: Why This Hot Cocoa Mix is Rich & Creamy
Why This Blend is Better Than Thin store-bought Powder
Most commercial hot cocoa relies heavily on cheap sugar and maybe some powdered milk, which often leads to a thin, watery result. My recipe focuses on balancing high-quality cocoa with specific starches and powders designed purely for texture.
We are aiming for something closer to a rich, molten chocolate bar experience, not just flavoured water.
A Look at the Chef’s Ultimate Blend Components
This is where we ditch the boring stuff and get serious about mouthfeel. Every ingredient in this blend serves a deliberate purpose beyond just flavour. It’s all about creating solubility and that non-negotiable velvet finish.
Tools Needed for Mixing Perfection (Sifting Essential)
You absolutely must use a fine mesh sieve or a blender for this recipe. If you skip this step, you will inevitably end up with little chalky pockets of cornflour or clumps of powdered sugar, and nobody wants that mess.
A large bowl and a sturdy whisk work fine for combining, but sifting is the non-negotiable final step to ensure total uniformity.
The Role of Dutch Process Cocoa in Deepening Flavor
Dutch process cocoa powder is alkalized, meaning it’s treated to neutralize some of the natural acidity found in cocoa beans. This process is brilliant because it results in a darker, much smoother, and less bitter chocolate flavour.
Always choose Dutch process over natural cocoa for the ultimate smooth hot cocoa mix. It guarantees that deep, luxurious colour.
Espresso Powder: The Secret Flavor Amplifier (Not for Taste)
Trust me on this one. Instant espresso powder is a magician when it comes to chocolate. You won’t taste coffee at all. The minuscule amount of espresso simply deepens the existing chocolate notes, making the cocoa taste richer and more intense. It brings the chocolate flavour right up to the front.
Cornflour (Corn Starch) for a Perfect, Non-Separating Texture
This is the number one secret ingredient that elevates the texture from thin to velvety. Cornflour (or corn starch) acts as a light thickening agent. When you heat the milk, the starch granules expand, which gives the cocoa a beautiful, non-separated, creamy viscosity.
This is why you get that luxurious mouthfeel rather than a gritty, watery drink.
Ingredients Breakdown: Achieving the Proper Job Hot Cocoa Mix
We are focusing on quality here. This recipe uses readily available pantry staples, but if you skimp on the cocoa, the final flavour will suffer dramatically.
| Ingredient | Why it's Critical | Viable Substitution |
|---|---|---|
| Dutch Process Cocoa | Deep, dark, smooth flavour. | Natural Cocoa (expect slightly lighter colour and tangier taste). |
| Dried Milk Powder | Adds richness and body without fresh milk. | Powdered Oat Milk Creamer or powdered coffee creamer. |
| Cornflour/Starch | Thickens and prevents separation. | Arrowroot Powder (use slightly less) or Tapioca Starch. |
| Instant Espresso | Intensifies chocolate flavour. | Omit entirely (flavour will be less punchy). |
Selecting the Right Cocoa Powder Base
I cannot stress this enough: The better your cocoa powder, the better your final drink. Look for high fat content Dutch process cocoa. It's often labelled as "European style" or "Cacao." This tiny investment makes the difference between "nice" hot cocoa and a truly spectacular mug of liquid velvet.
Sweeteners: Adjusting Sugar Levels for Personal Taste
I use a mix of granulated sugar (caster is best for fast dissolving) and a little bit of confectioner's sugar (powdered sugar). The powdered sugar helps keep the mixture soft and aids in smooth dissolution. You can easily reduce the total sugar amount by up to 1/2 cup if you prefer a less sweet, more bitter cocoa.
Optional Spice Inserts and Flavor Boosts (e.g., salt, vanilla powder)
Salt is mandatory, not optional! A tiny teaspoon of fine sea salt completely balances the sweetness and really makes the chocolate sing. Other fantastic additions include a tablespoon of good quality vanilla powder or 1/2 teaspoon of finely ground cinnamon for a warm, spicy hint.
Dairy vs. Non-Dairy Liquid Base Considerations
Since this mix contains powdered dairy milk, it’s not strictly dairy-free as written. However, the mix is robust enough to be successfully prepared with any liquid. I usually recommend whole milk for the creamiest result, but oat milk or cashew milk works beautifully if you need a plant based option.
If you need a fully dairy-free mix, swap the powdered milk for a powdered oat creamer base.
Mixing and Storing Your Ultimate Blend: step-by-step Guide
This process is straightforward, but attention to detail on the mixing is essential to avoid lumps.
Measuring Dry Ingredients Accurately
Use your kitchen scales for the cocoa powder and sugar if possible; accuracy really matters with dry mixes. Dump every single listed ingredient the cocoa, sugars, powdered milk, cornflour, salt, and espresso into a giant mixing bowl. Don't be shy about the bowl size!
Sifting vs. Whisking: Ensuring a Lump Free Mixture
Start by whisking everything together vigorously for at least four full minutes. The colour should be uniform, showing no streaks of white sugar or darker cocoa. Then, to be extra cautious, take the time to run the entire batch through a fine mesh sieve.
This sifting step catches the sneaky, microscopic clumps of cornflour and powdered milk.
Chef’s Note: If you want zero chance of lumps, transfer the finished, whisked mix into a food processor and pulse 5 6 times. This is how the big manufacturers make their products silky smooth! It's a game changer.
Testing the Mix: Preparing a Sample Cup
Don't seal up the whole batch before tasting! Take out one serving (about 1/3 cup) and prepare a sample cup immediately. This allows you to check if the sweetness or spice level is perfect and adjust the large batch if needed (maybe it needs an extra pinch of salt). If you are looking for even more decadence, try my method for Hot Chocolate with Whipped Cream: The Best Rich Velvet Mug Recipe .
Transferring the Finished Mix for Storage
Use a clean, dry funnel to transfer the prepared mix into your chosen storage containers. Glass jars with airtight lids are ideal, especially if you are making up Homemade Protein Bars Easy NoBake Peanut Butter Chocolate Recipe or other homemade treats for gifting alongside the cocoa!
Troubleshooting & Chef’s Tips for a Perfect Cup Every Time
Avoiding Sediment: How to Ensure the Cornflour Dissolves Fully
The number one mistake people make when using a rich homemade mix is just dumping the powder into the full cup of hot milk and stirring. Don't do this! To activate the starches and fully dissolve the cocoa solids, you must "bloom" the cocoa.
Mix the serving of dry mix (1/3 cup) with just a splash of very hot liquid enough to make a smooth, thick, glossy paste. Then stir in the rest of your hot milk slowly. No more grainy bottom residue, promise!
The Ideal Liquid Temperature for Preparation
Your milk should be steaming, but not boiling furiously. If the milk is too cold, the sugars and starches won't dissolve properly. If it boils, the powdered milk in the mix can sometimes take on a slightly cooked, caramelized flavour that isn't ideal. Just hot and steaming is the sweet spot.
Scaling the Recipe for Large Batch Gifting
This recipe scales up beautifully. I often triple or quadruple the amounts around the holidays for gifting. Just be sure to use a container large enough for proper, vigorous whisking! When preparing a large quantity, definitely use the food processor method to ensure consistent smoothness across the whole batch.
Shelf Life and Proper Storage for Homemade Hot Cocoa Mix
Best Containers for Maintaining Freshness and Potency
Airtight glass jars with rubber seals are the gold standard. You need to keep moisture out at all costs, as moisture causes clumping and spoilage. Make sure the container is completely clean and dry before you pour in the mix.
Storage Duration: How Long Does the Dry Mix Last?
Because this is a completely dry mix and uses shelf stable ingredients, it has an excellent shelf life. If stored properly in an airtight container in a cool, dark pantry, it will last easily for 9 to 12 months .
The potency of the cocoa flavour might slightly diminish after a year, but it will still be completely safe to consume.
Elevating Your Cocoa Experience: Serving and Pairing Suggestions
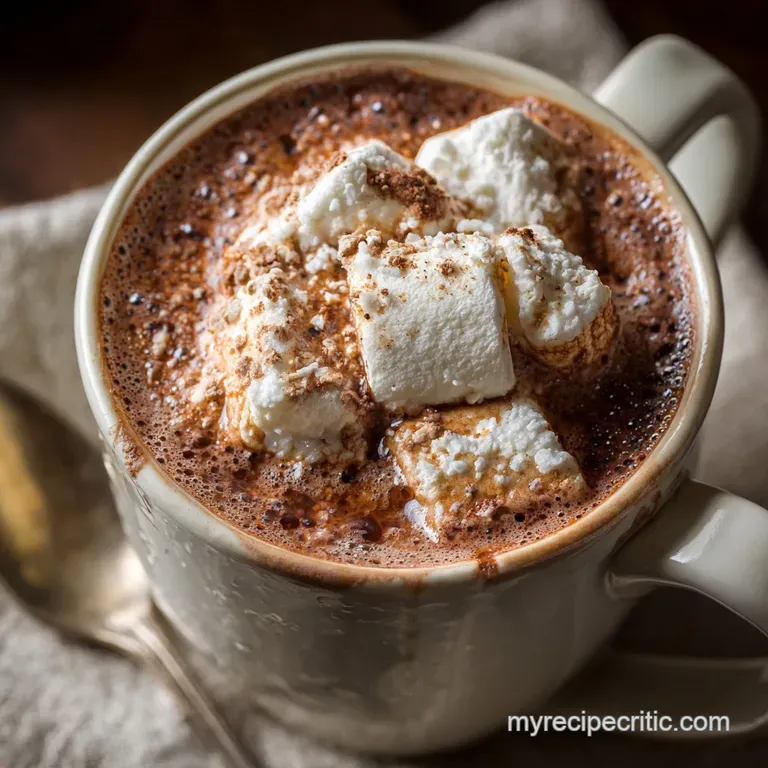
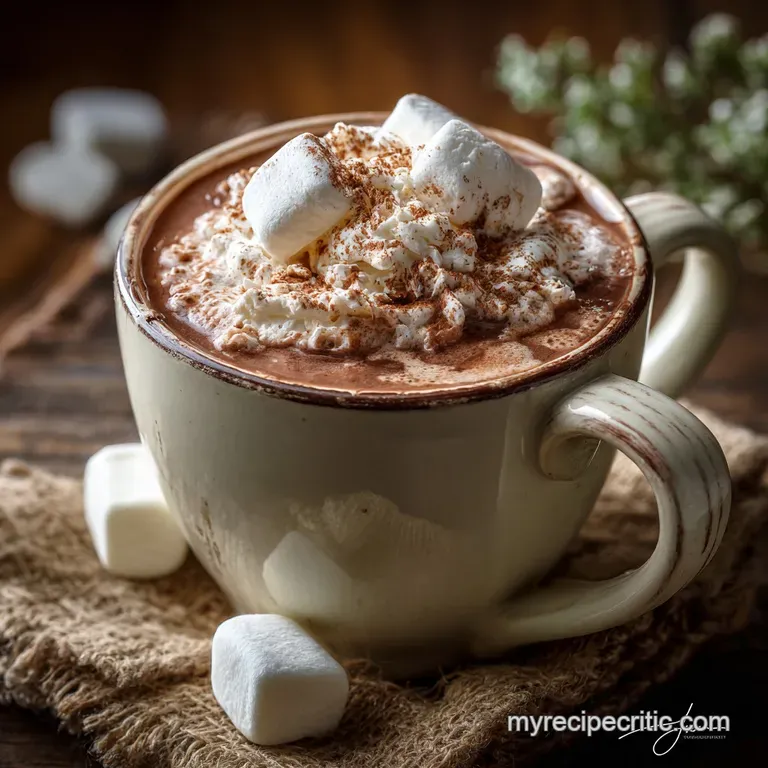
Must Try Toppings (Marshmallows, Whipped Cream, Shavings)
Homemade hot cocoa demands proper toppings. A scoop of homemade vanilla marshmallow fluff is divine. Even better? Freshly made whipped cream dusted with shaved dark chocolate. Ditch the sprinkles and go for pure, high-quality shavings. It truly makes the drink feel special.
The Grown-Up Addition
Want to turn this into a festive evening treat? Stir in a shot of peppermint schnapps, Irish cream, or a nice dark spiced rum right before serving. It transforms the cozy drink into a proper winter cocktail.

Recipe FAQs
Why does this recipe call for Dutch process cocoa instead of natural cocoa?
Dutch process cocoa is alkalized, giving it a darker color and a smoother, less acidic chocolate flavor. This process ensures the final mix is rich and mellow, contrasting sharply with the bright, sometimes harsh flavor of natural cocoa powder.
How long does the homemade hot cocoa mix last, and how should I store it?
When stored in an airtight container in a cool, dark pantry, the mix remains fresh for up to 6 months. It is crucial to ensure the container is completely sealed, as any moisture absorption will cause the dry ingredients to clump and harden.
Can I make this hot cocoa mix vegan or dairy-free?
Absolutely. The dry mix itself is already completely vegan. When preparing a cup, simply substitute the traditional dairy milk base with a creamy plant based alternative, such as oat milk or cashew milk, to maintain the desired velvety texture.
Why is cornflour (corn starch) included in the mix? Does it affect the flavor?
The cornflour acts as a stabilizing agent and thickener, ensuring the final hot cocoa drink has that signature velvety mouthfeel. It is tasteless when dissolved in the hot liquid, but prevents the cocoa solids from separating out and leaving a thin, watery beverage.
What can I add to spice up the mix for a gourmet touch?
For an elevated flavor, whisk in a teaspoon of fine cinnamon, a pinch of nutmeg, or a dash of cayenne pepper directly into the dry mix for a Mexican hot chocolate vibe. Alternatively, swap out some of the granulated sugar for brown sugar to introduce a richer, molasses note.
My prepared hot cocoa has some clumps or sediment. How do I fix this?
Clumps are often caused by adding the dry mix directly into boiling hot liquid without pre-mixing. Always whisk the cocoa mix with a small splash of cold milk or water first to form a smooth, dissolved paste before adding the remaining hot liquid for a perfectly smooth cup.
The recipe uses espresso powder. Is this essential, and what is its role?
While not strictly essential, espresso powder is highly recommended for Chef's Ultimate Blend. It doesn't make the cocoa taste like coffee; instead, the slight bitterness deepens and amplifies the complexity of the chocolate flavor, making the final drink exceptionally rich and dark.
Velvety Homemade Hot Cocoa Mix

Ingredients:
Instructions:
Nutrition Facts:
| Calories | 170 kcal |
|---|---|
| Protein | 2.0 g |
| Fat | 6.0 g |
| Carbs | 30.0 g |
