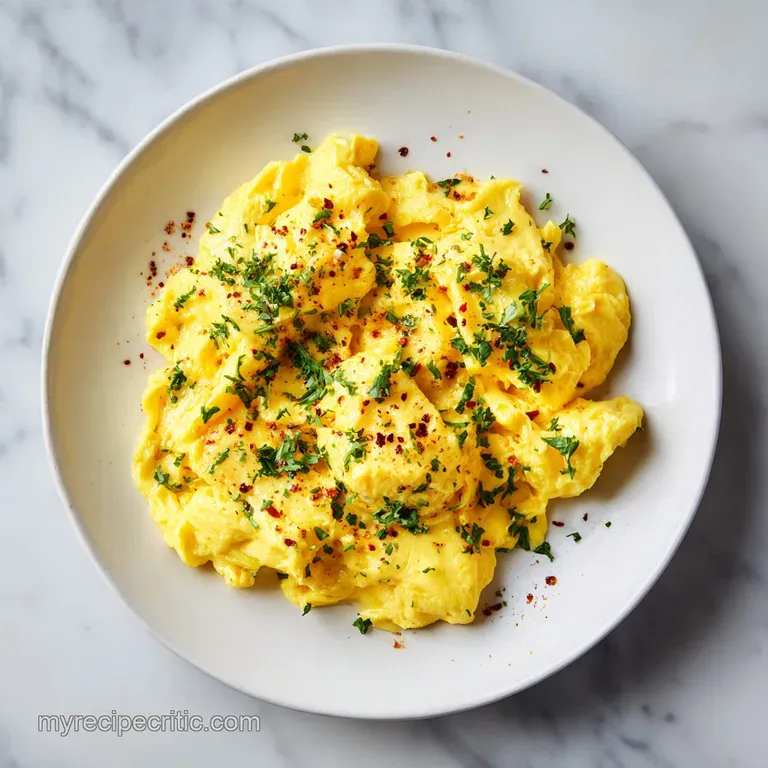
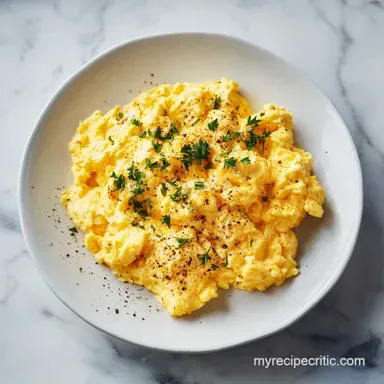
Scrambled Eggs: Silky, Tender Curds
- Time: Active 5 minutes, Passive 3 minutes, Total 8 minutes
- Flavor/Texture Hook: Silky, tender curds with a bright, oniony finish from fresh chives
- Perfect for: Slow weekend mornings or a high protein, budget-friendly desk lunch
- Achieve Velvety Scrambled Eggs Every Time
- Key Timing and Temperature Details
- Fresh Ingredients and Smart Swaps
- Tools for Better Egg Textures
- Step by Step Cooking Process
- Fixing Rubbery or Watery Eggs
- Adjusting the Recipe Volume
- Flavor Variations and Additions
- Debunking Common Egg Myths
- Handling Leftovers and Storage
- Plating and Finishing Touches
- Recipe FAQs
- 📝 Recipe Card
Achieve Velvety Scrambled Eggs Every Time
Making these work involves a few simple shifts in how we view the pan. Most people treat the stove like a furnace, but for eggs, we want it to feel more like a warm bath. This prevents the proteins from tightening up too quickly and squeezing out all their moisture, which is why your eggs sometimes end up sitting in a puddle of water on the plate.
Benefits of Early Salting
Adding that 1/8 tsp sea salt about 15 minutes before cooking if you have the time actually acts as a buffer for the proteins. It keeps them from bonding too tightly when they hit the heat.
Even if you only have a few minutes, salting the raw eggs in the bowl is far better than salting them in the pan.
Agitation vs Direct Heat
The size of your curds depends entirely on how much you move the fork or spatula. Constant movement creates tiny, creamy curds like those found in French styles. Letting them sit for a few seconds before folding creates larger, billowy clouds.
I prefer a middle ground where the edges stay soft but the center remains slightly glossy.
Managing Residual Heat
Eggs are notorious for "carryover cooking," which means they keep getting firmer even after they leave the pan. If they look done in the skillet, they'll be overdone by the time they hit the toast. Pulling them off while they still look a bit "wet" ensures they reach the ideal texture as you walk to the table.
The Logic of the Curd The addition of Greek yogurt introduces fat and acid that physically get in the way of egg proteins joining together. This interference prevents the proteins from forming a tight, tough web, resulting in a much softer, creamy structure.
| Method | Time | Texture | Best For |
|---|---|---|---|
| Low and Slow | 5-8 minutes | Silky, custard like | Gourmet breakfast at home |
| Medium Heat | 3 minutes | Firm, bouncy | Quick weekday fuel |
| High Heat | 1 minute | Dry, brown edges | Sandwich fillings (less messy) |
If you are looking for more protein heavy starts to your morning, you might also enjoy this Chorizo and Eggs recipe which uses a similar scramble technique but adds a spicy kick.
Key Timing and Temperature Details
Precision is the difference between a breakfast you tolerate and one you crave. When you're working with something as delicate as 2 large eggs, every second on the heat counts. I've found that using a small non stick pan is non negotiable here; cast iron often holds too much heat and can scorch the delicate fats in the olive oil and yogurt.
Component Analysis
| Ingredient | Science Role | Pro Secret |
|---|---|---|
| 2 large eggs | Structural base | Use room temp eggs to prevent the pan temp from dropping too fast. |
| Greek yogurt | Fat/Moisture buffer | Full fat or non fat works, but don't over mix or it can become watery. |
| Extra virgin olive oil | Non stick lubricant | Adds a peppery note that butter lacks, keeping it dairy light. |
Since this recipe is designed to be budget friendly, we aren't using heavy cream or expensive truffles. The 1 tbsp plain non fat Greek yogurt is a brilliant pantry smart swap that provides that rich mouthfeel for a fraction of the cost of premium dairy.
It also adds a tiny bit of tang that cuts through the richness of the yolks.
Fresh Ingredients and Smart Swaps
I always keep these basics in my kitchen because they are versatile and cheap. You don't need a massive grocery haul to make a high end breakfast. Just a few staples used correctly will get you there.
- 2 large eggs: The fresher, the better for a stable yolk.
- 1 tsp extra virgin olive oil: You can use butter if you prefer, but oil handles the low heat beautifully. Why this? Provides a clean fat base that doesn't brown as easily as butter solids.
- 1/8 tsp sea salt: Fine grain dissolves faster in the raw egg mixture.
- 1 tbsp plain non fat Greek yogurt: This is our secret weapon for creaminess without the heavy fat. Why this? The acidity tenderizes the egg proteins for a softer bite.
- 1 tsp fresh chives, minced: Adds a mild, grassy onion flavor.
- 1 pinch black pepper, freshly cracked: Essential for a little bite at the end.
| Original Ingredient | Substitute | Why It Works |
|---|---|---|
| Greek Yogurt | Sour Cream | Similar fat content and acidity. Note: Slightly higher calorie count but very rich. |
| Extra Virgin Olive Oil | Unsalted Butter | Classic flavor. Note: Watch the heat carefully to avoid browning the solids. |
| Fresh Chives | Green Onion Tops | Same onion like profile. Note: Use only the green parts for a milder flavor. |
If you happen to have a lot of eggs on hand and want a different texture entirely, mastering a Hard Boil Eggs Perfectly recipe is a great way to meal prep for the week.
Tools for Better Egg Textures
You don't need a kitchen full of gadgets, but two specific items make this a lot easier. First, a 8 inch non stick skillet is the "Goldilocks" size for two eggs. If the pan is too big, the eggs spread too thin and dry out instantly. If it's too small, you can't move them around enough to get those nice folds.
Second, grab a silicone spatula. Metal spatulas can scrape your pan and they don't have the flexibility to "swipe" the bottom of the skillet effectively. A silicone spatula allows you to hug the curves of the pan, ensuring no part of the egg is left to overcook against the sides.
Chef's Tip: If you don't have a whisk, use a pair of chopsticks to beat your eggs. They incorporate air without over processing the proteins, leading to a much more delicate curd.
step-by-step Cooking Process
- Crack the 2 large eggs into a small bowl. Note: Cracking on a flat surface prevents shell fragments from entering the bowl.
- Whisk vigorously with the 1/8 tsp sea salt and 1 tbsp plain non fat Greek yogurt until no white streaks remain.
- Heat 1 tsp extra virgin olive oil in a small non stick skillet over low heat until it shimmers slightly.
- Pour the egg mixture into the center of the pan. Note: You shouldn't hear a loud sizzle; a very faint hiss is perfect.
- Wait about 30 seconds until the edges start to set slightly.
- Sweep the spatula from the outer edge toward the center, creating long, flowing ribbons of egg.
- Continue folding the eggs gently for about 2 minutes. Stop when they look 80% set and still slightly wet.
- Remove the pan from the burner immediately. Note: The residual heat will finish the cooking process on the plate.
- Sprinkle with 1 tsp minced chives and a pinch of cracked black pepper.
- Slide the eggs onto a warm plate and serve immediately while they are still glistening.
Fixing Rubbery or Watery Eggs

Even with the best intentions, things can go sideways. Usually, it's a matter of heat control or timing. If your eggs look like they are "sweating" on the plate, they were likely cooked too fast on too high a heat, causing the protein structure to collapse.
Why Your Eggs Are Dry
This is the most common issue. If you wait until the eggs look "done" in the pan, they are already overcooked. The heat trapped inside the eggs continues to cook them for at least 60 seconds after they leave the skillet.
Why Your Eggs Are Watery
If you see a pool of liquid, you might have added too much yogurt or didn't whisk it well enough. It could also mean the heat was so low that the eggs never truly set, or conversely, so high that the proteins squeezed out the moisture.
| Problem | Root Cause | Solution |
|---|---|---|
| Rubbery Texture | Heat was too high | Lower the flame; the pan should be warm, not scorching. |
| Gray/Green Tint | Overcooked | Remove from heat sooner; avoid cooking in cast iron if possible. |
| Bland Flavor | Not enough salt | Always salt the raw eggs, not just the finished dish. |
Common Mistakes Checklist
- ✓ Never use a cold pan; let the oil warm up for at least 1 minute first.
- ✓ Don't over whisk once the yogurt is incorporated; you want it blended, not foamy.
- ✓ Avoid the "high heat scramble" unless you like the taste of burnt sulfur.
- ✓ Use a warm plate; a cold plate will suck the heat right out of your tender eggs.
- ✓ Stop cooking while they still look slightly underdone trust the carryover heat!
Adjusting the Recipe Volume
When you're cooking for more than just yourself, the physics of the pan changes.
Scaling Down (1 Egg) If you're just making a snack, use a very small pan (6 inch). Reduce the oil to 1/2 tsp and the yogurt to 1/2 tbsp. The cook time will drop significantly, likely taking only 90 seconds to 2 minutes total.
Scaling Up (4-6 Eggs) When doubling or tripling, use a larger 10 or 12 inch skillet. Keep the oil at about 2 tsp you don't need to triple the fat. Increase the salt and pepper to 1.5x only to avoid over seasoning.
You will need to move the eggs more frequently as the larger mass holds more heat in the center.
Flavor Variations and Additions
Once you've mastered the base, you can start getting creative with what's in your pantry.
- The Cheesy Route: Fold in a tablespoon of sharp cheddar or feta right at the very end. The residual heat will melt it without making the eggs greasy.
- The Herb Garden: Swap chives for fresh dill or parsley for a totally different aromatic profile.
- The Spicy Kick: A dash of hot sauce or a sprinkle of red pepper flakes into the raw egg mixture adds depth without changing the texture.
If you love a savory, hearty egg dish, you might want to try this Breakfast Eggs Casserole recipe for your next brunch gathering.
Debunking Common Egg Myths
Myth 1: Adding milk makes them fluffier. Actually, adding milk often just dilutes the flavor and can lead to a watery scramble. The fat in the yogurt is what actually creates that tender, velvety texture by coating the proteins.
Myth 2: You must use a whisk for the best results. While a whisk is great for aeration, over whisking can actually make eggs tough by breaking down the proteins too much. A fork or chopsticks often provide a more rustic, tender curd.
Myth 3: Browned eggs have more flavor. In the world of scrambling, brown usually means "burnt" and "sulfury." While a fried egg benefits from crispy edges, a scramble should stay pale and soft.
Handling Leftovers and Storage
Storage I'll be honest: scrambled eggs are best eaten within seconds of leaving the pan. However, if you have leftovers, they will stay safe in the fridge for up to 2 days. Keep them in an airtight container to prevent them from absorbing "fridge smells."
Reheating Never use the microwave on high power; it will turn your silky eggs into pebbles. Instead, use the microwave at 30% power in 20 second bursts, or gently reheat them in a non stick pan with a tiny splash of water or a lid to trap steam.
Zero Waste Tip Don't toss those eggshells! If you have a garden, crush them up and add them to your compost or sprinkle them around the base of tomato plants. They are a fantastic source of calcium for the soil.
If you have leftover chives that are starting to wilt, chop them up and freeze them in an ice cube tray with a little olive oil for future cooking.
Plating and Finishing Touches
Presentation doesn't have to be fancy. A simple piece of crusty sourdough toast provides the perfect textural contrast to the velvety eggs. I like to rub a cut clove of garlic on the toast before topping it with the scramble.
Spread the eggs across the toast rather than piling them in one big heap. This allows the steam to escape so the bread doesn't get soggy. Finish with an extra crack of black pepper and those bright green chives. It looks like a million bucks but costs less than a couple of dollars to make.
Serve it with a simple side of sliced tomatoes or a few avocado wedges to round out the meal.

Recipe FAQs
How to make a scrambled egg step-by-step?
Crack, whisk, and heat. Crack eggs into a bowl with salt and Greek yogurt, whisk until uniform, then pour into an olive oil-coated, low-heat pan. Gently sweep the developing curds toward the center until they are slightly wet, then remove immediately.
How to make the perfect scrambled egg?
Use low heat and add acid/fat. The secret is cooking eggs slowly over low heat while incorporating Greek yogurt; this buffers the proteins, preventing them from seizing up into a tough, dry texture.
Do you add milk to eggs for scrambled eggs?
No, use Greek yogurt instead. Milk often dilutes the flavor and can lead to a watery outcome when heat is applied.
How to make scrambled eggs in 3 steps?
Whisk vigorously, cook slowly, remove early. Whisk the eggs with salt and yogurt until homogenous, gently fold the mixture in a warm, oiled pan for about three minutes, and pull them off the heat while they still look slightly glossy.
Why are my scrambled eggs rubbery and dry?
You cooked them on heat that was too high or too long. Eggs continue to cook after leaving the pan, so remove them when they still look slightly underdone to ensure they set perfectly on the plate.
Is it true you should salt scrambled eggs ahead of time?
Yes, salting early is beneficial. Adding salt about 15 minutes before cooking helps relax the egg proteins so they don't bond too tightly when they hit the heat source.
What is the best pan material for soft scrambled eggs?
A small, 8 inch nonstick skillet is ideal. Nonstick surfaces prevent sticking at lower temperatures, and a smaller diameter ensures the eggs cook evenly without spreading too thinly and drying out too fast; mastering this gentle pan technique is also key to our Mini Egg Quesadillas recipe.
Fluffy Scrambled Eggs In 8
Ingredients:
Instructions:
Nutrition Facts:
| Calories | 192 kcal |
|---|---|
| Protein | 14.1 g |
| Fat | 14.0 g |
| Carbs | 1.3 g |
| Fiber | 0.1 g |
| Sugar | 0.6 g |
| Sodium | 430 mg |
