Easy Condensed Milk Fudge
- Time: Active 5 minutes, Passive 2 hours, Total 2 hours 5 minutes
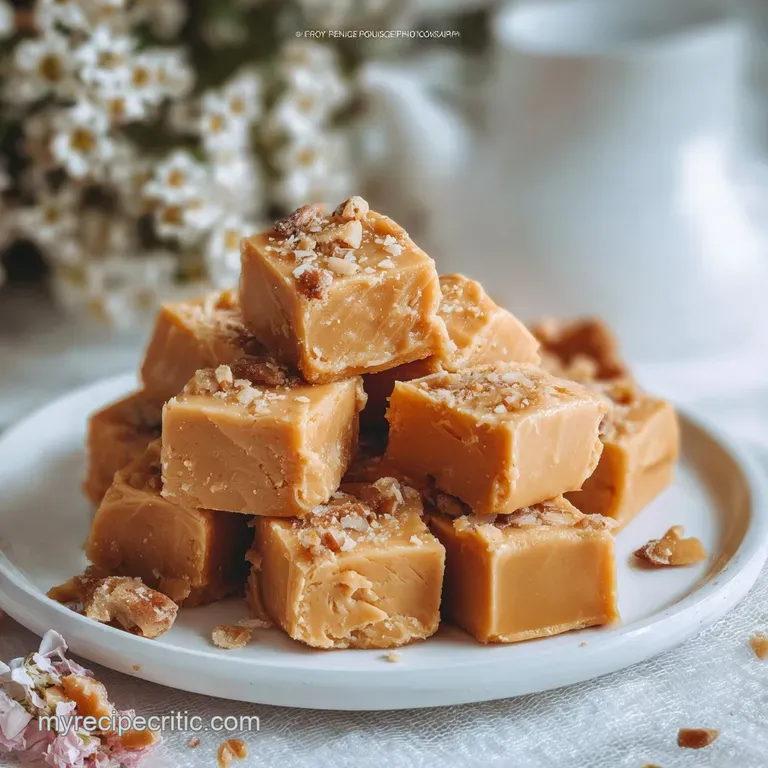
- Flavor/Texture Hook: Rich, velvety chocolate with a melt in-the mouth buttery finish
- Perfect for: Holiday gifting, last minute cravings, or beginner bakers
- Perfecting The Homemade Condensed Milk Fudge
- Why This Recipe Works
- Ingredient Component Analysis
- Your Essential Shopping List
- Necessary Kitchen Equipment
- Precise Preparation Steps
- Solving Common Fudge Problems
- Simple Dietary Adaptations
- Storage and Zero Waste
- Professional Presentation Tips
- Recipe FAQs
- 📝 Recipe Card
Perfecting The Homemade Condensed Milk Fudge
The kitchen fills with the scent of melting chocolate, thick and nostalgic. I remember my first attempt at traditional fudge, standing over a copper pot for an hour, praying for the "soft ball" stage. One tiny temperature spike and the whole batch turned into gritty, brown sand.
It was heartbreaking and, frankly, a massive waste of expensive butter.
But this version? It is a total shift in how we think about candy. By using sweetened condensed milk, we skip the chemistry exam and go straight to the reward. The texture is consistently silky, bordering on ganache but with enough structure to hold its shape on a dessert platter.
It's the kind of recipe you keep in your back pocket for when you need a "wow" moment but only have ten minutes before the guests arrive.
We are aiming for that specific, heavy weight on the tongue that only high-quality cocoa and fats can provide. This isn't just a quick snack, it's a decadent treat that behaves exactly how you want it to every single time.
Trust me, once you see how the chocolate chips and milk swirl together into a glossy ribbon, you'll never go back to the old way.
Why This Recipe Works
- Glucose Control: The pre dissolved sugar in the condensed milk prevents the formation of large sucrose crystals that cause a grainy texture.
- Emulsification Stability: Unsalted butter acts as a bridge between the water based milk and the fat heavy chocolate, ensuring a cohesive, non greasy bite.
- Starch Gelatinization: While there is no added starch, the proteins in the milk thicken slightly when heated, providing a "short" break when you bite into a square.
The Physics of the Set
The secret to this texture lies in the cooling process. As the mixture drops below room temperature, the saturated fats in the chocolate chips (510g) lock together, trapping the sweetened milk in a dense, stable matrix. This creates a solid that feels soft but doesn't melt the moment you touch it.
| Method | Total Time | Skill Level | Texture Outcome |
|---|---|---|---|
| Condensed Milk | 10 minutes | Beginner | Velvety, rich, and consistent |
| Traditional Boil | 60 minutes | Expert | Crumbly, sharp sweetness, erratic |
| Microwave Only | 5 minutes | Beginner | Very soft, less depth of flavor |
This comparison highlights why the stovetop assisted melt is superior. It allows for a slower integration of the vanilla and salt, which prevents the flavors from burning off or clumping in one spot.
Ingredient Component Analysis
| Ingredient | Science Role | Pro Secret |
|---|---|---|
| Chocolate Chips (510g) | Provides structure and base fat | Use chips with at least 60% cocoa for a deeper profile |
| Condensed Milk (397g) | Acts as a liquid sugar concentrate | Ensure it is "Sweetened" not "Evaporated" to avoid a liquid mess |
| Unsalted Butter (28g) | Enhances mouthfeel and gloss | Add at the very end to keep the fats from separating |
Sweetened condensed milk is the workhorse here because it has already been reduced, meaning the water content is low enough that it won't seize your chocolate.
Your Essential Shopping List
- 18 oz (510g) semi sweet chocolate chips: These provide the structural "bones" of the fudge. Why this? Semi sweet balances the high sugar content of the milk better than milk chocolate.
- 14 oz (397g) sweetened condensed milk: This is your sweetener and thickener combined. Why this? The high sugar concentration prevents crystallization for a smoother finish.
- 2 tablespoons (28g) unsalted butter: Added for that professional sheen. Why this? It adds a velvety fat layer that improves the final melt on the tongue.
- 1 teaspoon (5ml) pure vanilla extract: For aromatic depth. Why this? It rounds out the sharp notes of the cocoa beans.
- 1/4 teaspoon (1.5g) fine sea salt: To balance the sweetness. Why this? Salt highlights the fruity undertones of the chocolate.
| Original Ingredient | Substitute | Why It Works |
|---|---|---|
| Semi sweet Chips | Dark Chocolate Chunks | Higher cocoa content; creates a more bittersweet, adult flavor profile |
| Unsalted Butter | Coconut Oil (Solid) | Provides a similar fat structure. Note: Adds a subtle tropical scent |
| Sea Salt | Salted Caramel Sauce | Adds moisture and a different sugar profile; reduces the "snap" |
If you find yourself craving a bit more complexity in your sweets, this base is incredibly forgiving. For another decadent treat with a seasonal twist, you might enjoy trying a Chocolate Pumpkin Swirl recipe which uses a similar chocolate logic but adds a lovely spiced density.
Necessary Kitchen Equipment
You don't need a pantry full of gadgets, but a heavy bottomed saucepan is non negotiable. Thinner pots have "hot spots" that can scorch the milk or cause the chocolate to seize. I always use a silicone spatula because it allows you to scrape the very bottom of the pan, ensuring no sugar gets stuck and burns.
An 8x8 inch (20x20 cm) square pan is the ideal size for this volume. If you use a larger pan, your squares will be thin and lose that satisfying "heft." Line the pan with parchment paper, leaving an inch of overhang on the sides.
This "sling" method is my favorite trick; it lets you lift the entire chilled block out of the pan for clean, sharp cuts with a warm knife.
Precise Preparation Steps
- Prepare the pan. Line an 8x8 inch square pan with parchment paper, ensuring the sides are covered to prevent sticking.
- Combine the bases. Place the 510g semi sweet chocolate chips and 397g sweetened condensed milk into a heavy bottomed saucepan.
- Heat slowly. Set the burner to low heat and stir constantly with a silicone spatula until the chips are 80% melted and glossy. Note: Residual heat will finish the job without burning the sugar.
- Incorporate the butter. Add the 28g of unsalted butter to the mixture and stir until the butter disappears and the surface is shiny.
- Remove from heat. Pull the pan off the stove immediately to prevent the chocolate from becoming grainy or dry.
- Season the mix. Stir in the 5ml vanilla extract and 1.5g fine sea salt until the aroma becomes fragrant and uniform.
- Transfer the fudge. Pour the molten mixture into your prepared pan, smoothing the top with an offset spatula.
- Tap the pan. Gently bang the pan on the counter three times until any trapped air bubbles rise to the surface.
- Chill to set. Refrigerate the pan for at least 2 hours until the center feels firm and cold to the touch.
- Slice into squares. Lift the fudge out using the parchment sling and cut into 36 even pieces using a hot, dry knife.
Chef's Tip: Dip your knife in hot water and wipe it completely dry between every single cut. This ensures the edges of your Condensed Milk Fudge stay sharp and professional rather than messy and smeared.
Solving Common Fudge Problems
Fixing Grainy Texture
If your fudge feels like it has sand in it, the sugar likely crystallized because the heat was too high. This happens when the milk boils before the chocolate has fully integrated. To prevent this, always keep your flame at the lowest possible setting.
If it's already grainy, you can sometimes save it by adding a tablespoon of heavy cream and re melting it very slowly over a double boiler.
Solving Soft Fudge
Sometimes the fudge remains tacky or soft even after two hours in the fridge. This usually means the ratio was slightly off or the environment is too humid. Don't panic. You can move the pan to the freezer for 30 minutes to firm it up before cutting.
For a more permanent fix, ensure you are using a full 18 oz of chocolate; reducing the chocolate count is the number one cause of a "slumping" set.
| Problem | Root Cause | Solution |
|---|---|---|
| Fudge is oily | Heat was too high | Stir in a teaspoon of cold milk to re emulsify the fats |
| Seized chocolate | Water touched the mix | Add a teaspoon of vegetable oil and whisk vigorously |
| Dull surface | Lack of agitation | Stir more briskly during the final minute of melting |
Common Mistakes Checklist
- ✓ Never let a single drop of water enter the pan (this causes seizing).
- ✓ Avoid using "Lite" or low-fat condensed milk as it lacks the necessary fat for a firm set.
- ✓ Don't skip the salt; it is the only thing standing between "rich" and "cloying."
- ✓ Use a silicone spatula rather than a wooden spoon to prevent sticking.
- ✓ Let the fudge sit at room temperature for 10 minutes before eating for the best texture.
Simple Dietary Adaptations
If you need to scale this recipe up for a big party, you can easily double the ingredients and use a 9x13 inch pan. However, when doubling, only increase the salt and vanilla by 1.5x rather than a full 2x to keep the flavors balanced. For those looking for a different flavor profile altogether, my Mint Fudge Recipe offers a refreshing peppermint alternative that uses a similar condensed milk base.
Nutty Variations
To add some crunch, fold in 100g of toasted chopped walnuts or pecans right after you add the vanilla. The heat of the chocolate will slightly soften the nuts, making them integrate perfectly into the bite.
If you prefer a salty sweet contrast, press whole pretzels into the top of the fudge before it sets in the fridge.
dairy-free Options
You can find sweetened condensed coconut milk in most health food stores. Pair this with vegan chocolate chips (which are usually dairy-free if they are high percentage dark chocolate) and use a vegan butter stick.
The result is a slightly softer set with a wonderful toasted coconut undertone that pairs beautifully with the dark cocoa.
Storage and Zero Waste
Store your cut squares in an airtight container with parchment paper between the layers. In the fridge, they will behave perfectly for up to 2 weeks. If you want to keep them longer, this fudge freezes beautifully. Wrap the entire block in plastic wrap, then foil, and freeze for up to 3 months.
To serve, just thaw it in the fridge overnight.
If you end up with "fudge crumbs" or odd shaped ends from trimming the edges, don't throw them away. I love melting those scraps down and stirring them into warm milk to make a decadent hot chocolate.
Alternatively, chop the scraps into tiny bits and fold them into a batch of vanilla bean ice cream for a "fudge swirl" effect that is better than anything you can buy at the store.
Professional Presentation Tips
For a truly high end look, sprinkle a few flakes of Maldon sea salt over the top while the fudge is still slightly tacky. The large, clear crystals look like diamonds against the dark chocolate and provide a massive flavor boost.
If you're gifting these, use a small star shaped cookie cutter to create festive shapes instead of standard squares.
Another trick is to drizzle the set fudge with a little bit of melted white chocolate. Use a fork to flick the white chocolate back and forth in a random pattern. It creates a "Jackson Pollock" style aesthetic that hides any imperfections on the surface of your Condensed Milk Fudge.
Serve these on a white marble slab to keep them cool during a party and watch them disappear in minutes. It's the simplest way to look like a professional chocolatier without the years of training.

Recipe FAQs
How to turn condensed milk into fudge?
Melt chocolate, then stir in condensed milk, butter, and seasonings. Heat the chips and milk gently over low heat until smooth, then remove from the stove and fold in the remaining ingredients before chilling until firm.
How do you make 3 minutes of fudge with condensed milk?
No, three minutes is insufficient time for proper setting and ingredient incorporation. This recipe requires about 5 minutes of active stovetop cooking time, followed by at least two hours of chilling time to achieve the proper texture.
How do you make fudge with condensed milk 2 ingredients?
It is technically possible, but the texture will be overly soft and lack richness. Combining chocolate chips and condensed milk alone results in a very soft, almost truffle like consistency, as the butter and salt are essential for flavor balance and a firm set. If you want to try a simplified base, you might adapt that concept to our NoBake Chocolate Fudge recipe which is designed for minimal ingredient use.
Why is my fudge not setting with condensed milk?
The ratio of chocolate to condensed milk is likely too high, or it wasn't chilled long enough. If the mixture remains tacky after two hours, it means the chocolate fat matrix hasn't fully stabilized; place it in the freezer for 30 minutes to encourage a faster set.
Can I skip heating the mixture on the stove?
No, gentle heating is crucial for this specific method to achieve glossiness. You must melt the chocolate slowly with the milk to create a stable emulsion; simply microwaving may result in a dull, grainy texture if the heat isn't controlled.
What is the purpose of adding butter to condensed milk fudge?
Butter is added to improve mouthfeel and introduce a professional sheen. It introduces extra fat content which coats the tongue smoothly, preventing the fudge from tasting overly sticky or sugary.
Is it true that using evaporated milk instead of condensed milk works?
No, using evaporated milk will result in a liquid mess. Evaporated milk is significantly thinner and contains much less sugar, meaning it won't achieve the necessary high sugar saturation required for the fudge to solidify properly.
Condensed Milk Fudge Recipe
Ingredients:
Instructions:
Nutrition Facts:
| Calories | 109 calories |
|---|---|
| Protein | 1.4 g |
| Fat | 5.6 g |
| Carbs | 13.6 g |
| Fiber | 0.8 g |
| Sugar | 12.1 g |
| Sodium | 21 mg |
